Opening caverns: bounce and timed doors
Use the hanging equipment to reposition the opening platforms. Yellow elastic goo supplies the height for the next climb. Some controls expose it temporarily: inspect your landing before starting the timer. The same preparation helps at timed auxiliary doors. Aim descents at the bounce surface rather than bare ground.
Train worksite: restore power
At the raised control building, activate the exterior power lever, then the red control inside. Collect dynamite from the opened locker below. Plant it at the metal obstruction and use the separate detonator. Start the generator beyond the blast, return to the train controls, and use the machinery to expose the onward climbing route.
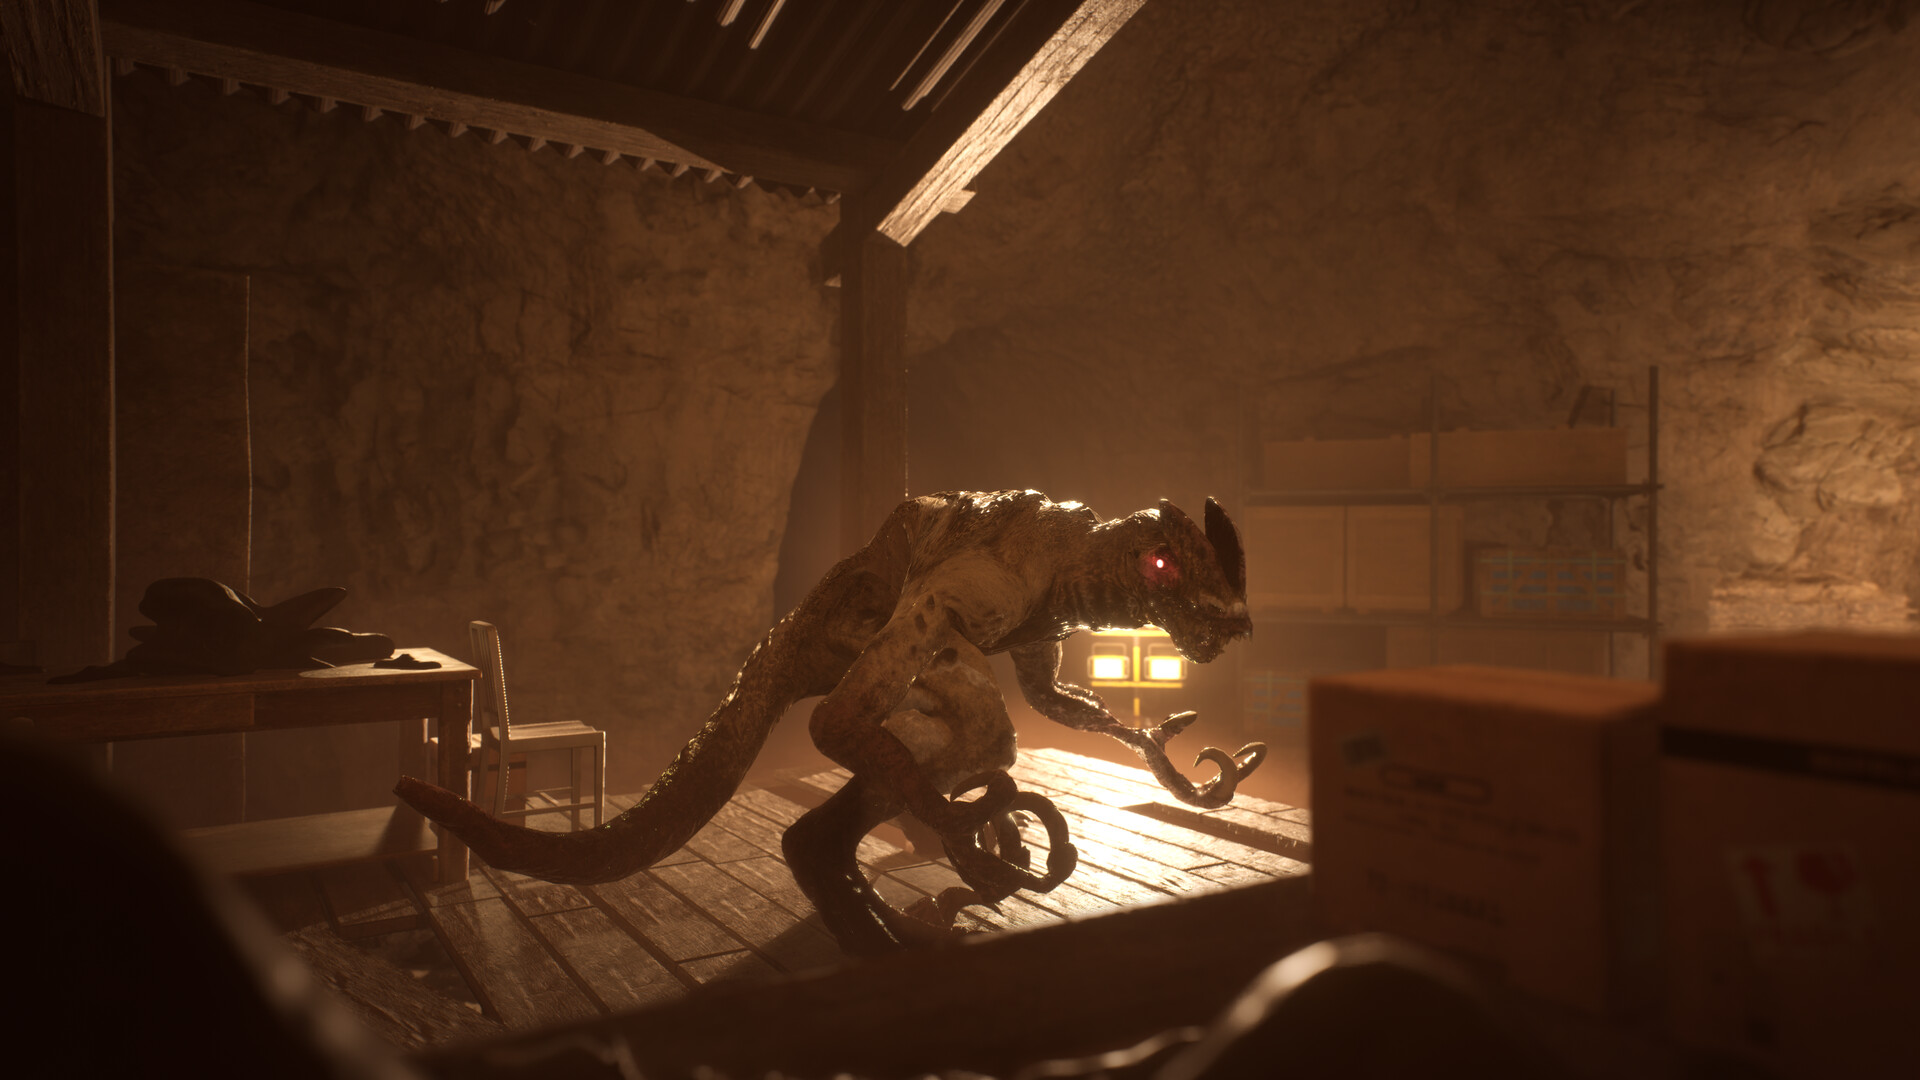
Allosaurus: reach the narrow passages
The hunting section alternates short exposed runs with rock gaps. Follow the camp signs and squeeze through the openings before choosing your next crossing. Later, keep moving through the water escape.
The in-game note The Allo Has Rules, reproduced in the illustrated route, describes only a brief pause when you face the creature. Do not rely on staring at it indefinitely.
Freight platforms: key, fusebox and generator
Wallrunning begins on adhesive goo. Jump onto the coated surface and use the displayed prompt to jump away toward the next support. This also works on coated freight equipment.
Find the office key and unlock the work gate. Repair its fusebox; the next explosive obstruction leads to the generator. Restore power before operating the platform controls. Use each red button to bring its suspended platform into reach, then cross the wallrunning and hanging-bar route. The subsequent lift is interrupted: continue down toward Dalton’s recording and the blood trail.
Four fuses and the Shed key
All four replacements belong in one central panel. Use these landmarks as a search checklist:
| Search area | What to do |
|---|---|
| Generator enclosure | Take the fuse by the lit workbench; start the generator. |
| Lower office | Search the building with wide cavern-facing windows. |
| Upper wooden office | Follow the elevated bars and goo panels to its fuse. |
| Locked shed | Open it with the Shed key and collect the remaining replacement. |
For the key, climb near the Call It In sign and follow the upper traversal route to the cabinet labeled Shed. Pick it up before continuing toward the upper office. Return to ground level for the locked shed.
Install the replacements and check for four green indicators, then operate the main console. If the route still will not open, check both the generator and the panel. The illustrated four-fuse reference shows the pickup areas.
Motherlode: clear the final blockage
Continue to the container-yard tower. After the falling rocks block the route, use the nearby fuses and their boxes to reposition the ledges. Climb across, enter the container and release the rail cart with its control. Escape the returning Allo through the final goo traversal to finish Level 3 and unlock Slime-o-saurus.
Continue with Chapter 4. For optional detours, use the Chapter 3 amber and toy landmarks.