What this guide covers
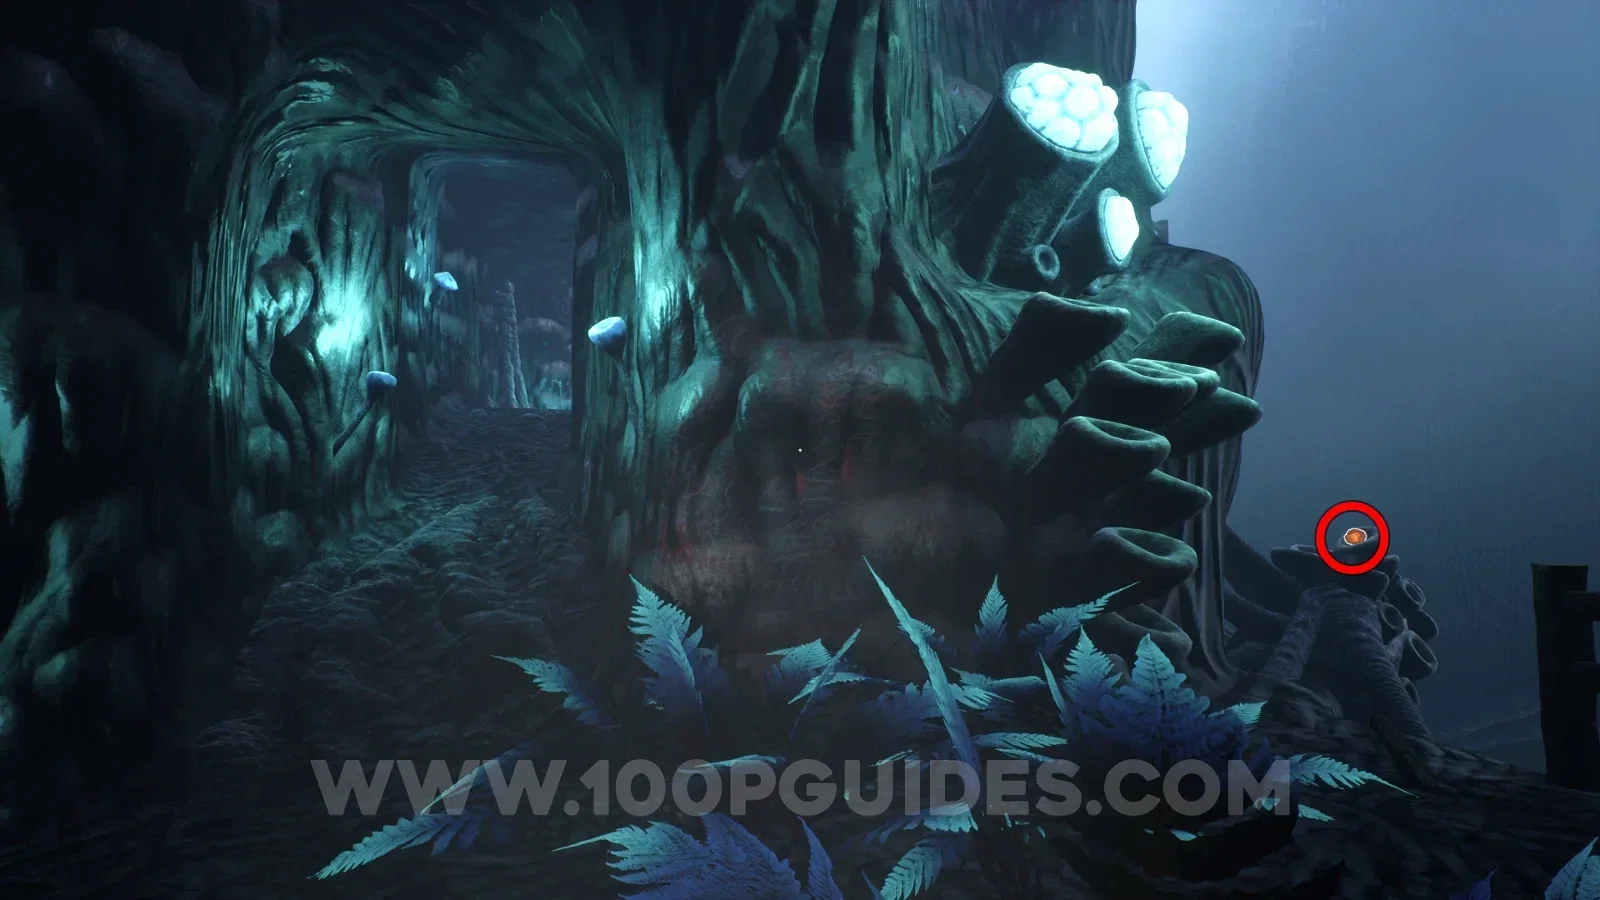
Use the chapter sections for 16 amber landmarks and the toy table for four pickup/delivery pairs. Locations are reviewed community reports, not an independent in-game test. The numbered image links open the original 100% Guides screenshots; they are provided for visual orientation rather than copied into this site.
Reported collection totals are 16 amber, 24 audio tapes and 97 notes. The published illustrated route explicitly says seven notes are still missing. Its ShowGamer counterpart repeats that gap and does not provide independent confirmation. This page therefore does not claim a complete 97-note or all-item completion route.
Audio tapes and notes
| Collection | Published location coverage | Open guide |
|---|---|---|
| Audio recordings | 23 image-reviewed stops; one route-only report remains outside the tables | Audio tape locations |
| Notes and journals | 28 image-reviewed stops; incomplete against the reported target of 97 | Note locations |
Each entry links to its reviewed source image and names a surrounding landmark. The item labels remain community-reported; this is source-image checking, not an independent playtest or a guarantee of full achievement completion.
Chapter 1: amber 01–04
Follow the Chapter 1 story route between these detours.
| Amber | Landmark | Source image |
|---|---|---|
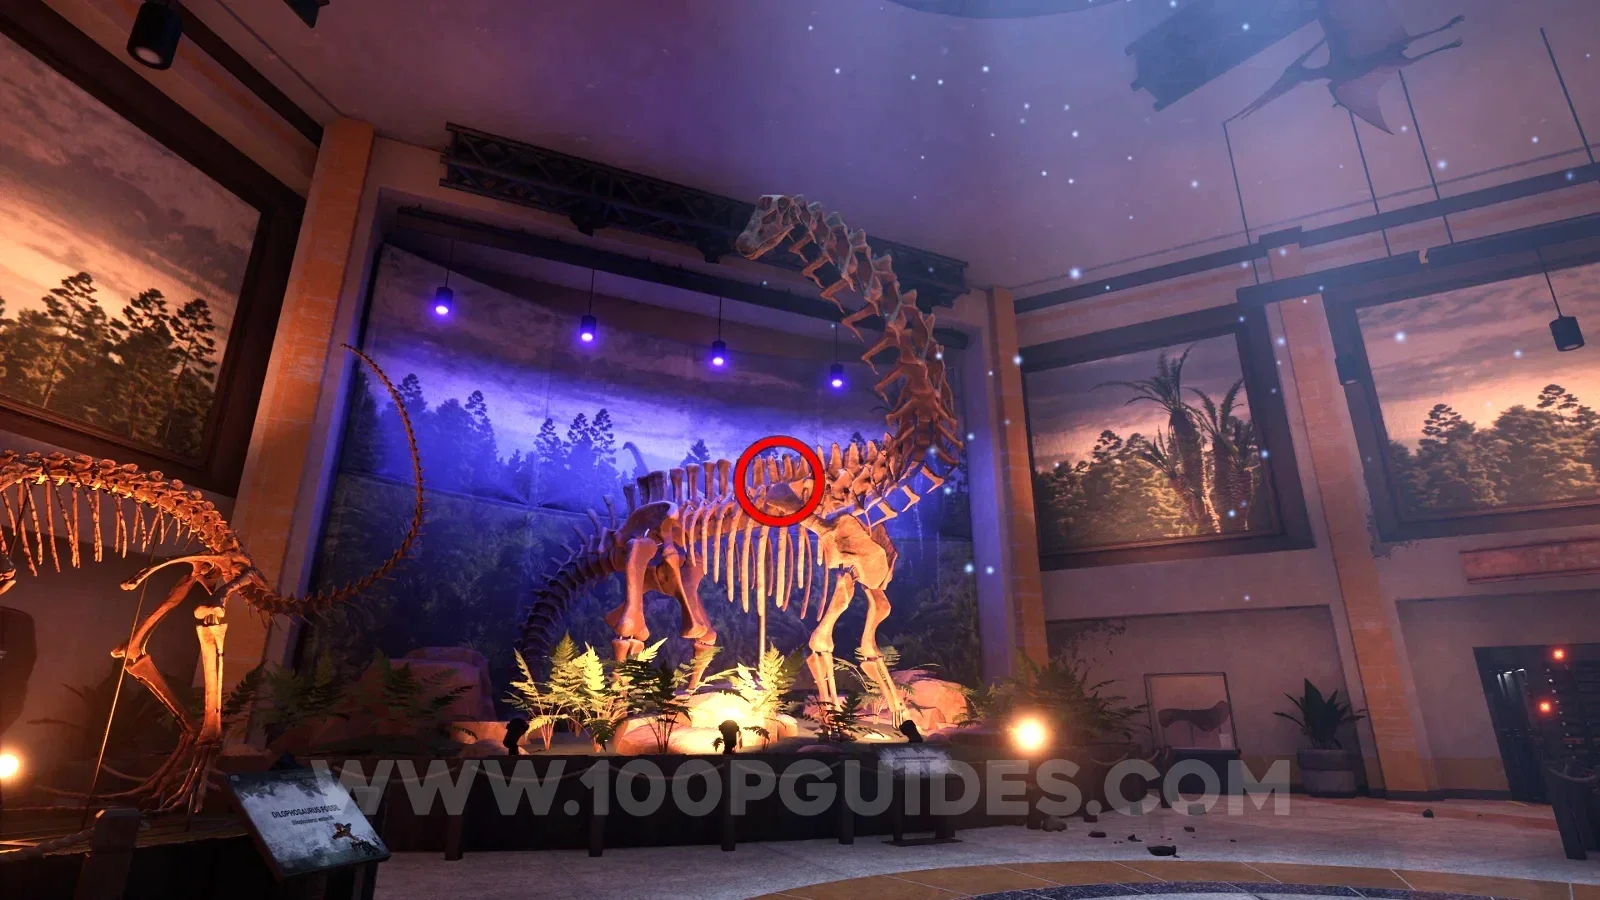
| 01 | Entrance skeleton’s head; climb its tail. | View 01 ↗ |
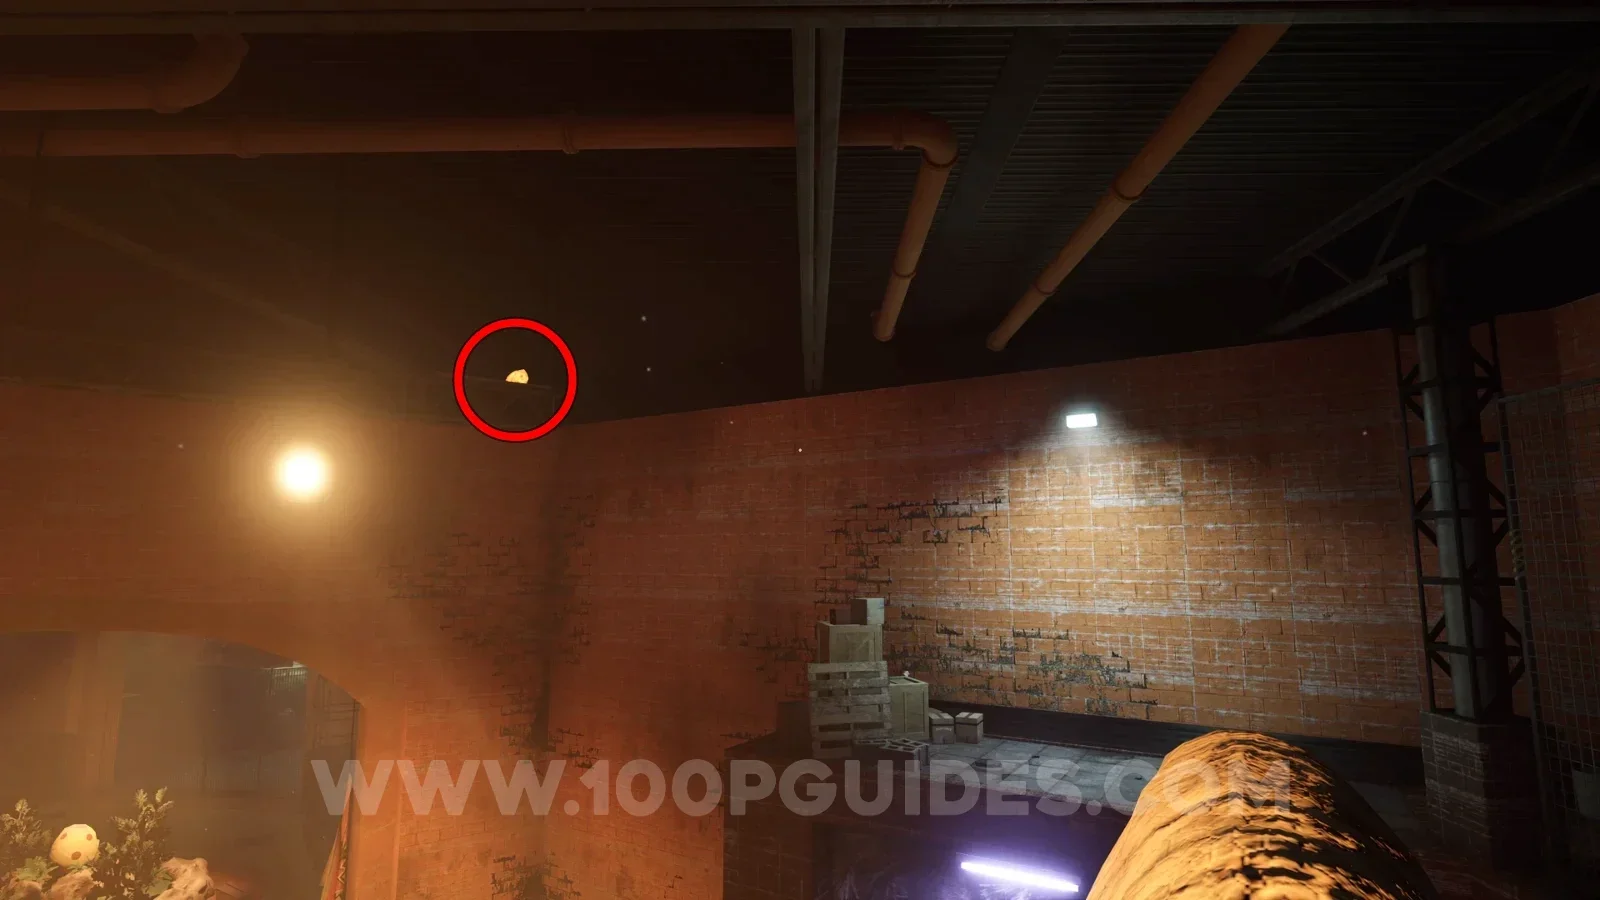
| 02 | Hanging beam above the second moving dinosaur. | View 02 ↗ |
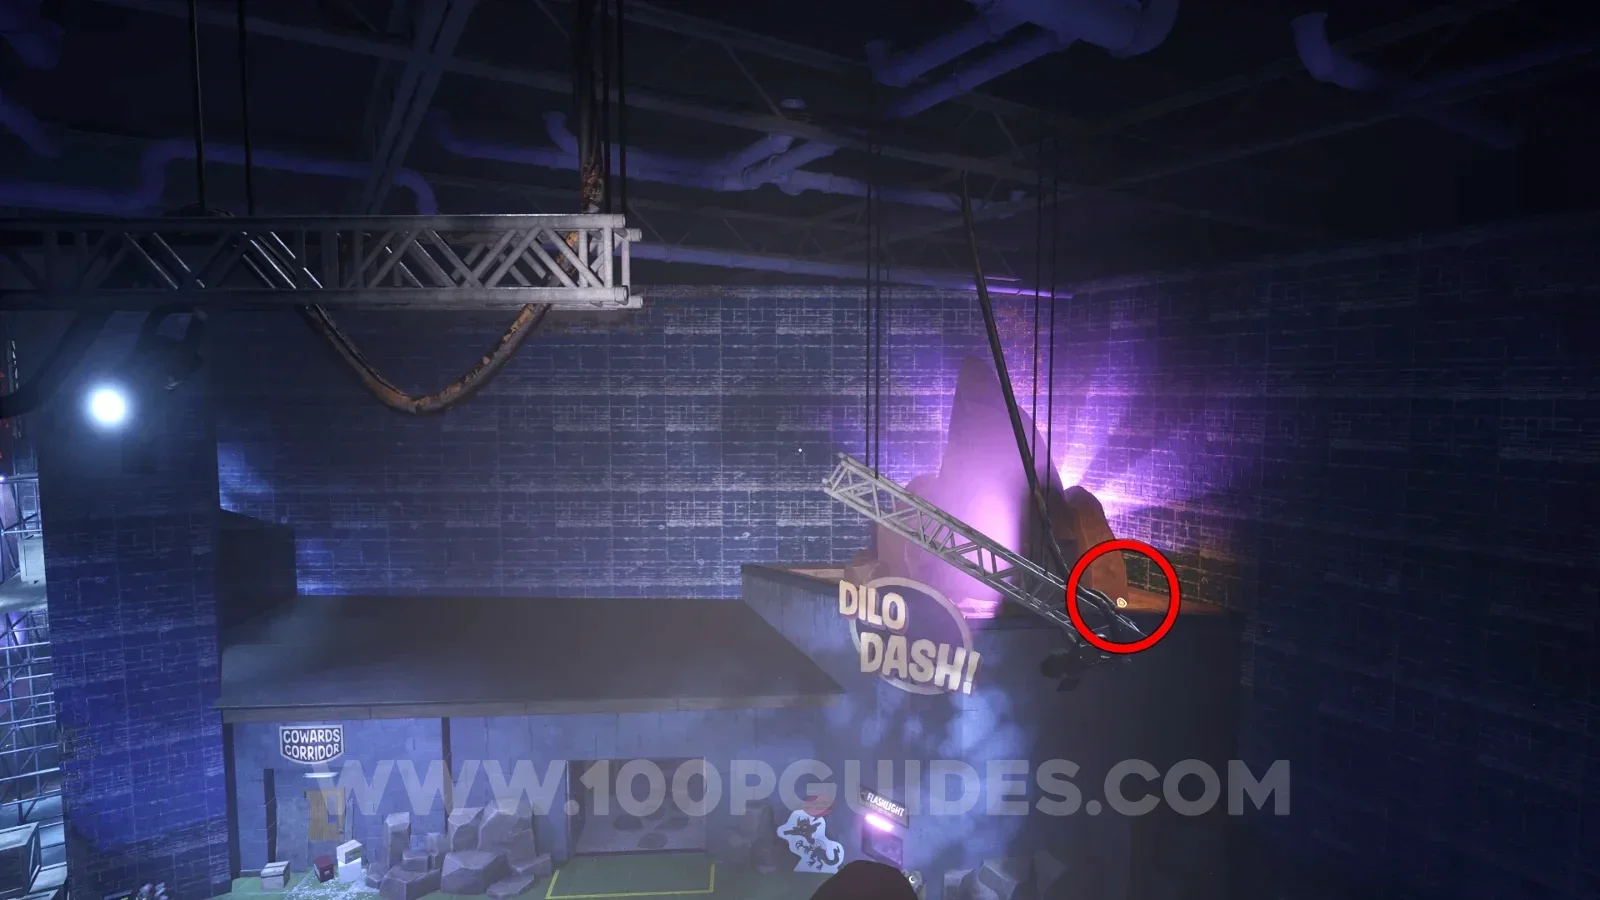
| 03 | Above the flashlight-token room; use overhead structures. | View 03 ↗ |
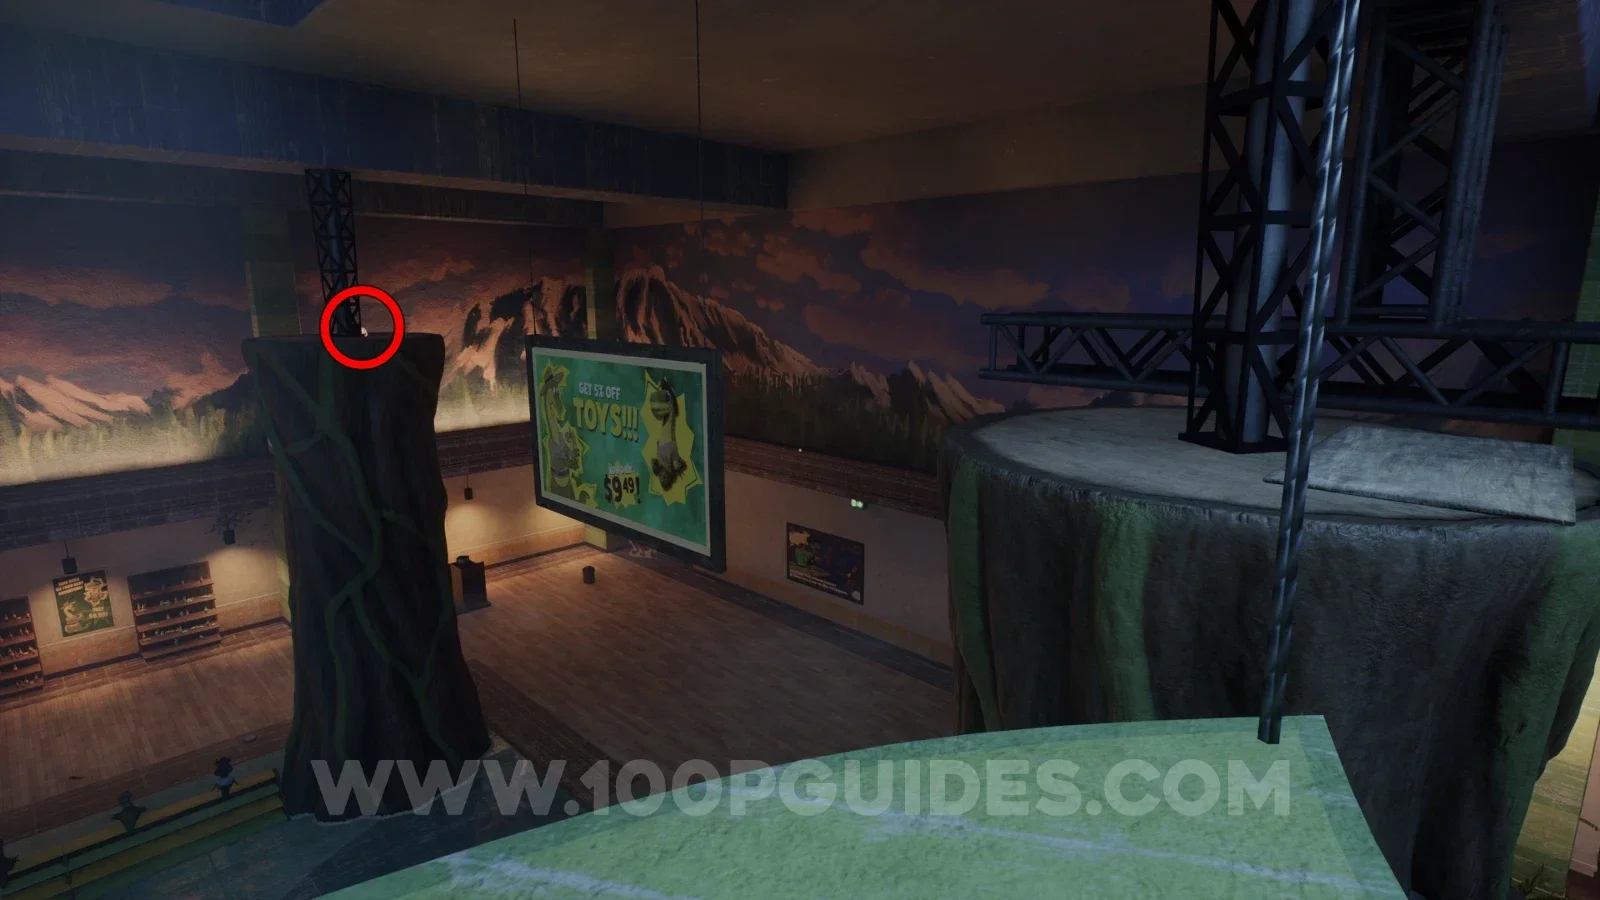
| 04 | Gift-shop upper circular platform, left before second connector. | View 04 ↗ |
Chapter 2: amber 05–08
Use the Chapter 2 route to reach the corresponding work areas.
| Amber | Landmark | Source image |
|---|---|---|
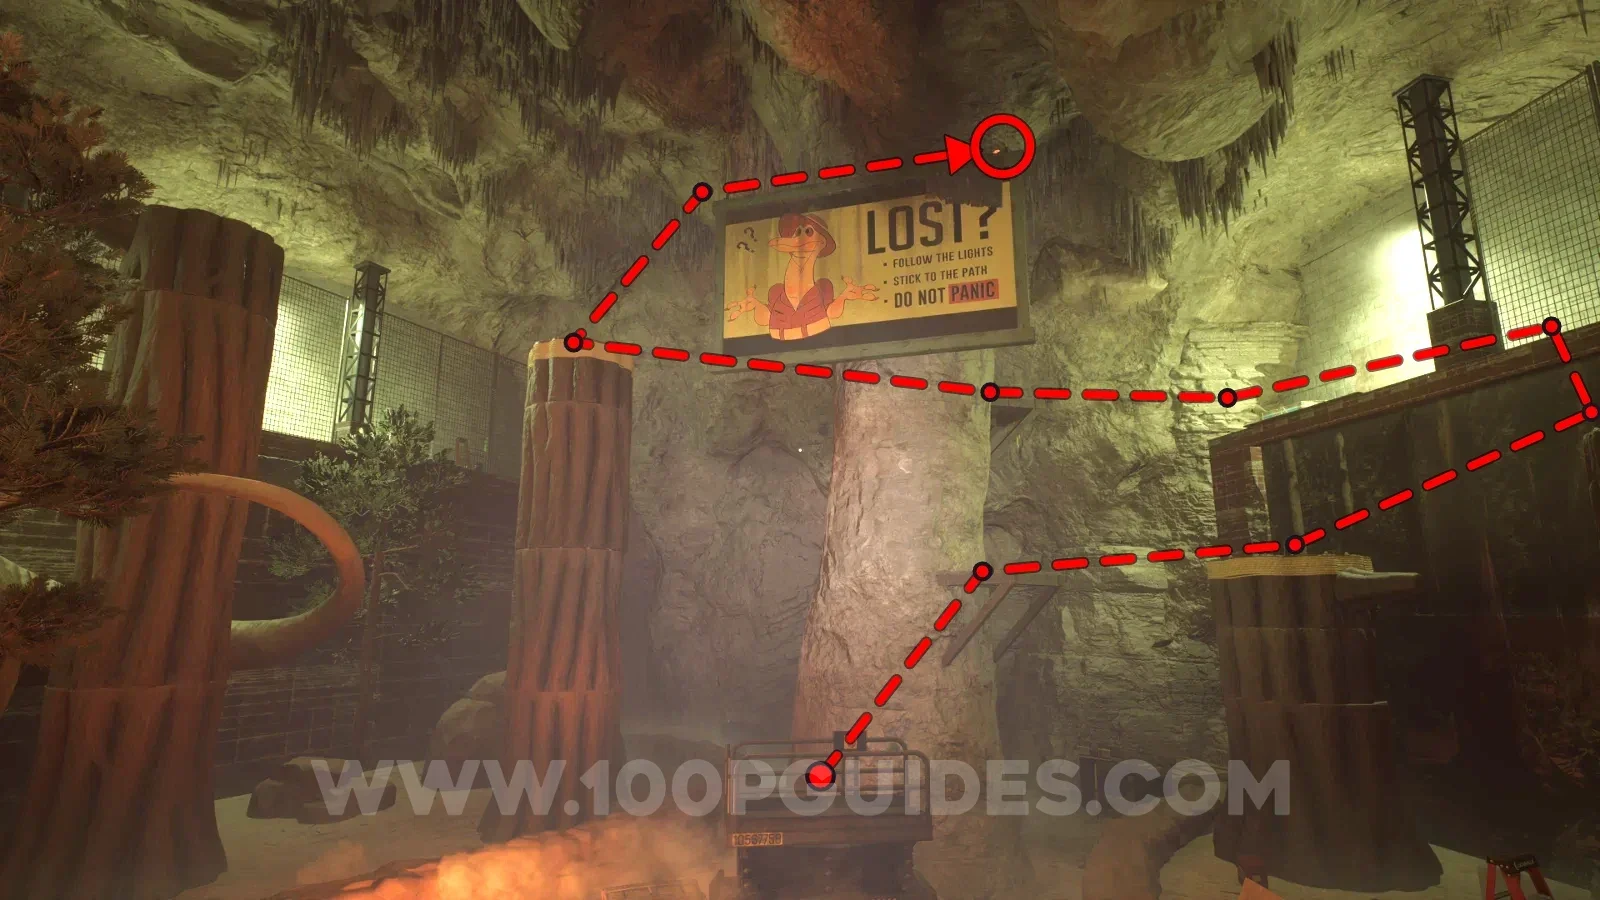
| 05 | Above red-button sign; approach via pillar and trunk. | View 05 ↗ |
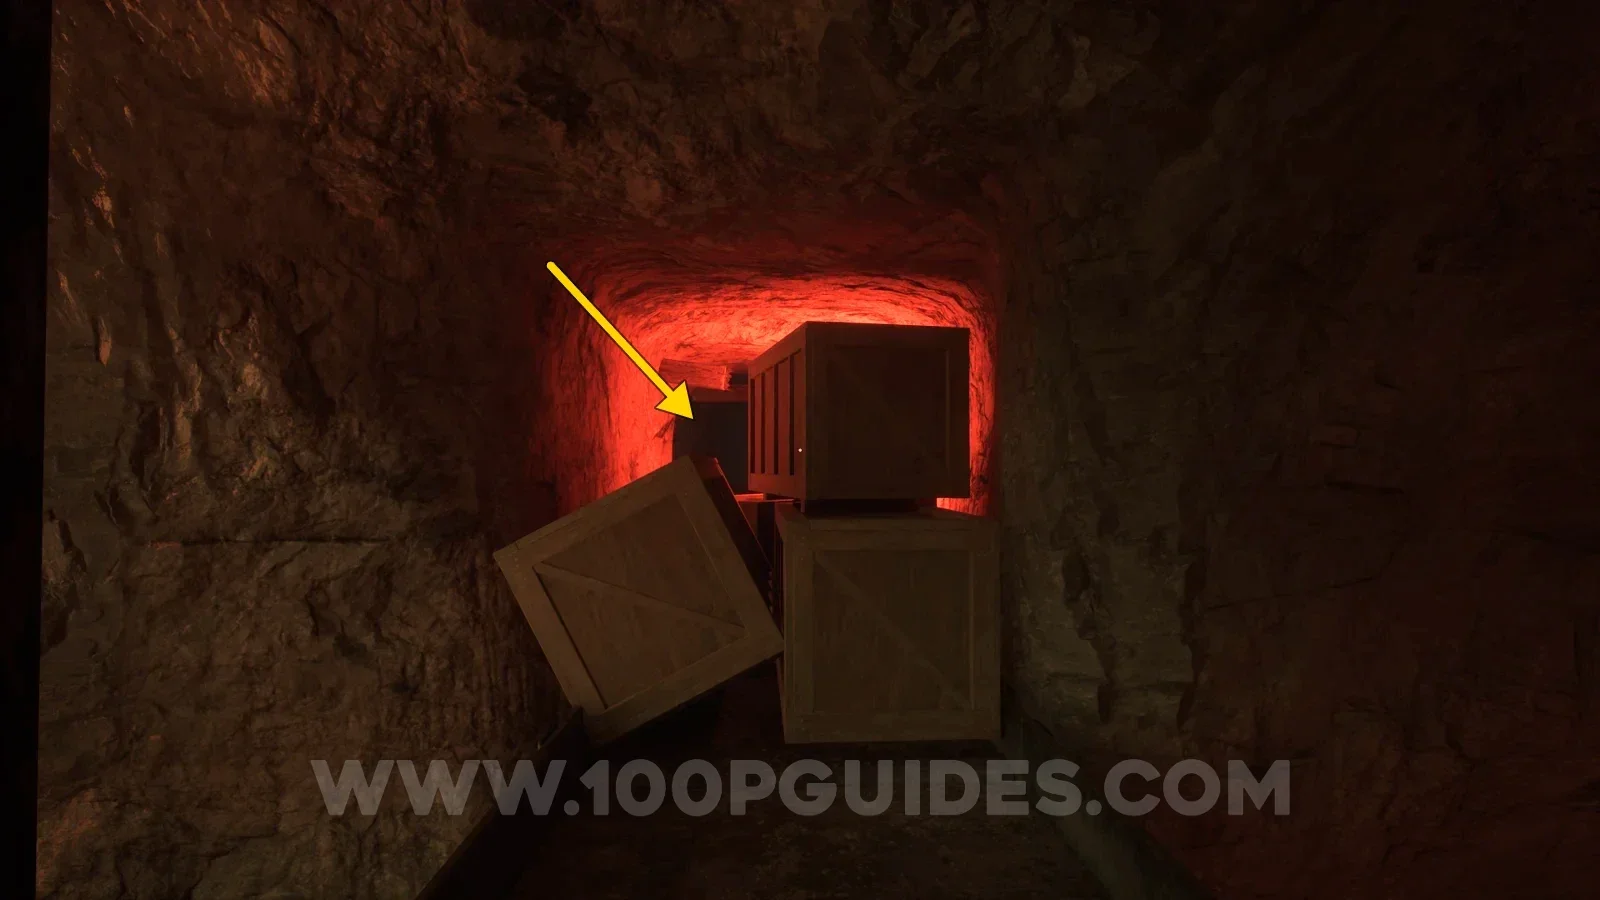
| 06 | Box-obstructed side cave off the hanging-metal walkway. | View 06 ↗ |
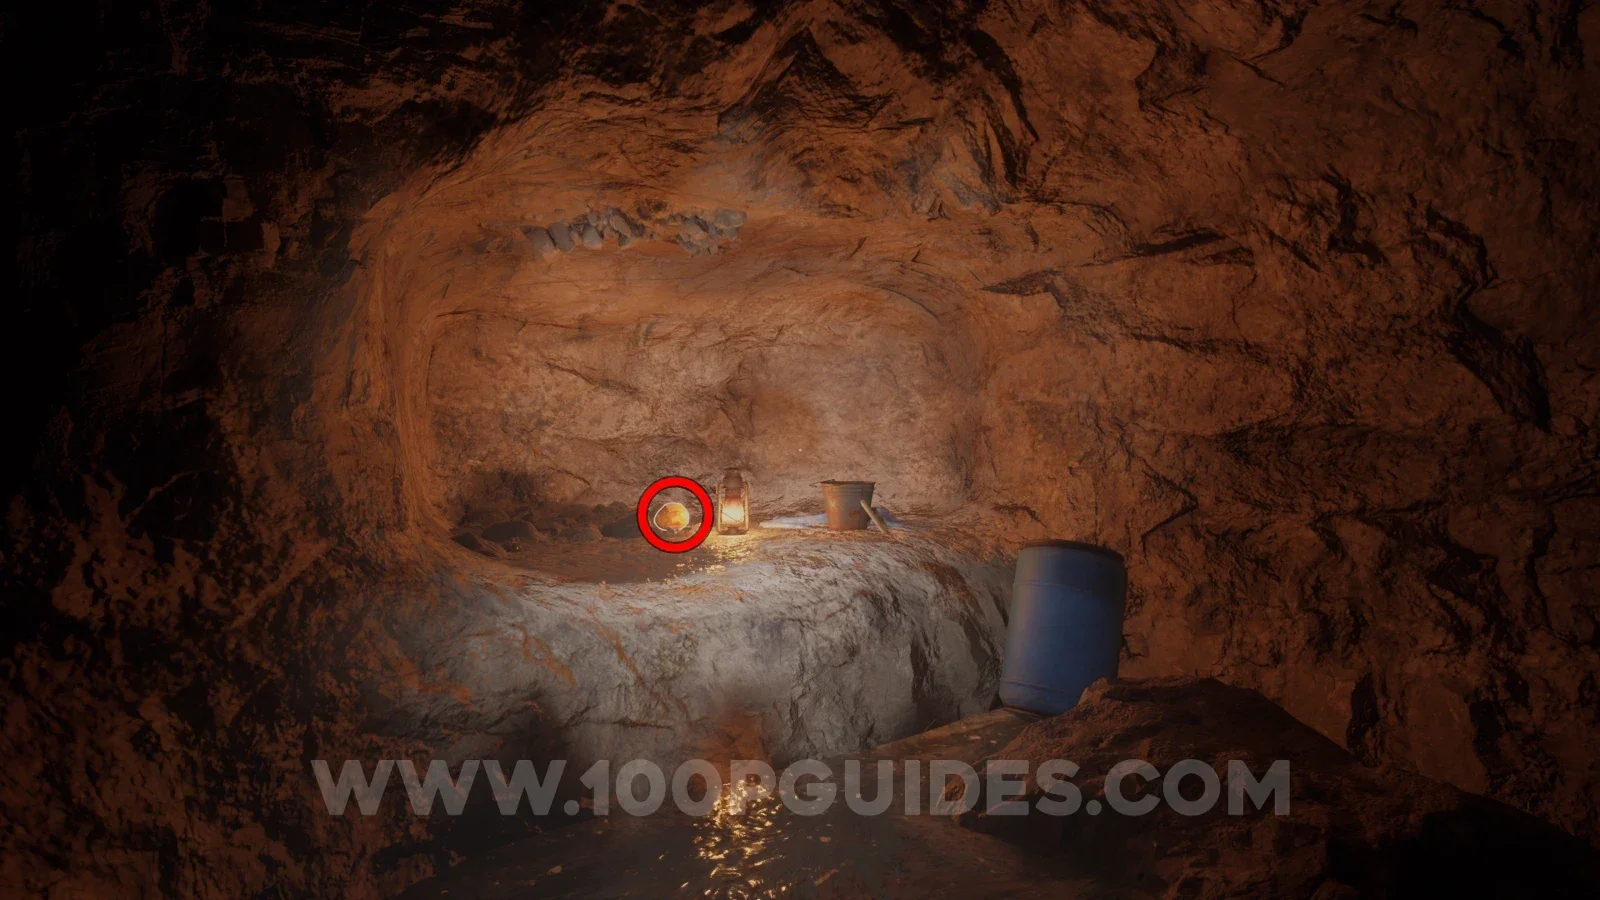
| 07 | Lift-shaft side cave, beyond angled barrel platform. | View 07 ↗ |
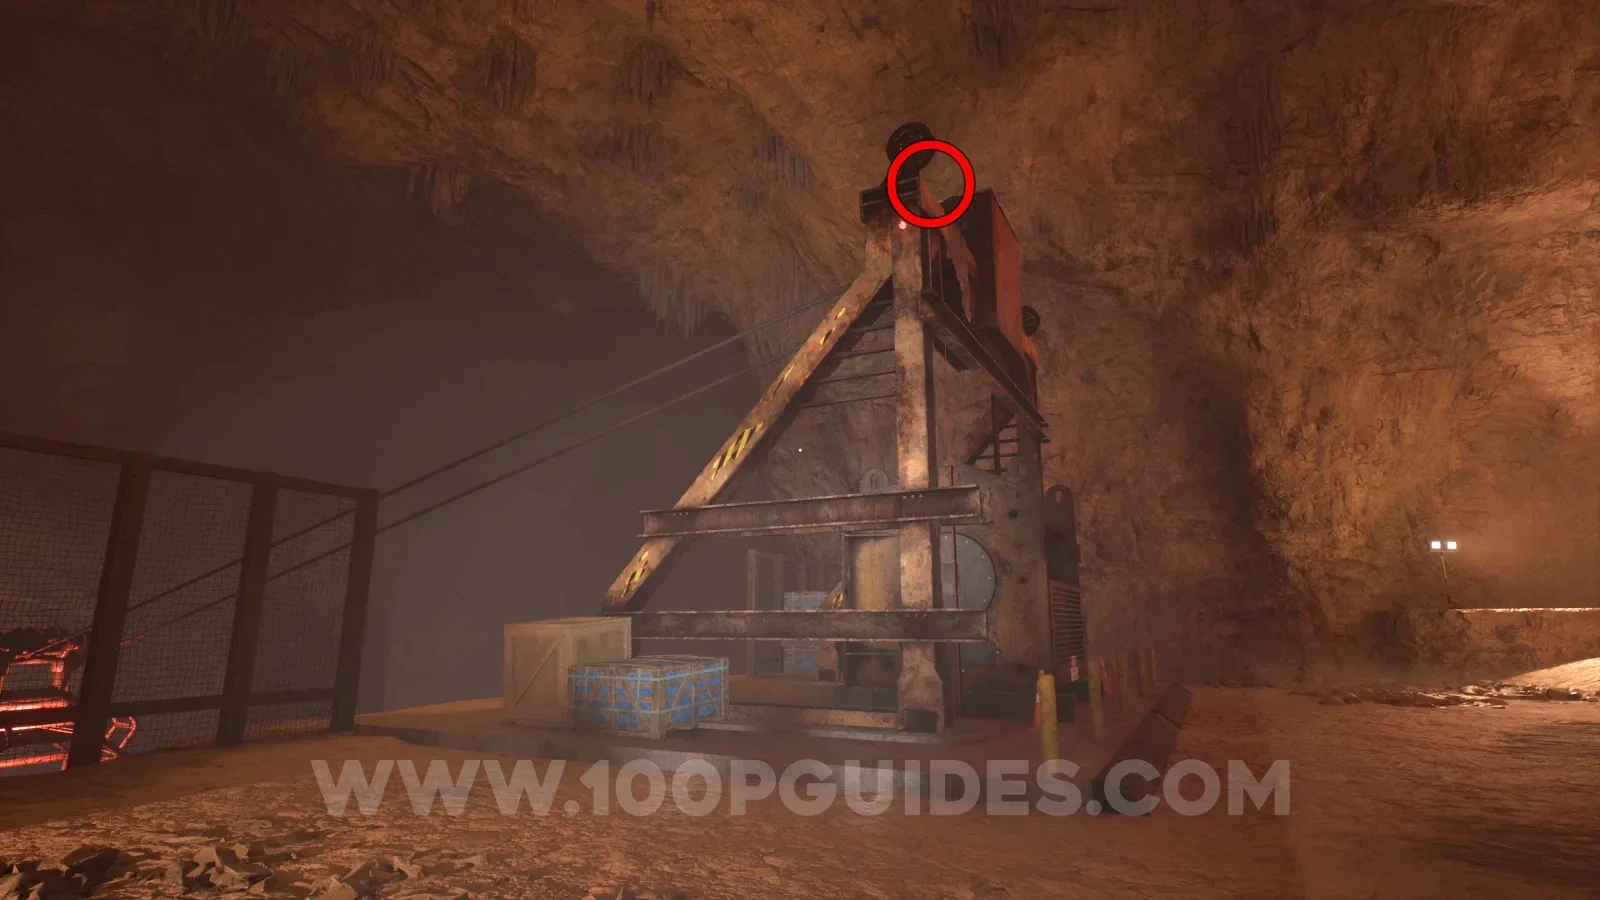
| 08 | Gondola cable support; climb the adjacent wooden box. | View 08 ↗ |
Chapter 3: amber 09–12
Use the Chapter 3 route for the power and platform puzzles.
| Amber | Landmark | Source image |
|---|---|---|
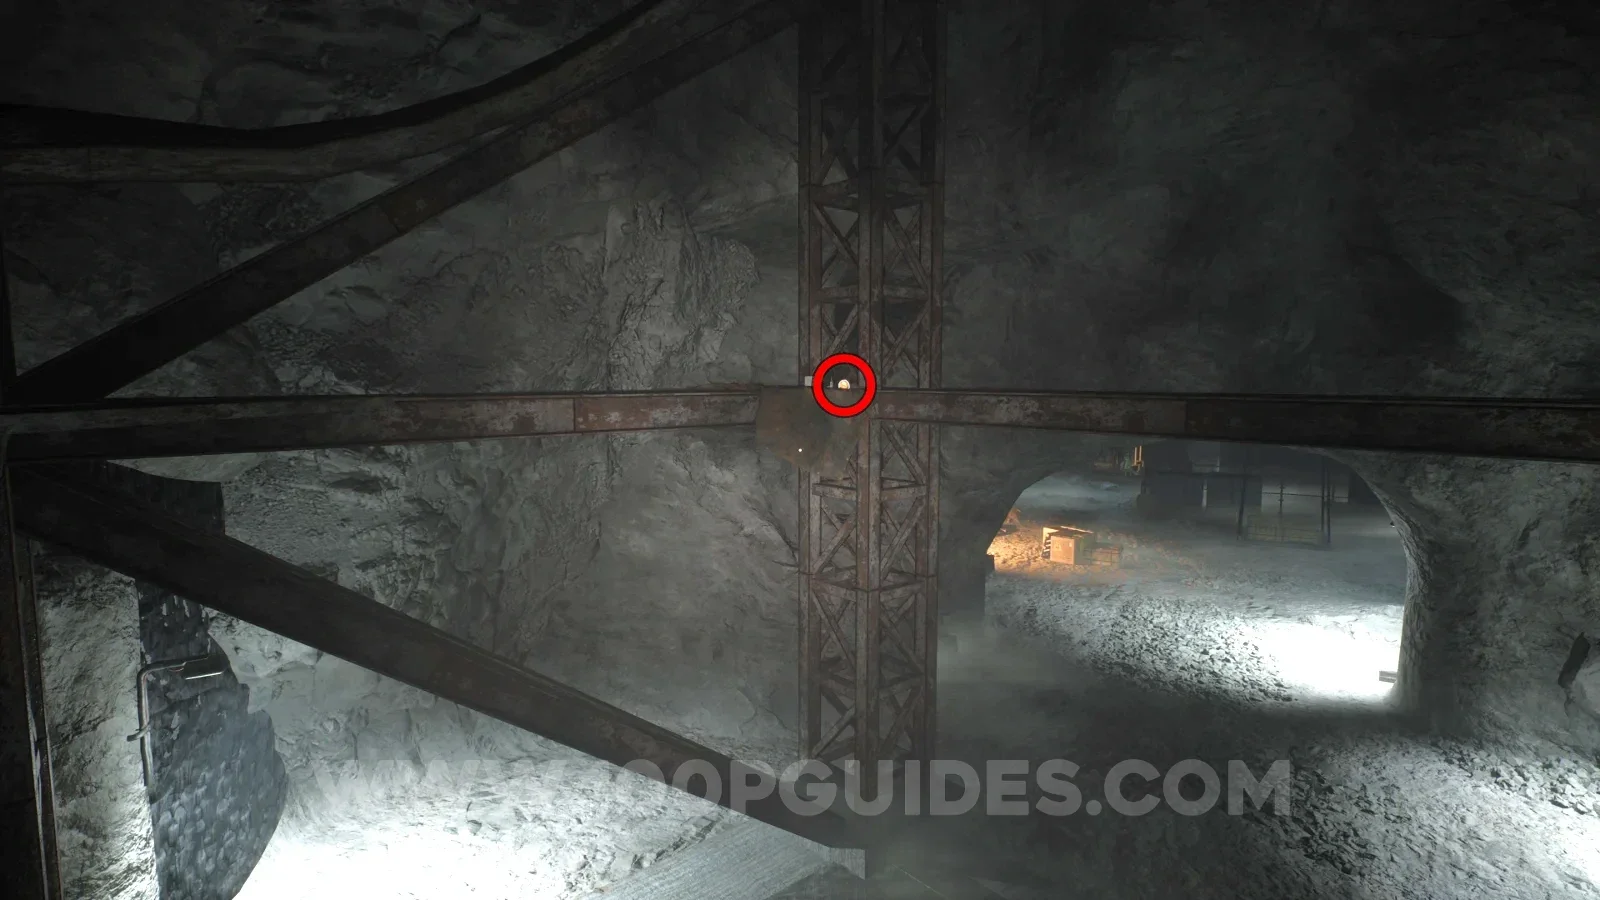
| 09 | Steelwork beside the tall Quota-tape building. | View 09 ↗ |
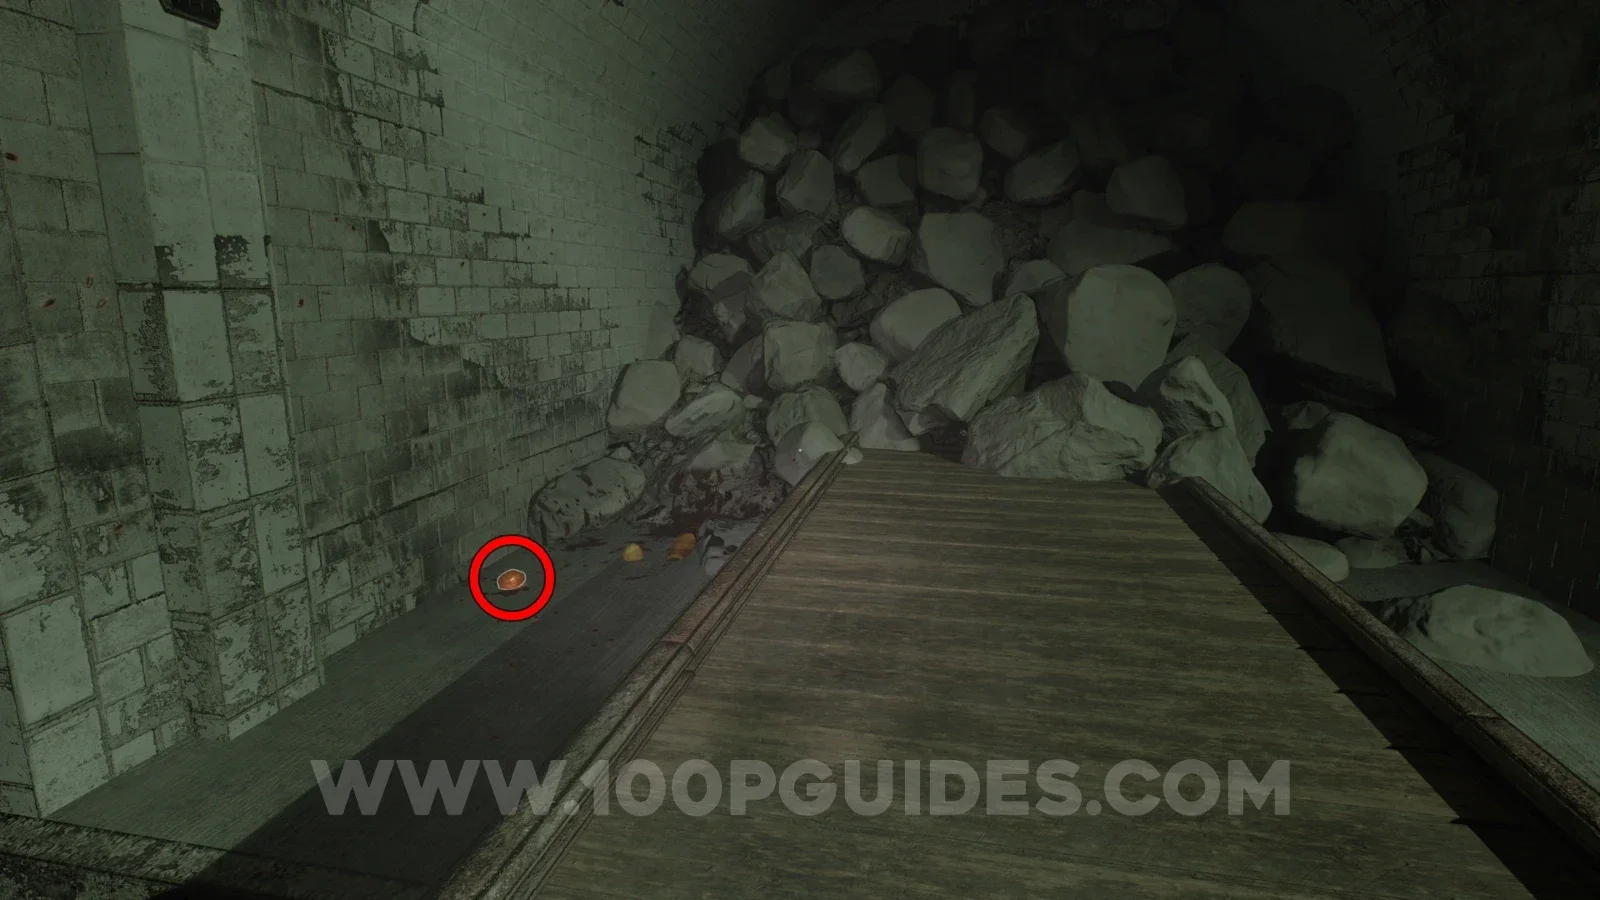
| 10 | Left tunnel beyond the last train track. | View 10 ↗ |
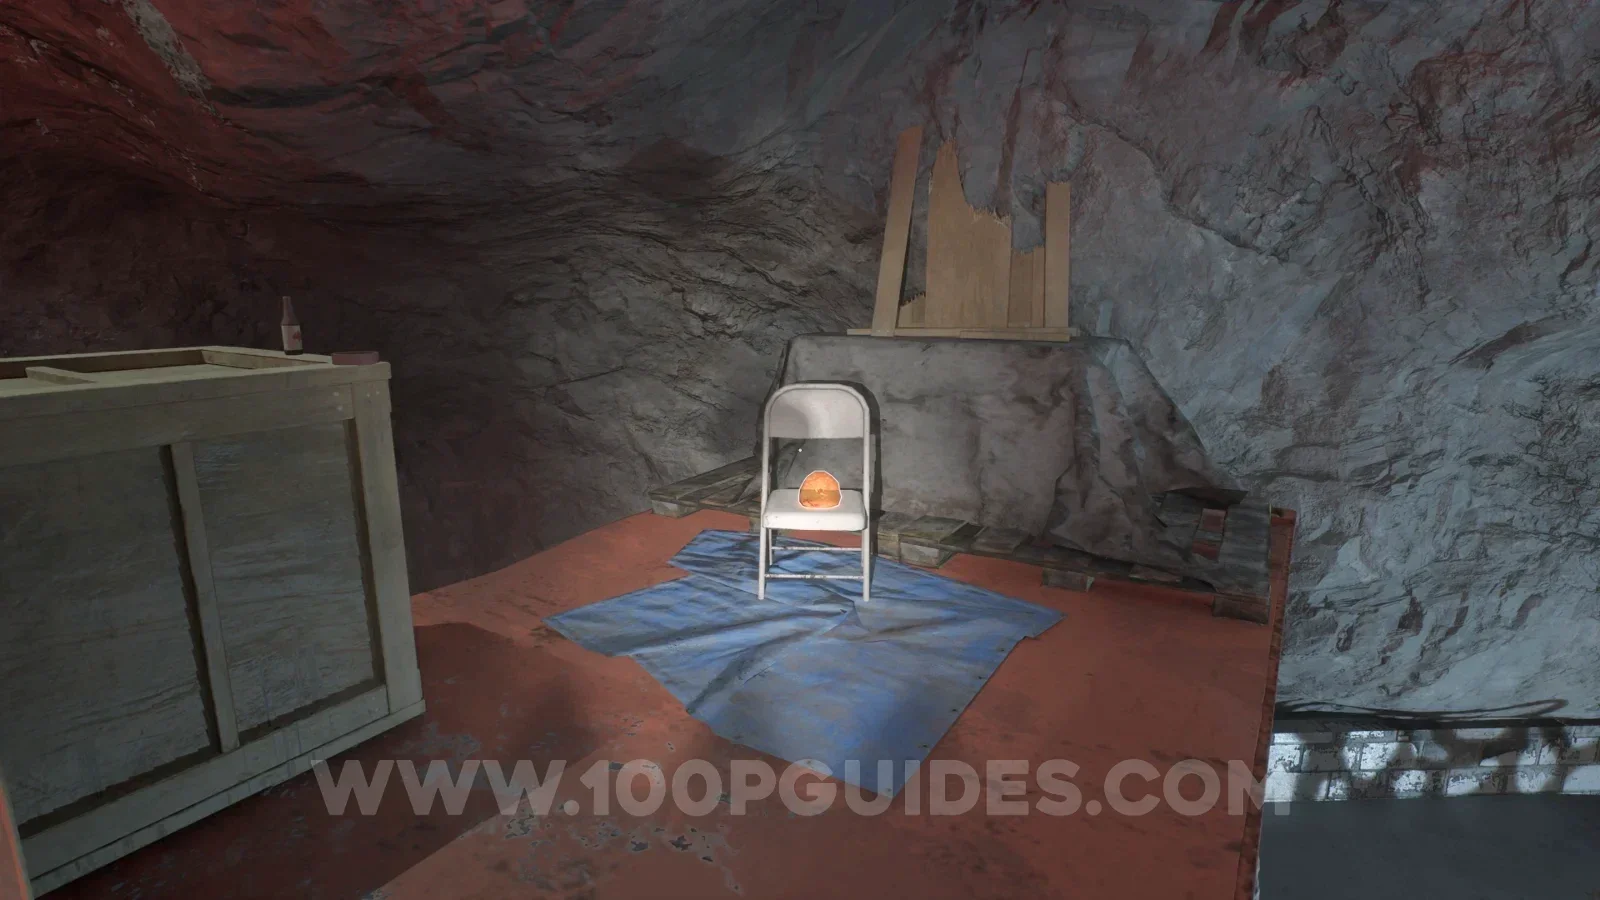
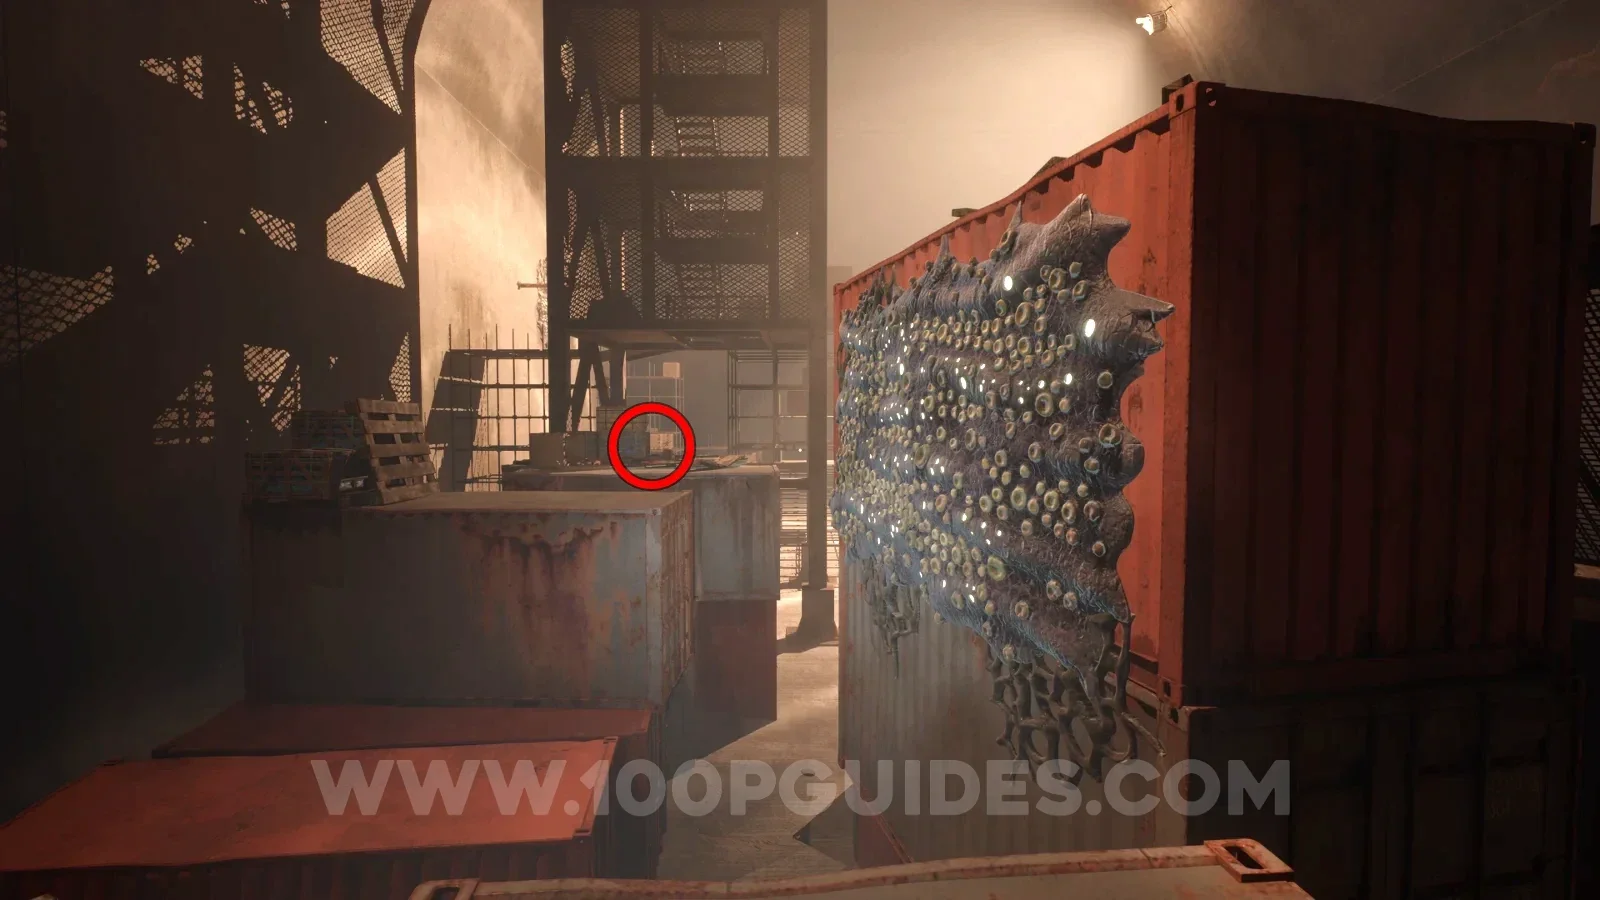
| 11 | Red-container roof; turn back from hanging panel. | View 11 ↗ |
| 12 | Container beyond wallrun beside ruined Worksite Attack building. | View 12 ↗ |
Chapter 4: amber 13–16
These locations contain final-chapter environment spoilers. Follow the Chapter 4 route for the camp and Cavern B objectives.
| Amber | Landmark | Source image |
|---|---|---|
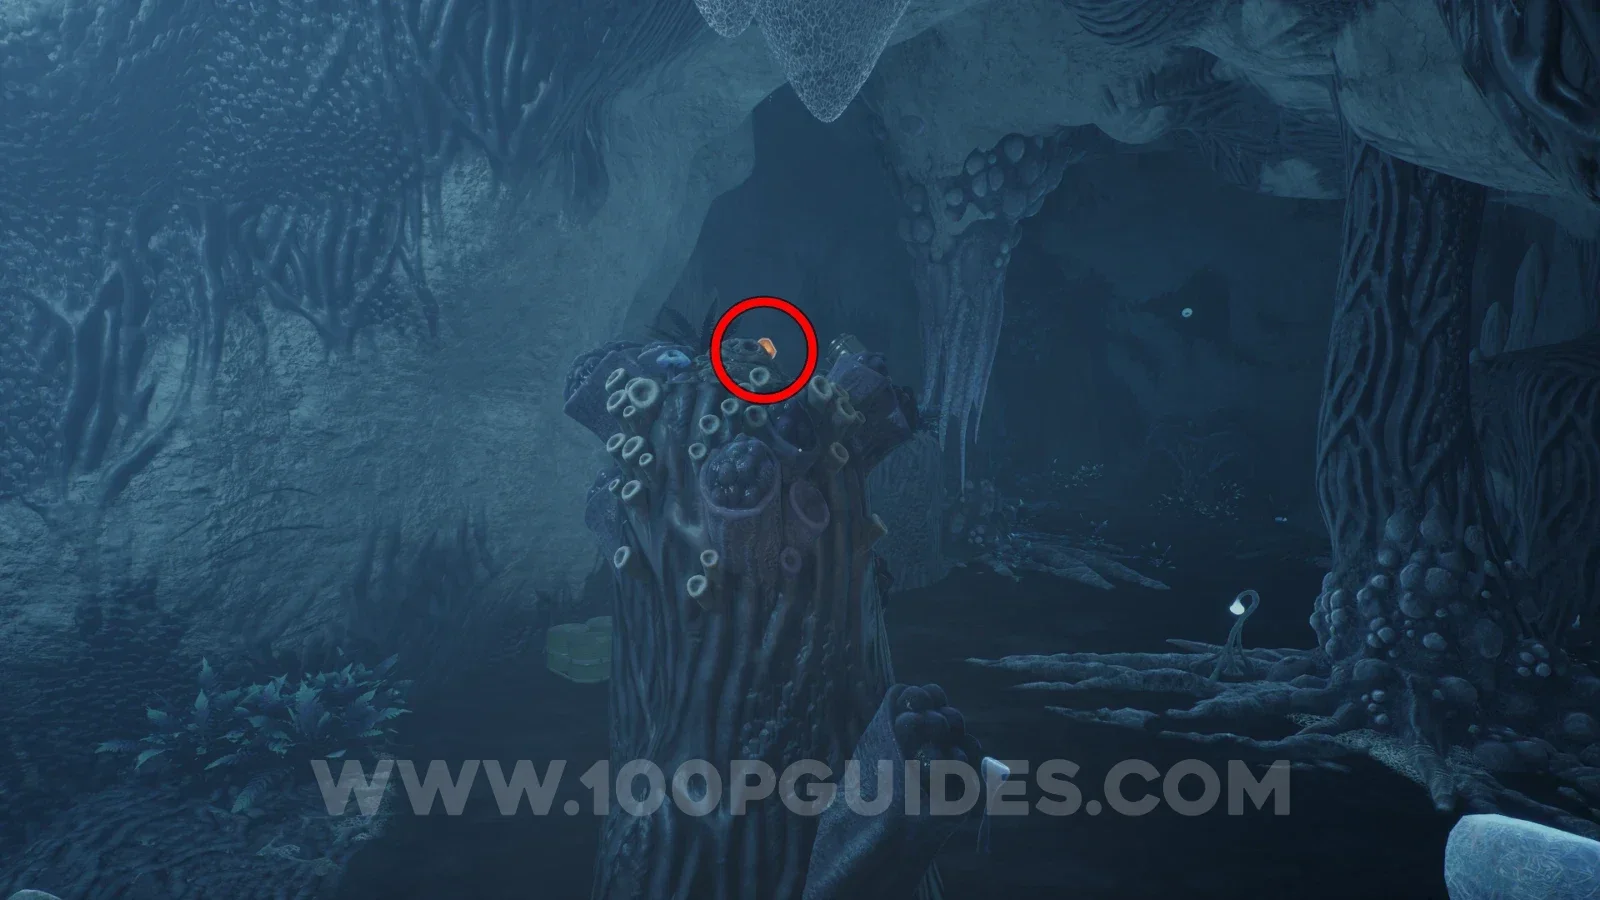
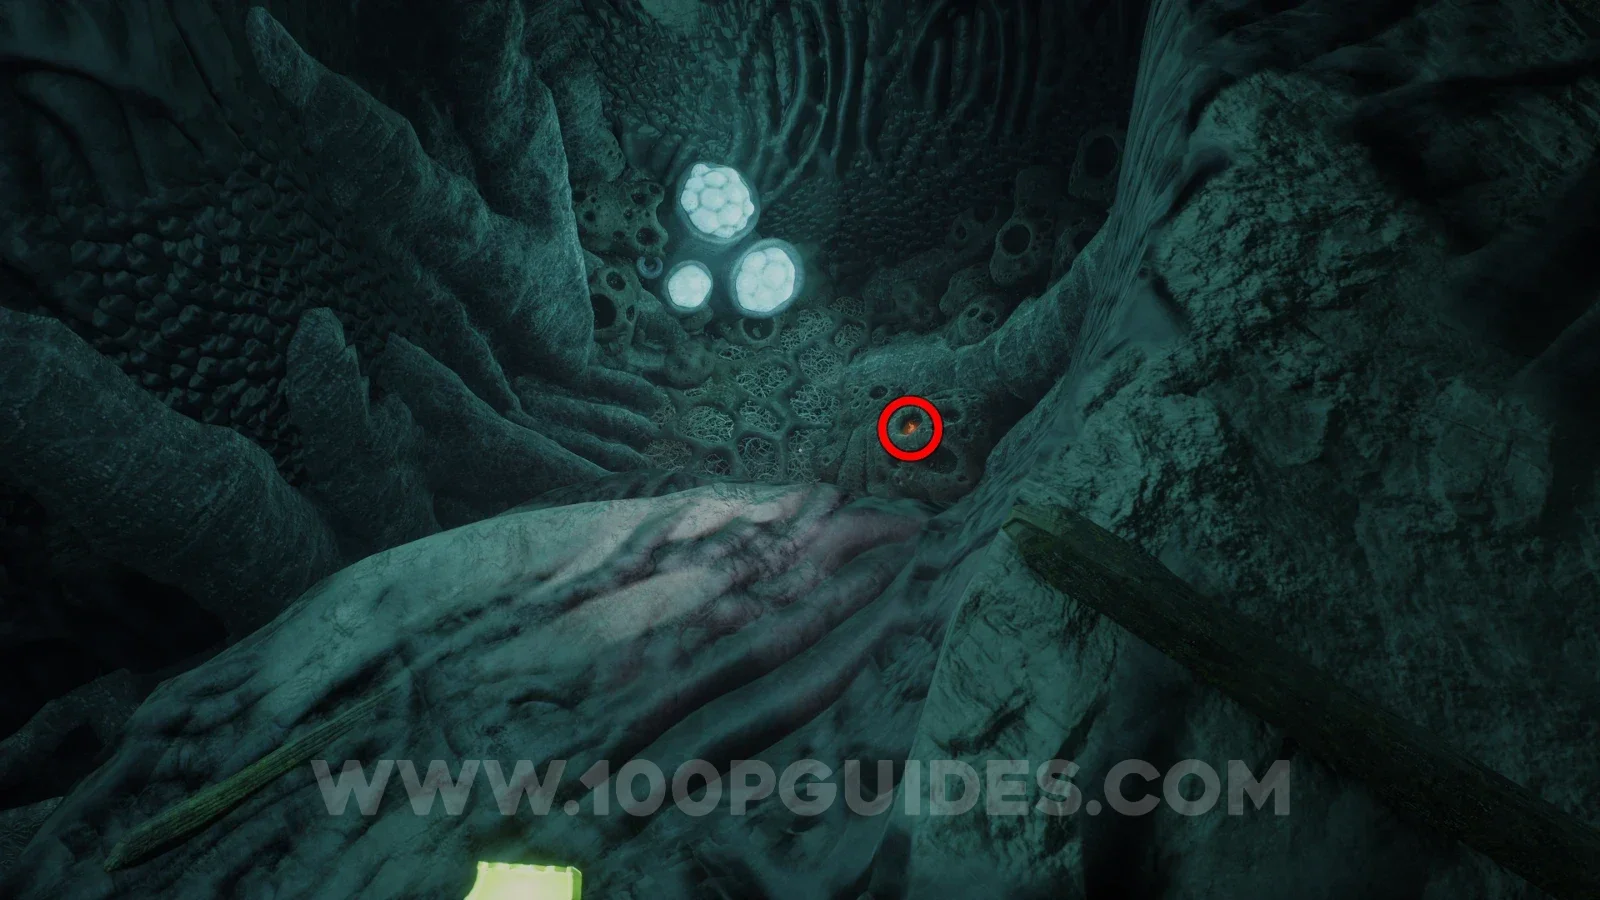
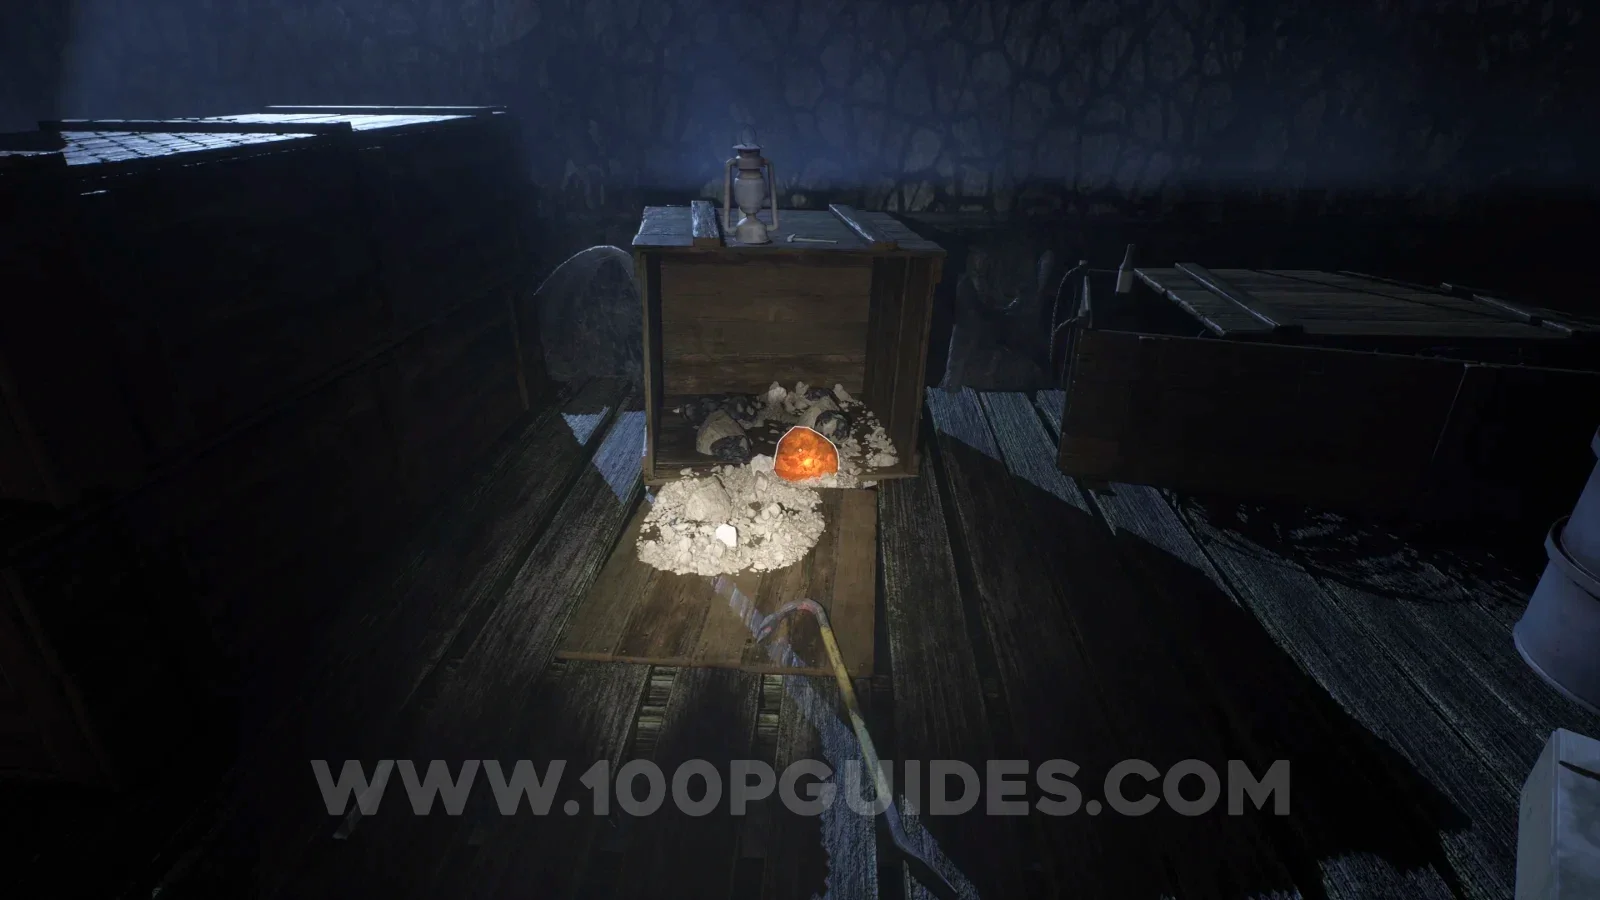
| 13 | Opening path’s pillar; jump from left platform. | View 13 ↗ |
| 14 | Hole left after two yellow swing poles. | View 14 ↗ |
| 15 | Behind Uh oh tent; wallrun, pole, right platform. | View 15 ↗ |
| 16 | Cavern B: right before narrow glowing-plant passage. | View 16 ↗ |
Stuffed animals: pickup to pedestal
| Chapter | Pickup | Delivery landmark |
|---|---|---|
| 1 | Tent above box office | Gift-shop basement fuse area |
| 2 | Opening boxes, right | Water cavern after gondola-key gate |
| 3 | Opening floating planks | Left of late sloping building |
| 4 | Ground after opening chase | Left after return-route dynamite door |
A pickup is not a delivery. Place the carried toy on its pedestal for progress toward You Go Here. Community reports say dying loses it. Plan a delivery after you know the route, and check that Jordan still has the toy after any death before continuing a long attempt. The original illustrated route includes both ends of each delivery.
Audio tapes and notes: checking a missing entry
Start with the 23 reviewed audio recording stops and 28 reviewed note stops, organized by chapter. Record the exact missing title from your in-game collection menu and compare both its name and its surroundings with the source image.
The audio guide leaves one route-only report uncounted. The note guide is a reviewed subset of the source’s 90 documented entries; the source itself still acknowledges seven missing locations. Neither page claims a guaranteed full-collection route.
For a correction, send the item title, chapter, platform and build to contact@terriblelizardswiki.com. A screenshot showing both the object and a recognizable surrounding landmark is especially useful.
Amber rewards in New Game Plus
The developer Q&A links amber to replay modifiers unlocked every fourth sample. Read the New Game Plus guide for the four announced options and the distinction between campaign completion and demo completion.
Cleanup without confusing your goals
- Finish the story route so you recognize the four chapters.
- Compare your collection entries with the referenced locations and use Level Select for missing-item runs, as described in the community trophy guide.
- Make toy deliveries as separate attempts if collection detours are causing deaths.
- Check the achievement list for talk boxes, globe and rock interactions; those need their own actions.
Level Select advice is community-reported. This site does not guarantee how every platform or patched save will retain progress. If an item or interaction fails after its objective is complete, consult patch guidance before assuming it is another collectible location.