Coverage and how to use this list
23 recording locations are covered below, out of a reported target of 24. Use the chapter links to reach each area and the original location images to recognize the pickup spot. One route-only report remains under review, so this is not a complete Audiophile route.
Names follow the community source’s labels and have not all been checked against the in-game menu. Locations were compared with the linked 100% Guides screenshots; no independent playtest is claimed. These pages and images contain story spoilers.
| Chapter | Published stops |
|---|---|
| Chapter 1 | 4 |
| Chapter 2 | 5 |
| Chapter 3 | 7 |
| Chapter 4 | 7 |
Chapter 1
Chapter 1 walkthrough · Follow the story route between these landmarks.
| Recording | Where to look |
|---|---|
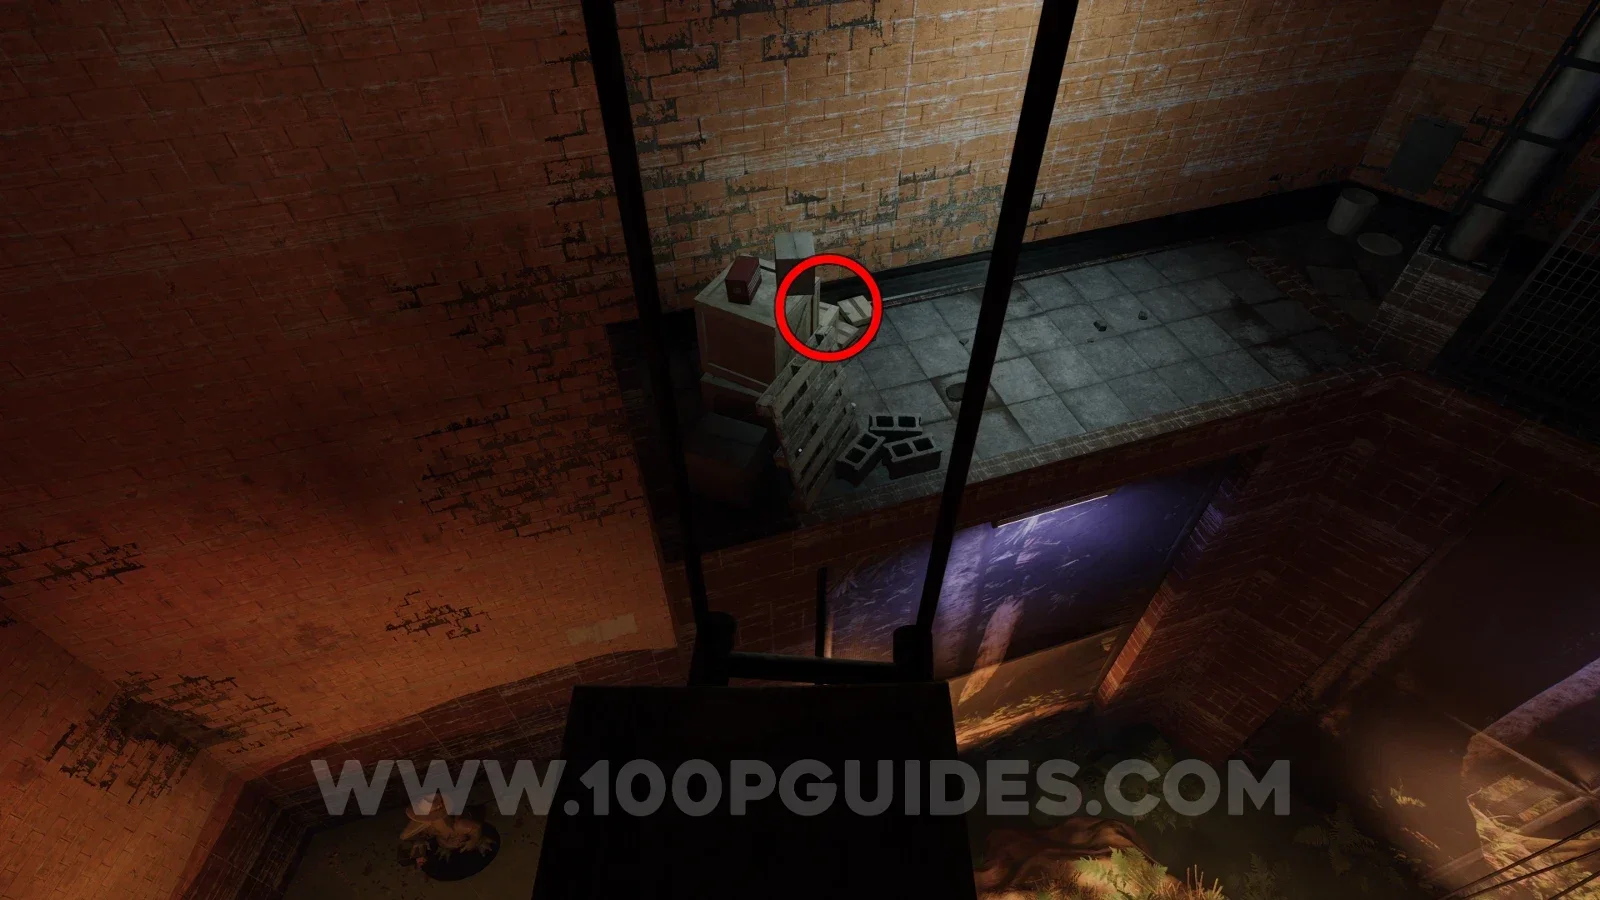
| Cheryl: Onboarding | Upper exhibition route: look down toward the crate beside the upright pallet and loose concrete blocks. Descend to that crate. Location image ↗ |
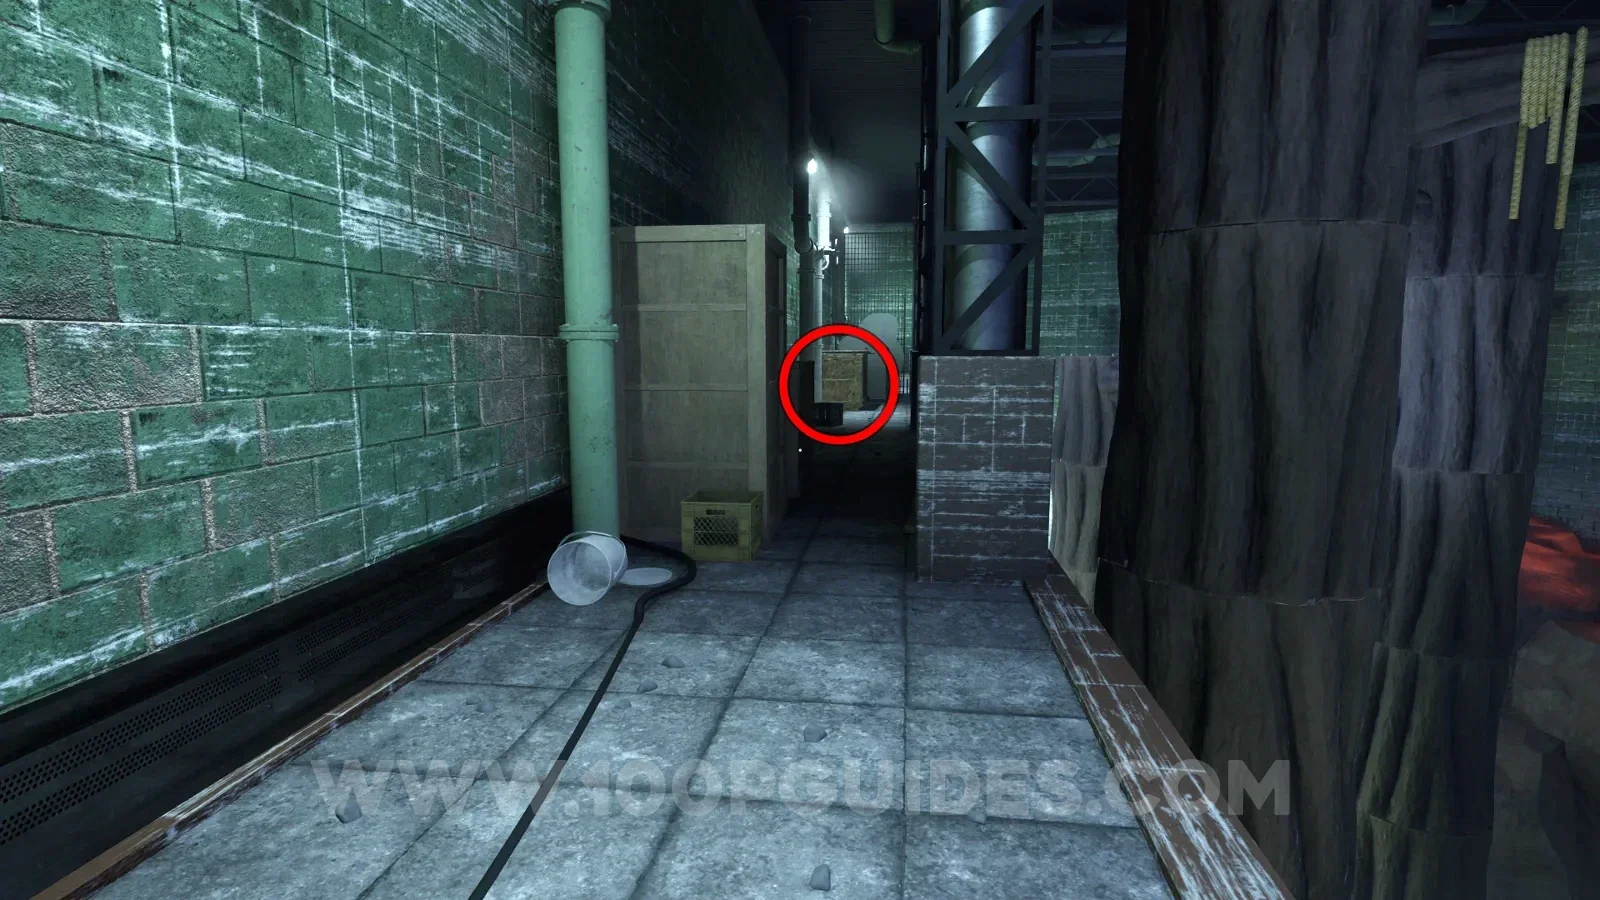
| Elena Coolidge: I’m Going to New York | Watering Hole upper service path: check the crate beyond the vertical pipe and utility cabinet, beside the steel support. Location image ↗ |
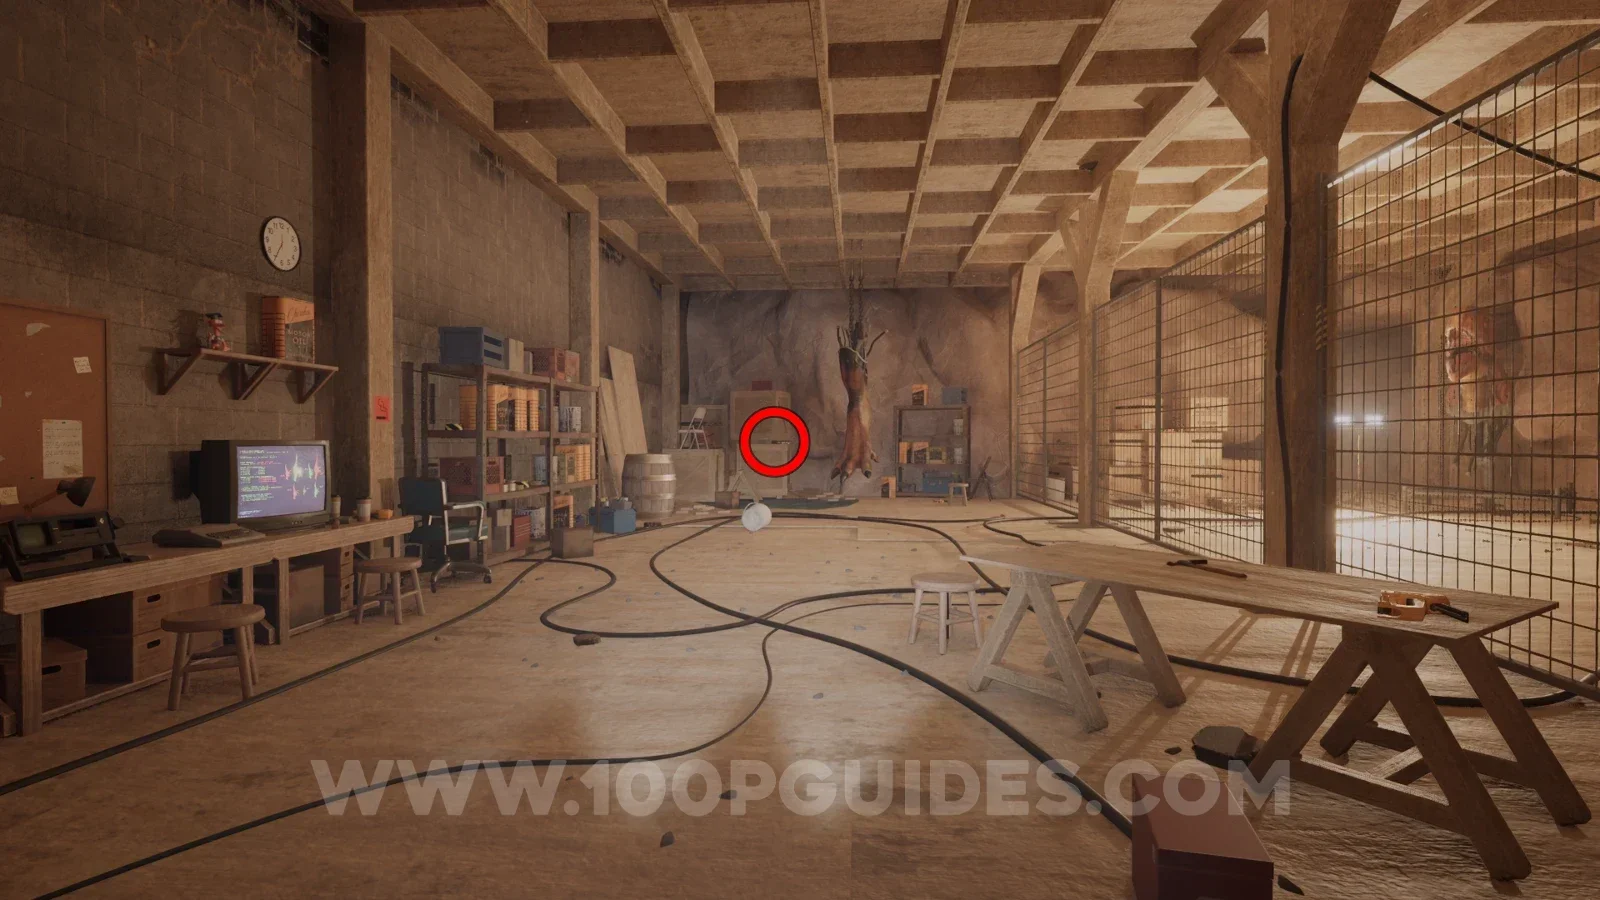
| Dalton Coolidge: The New Site | Exhibition workshop: search the far end near the upright crate and hanging dinosaur prop, opposite the fenced display. Location image ↗ |
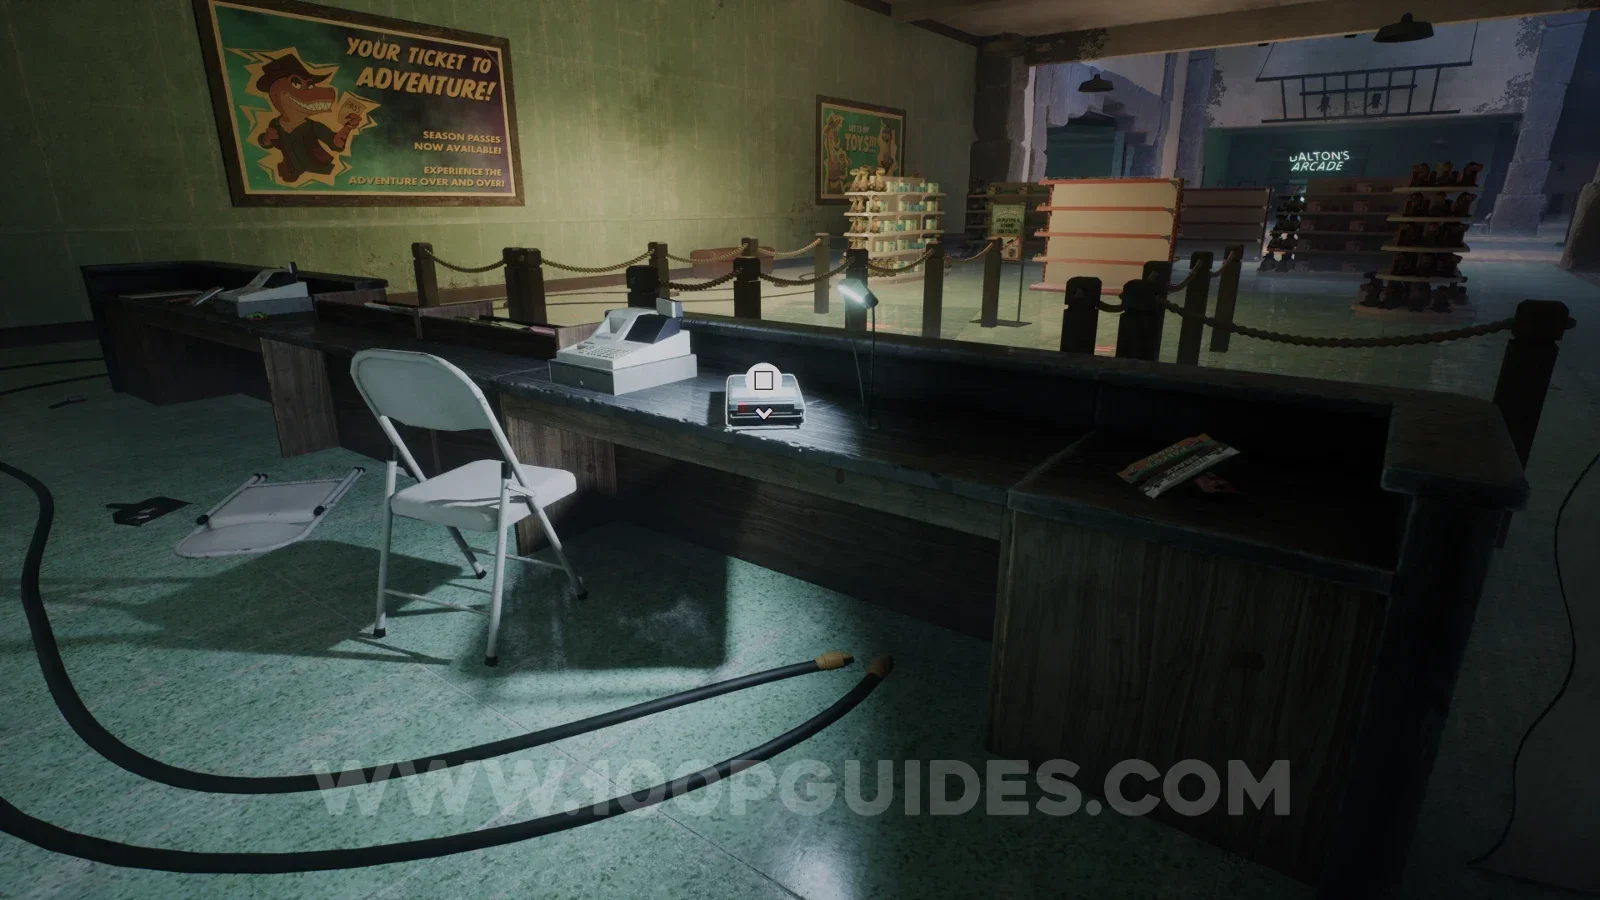
| Stella Banks: Instructions for Willy | Gift shop: go behind the counter facing Dalton’s Arcade. Check beside the cash register and desk lamp. Location image ↗ |
Chapter 2
Chapter 2 walkthrough · Follow the story route between these landmarks.
| Recording | Where to look |
|---|---|
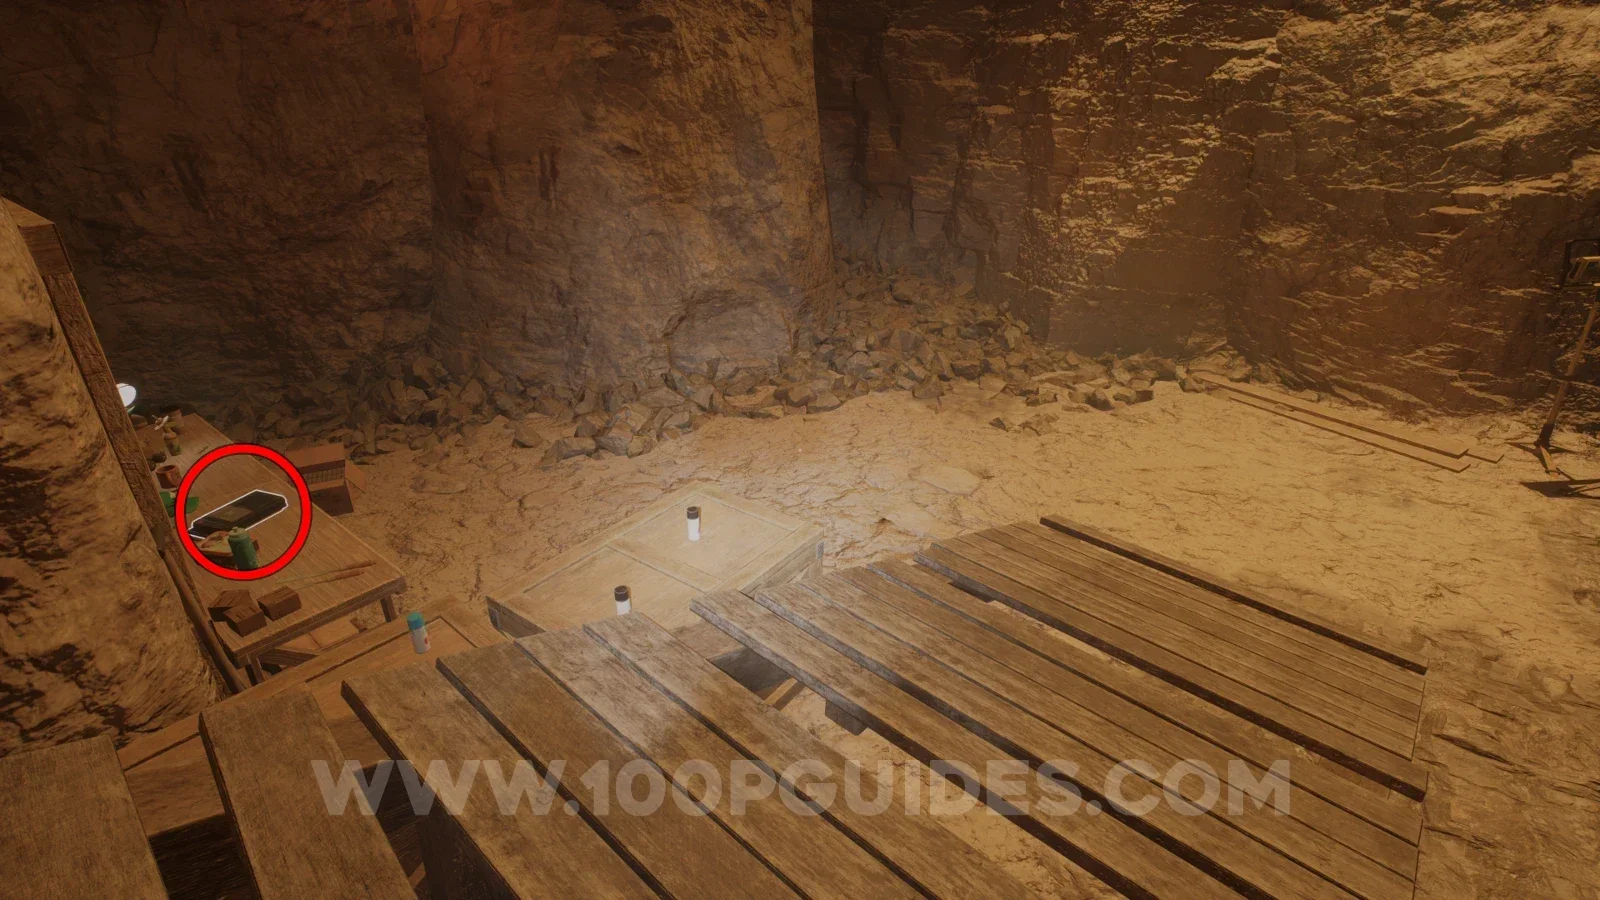
| Dalton Coolidge: The “Propaganda” | Initial digsite side cavern: at the wooden ramp’s lower end, check the workbench against the rock wall. Location image ↗ |
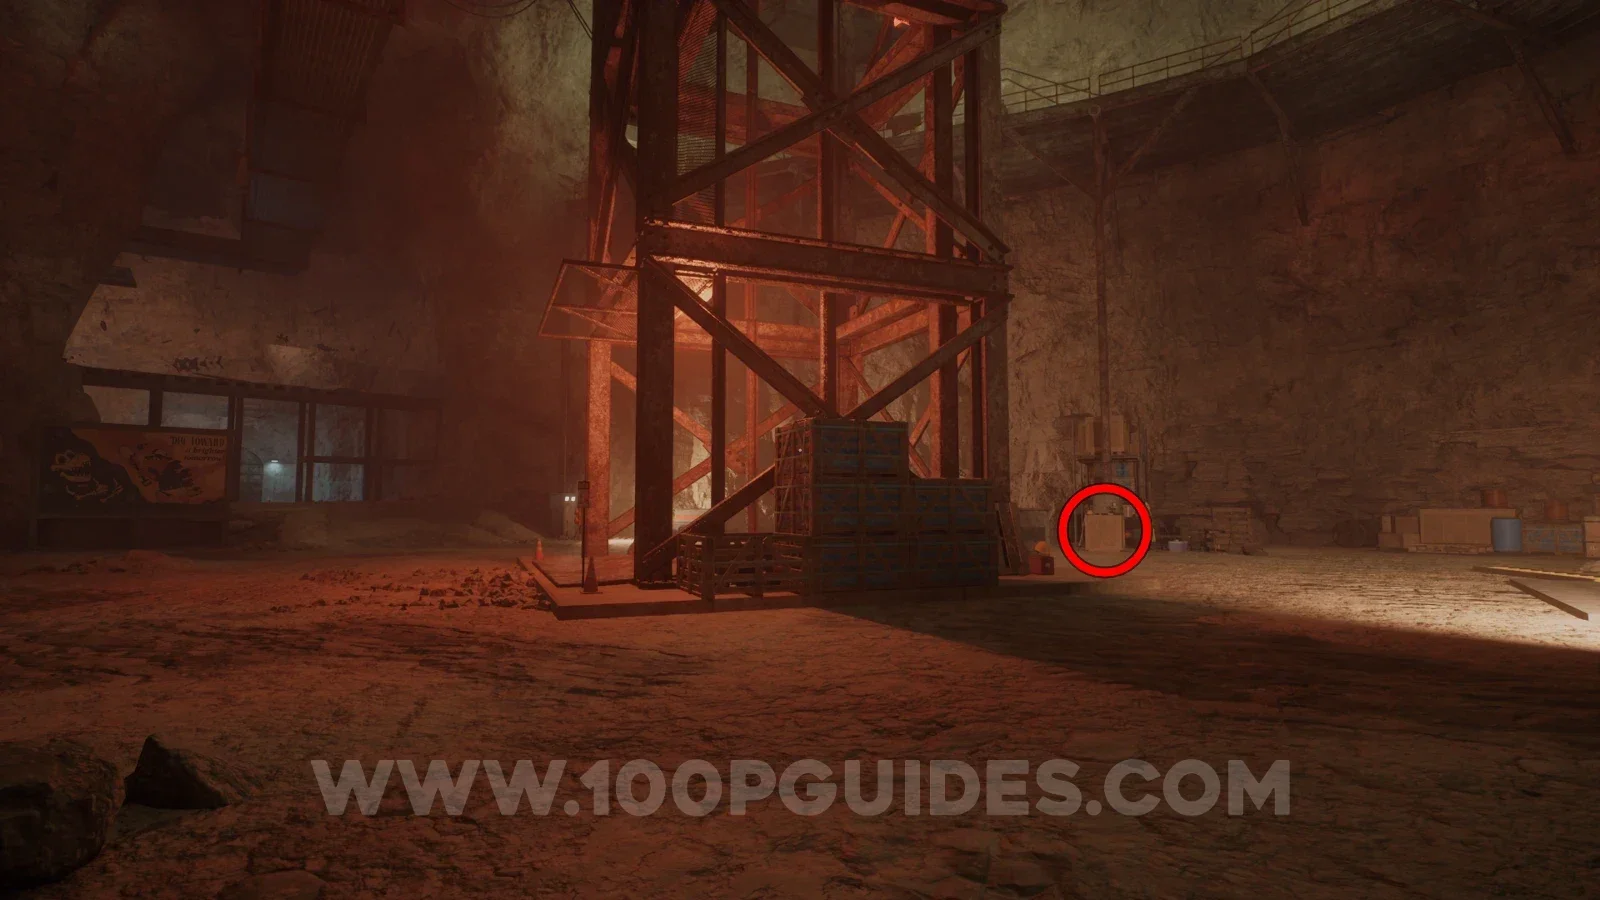
| DES Site Managers: Inner Circle Discussion | Empty lift-shaft chamber: look beside the stacked crates at the base of the tall steel shaft frame. Location image ↗ |
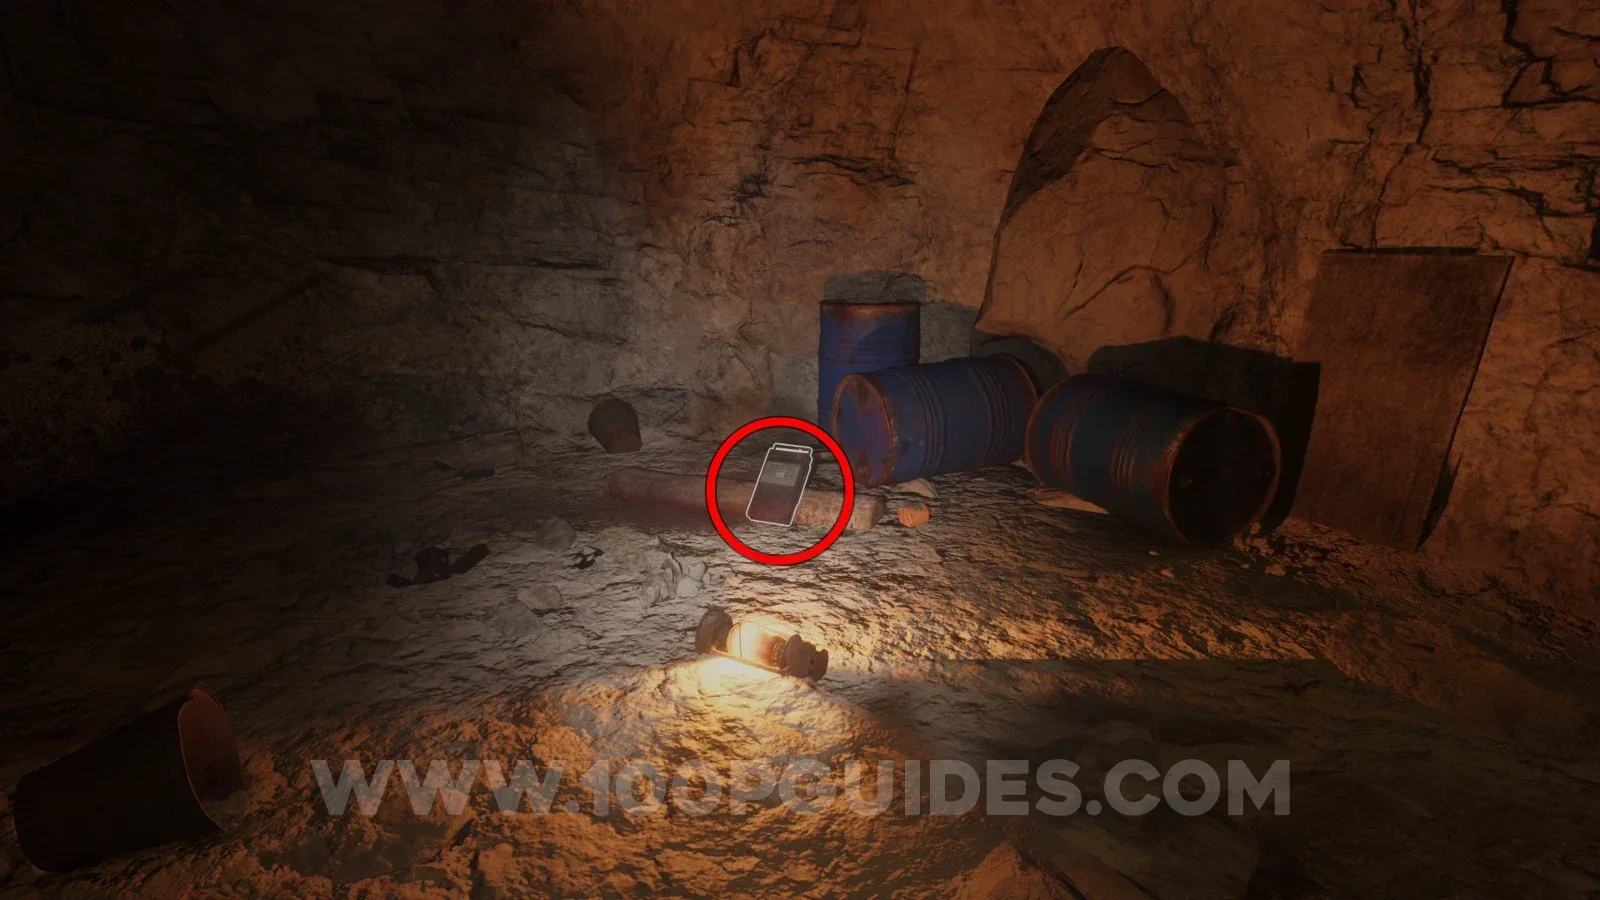
| Crewmen: Campfire Fun | Campfire side room: examine the ground beside the blue barrels and fallen light. The source reaches it through the opened door by the Paleo Pal. Location image ↗ |
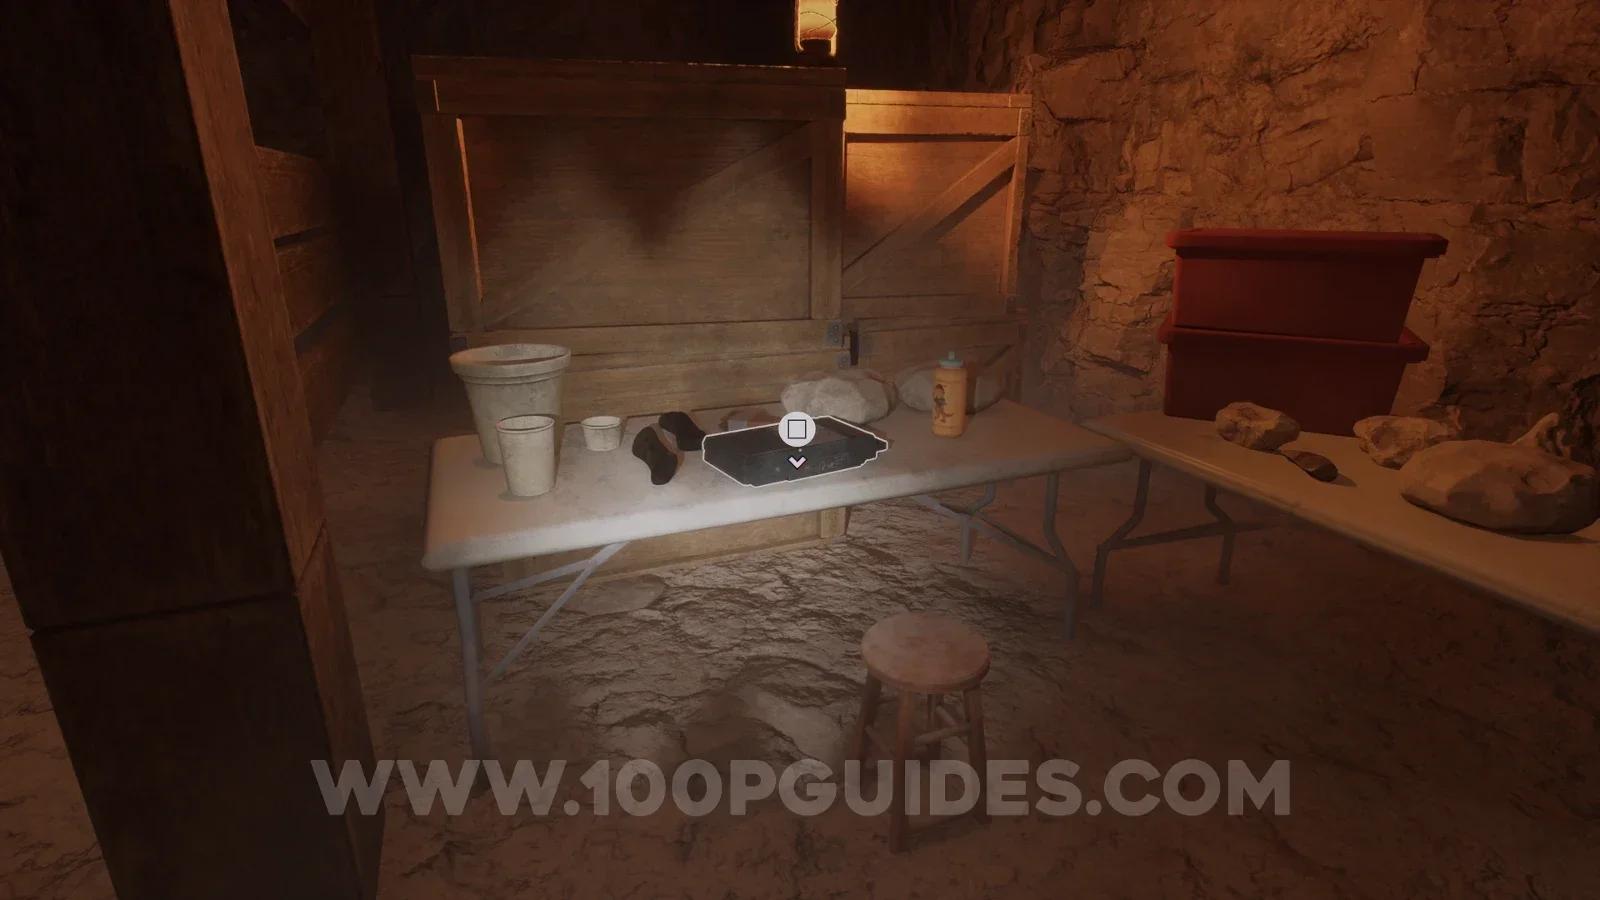
| Dalton Coolidge: Selling the Fossils | Bottom of the lift shaft: enter the wooden work area. Check the folding table with cups and gloves beside the rock samples. Location image ↗ |
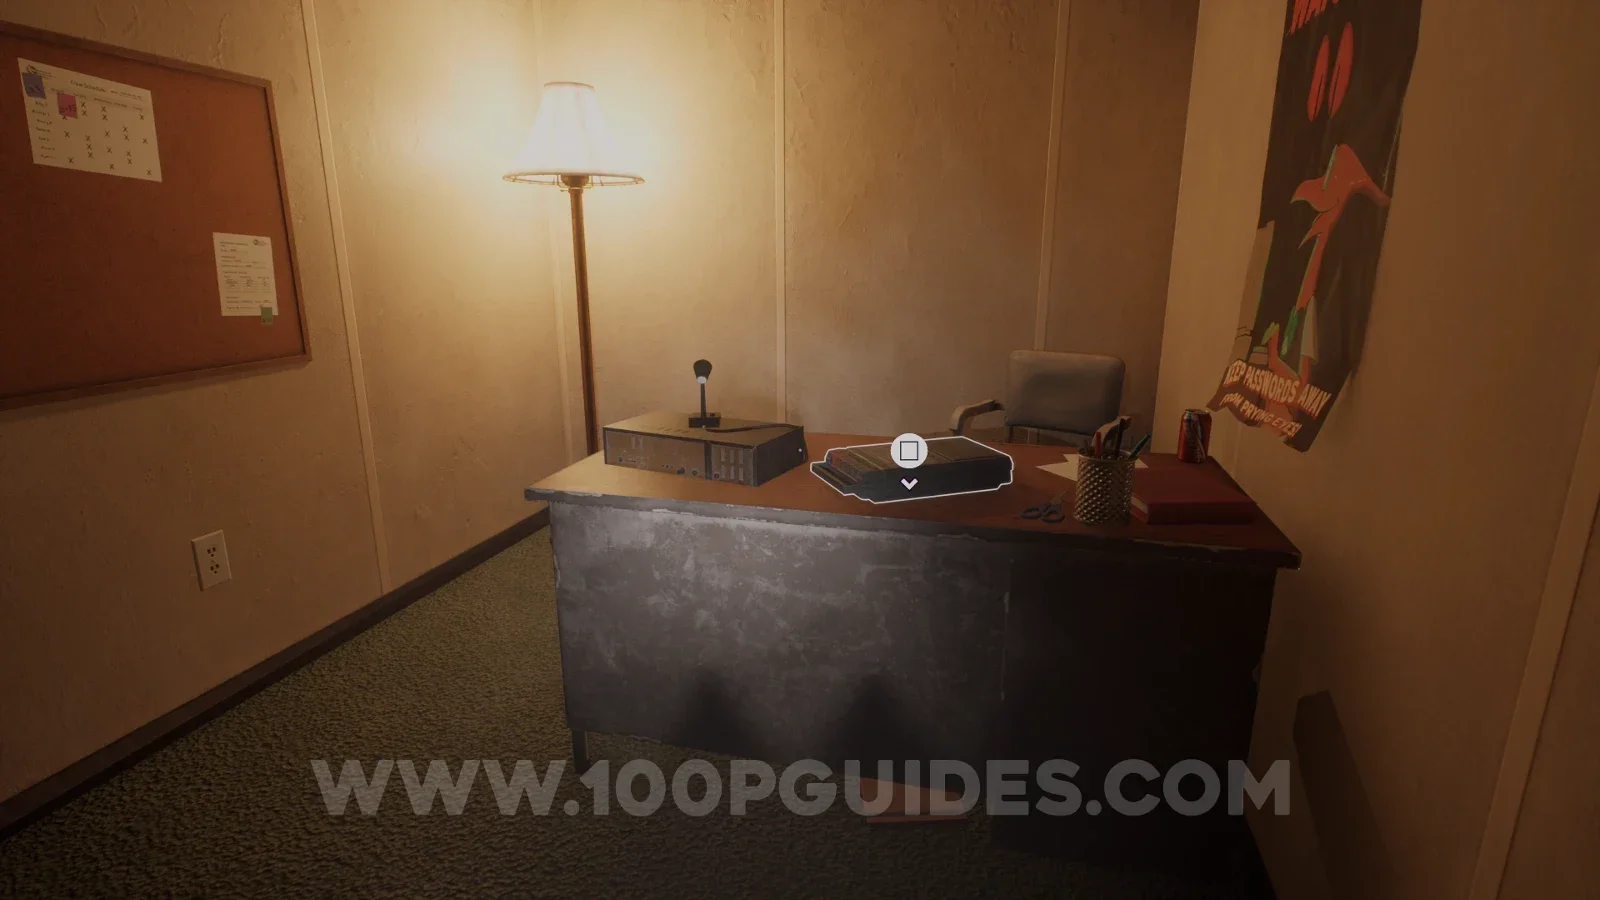
| The Broker: Take Warning | Conveyor-office building: enter its small rear room and inspect the desk beside the microphone and floor lamp. Location image ↗ |
Chapter 3
Chapter 3 walkthrough · Follow the story route between these landmarks.
| Recording | Where to look |
|---|---|
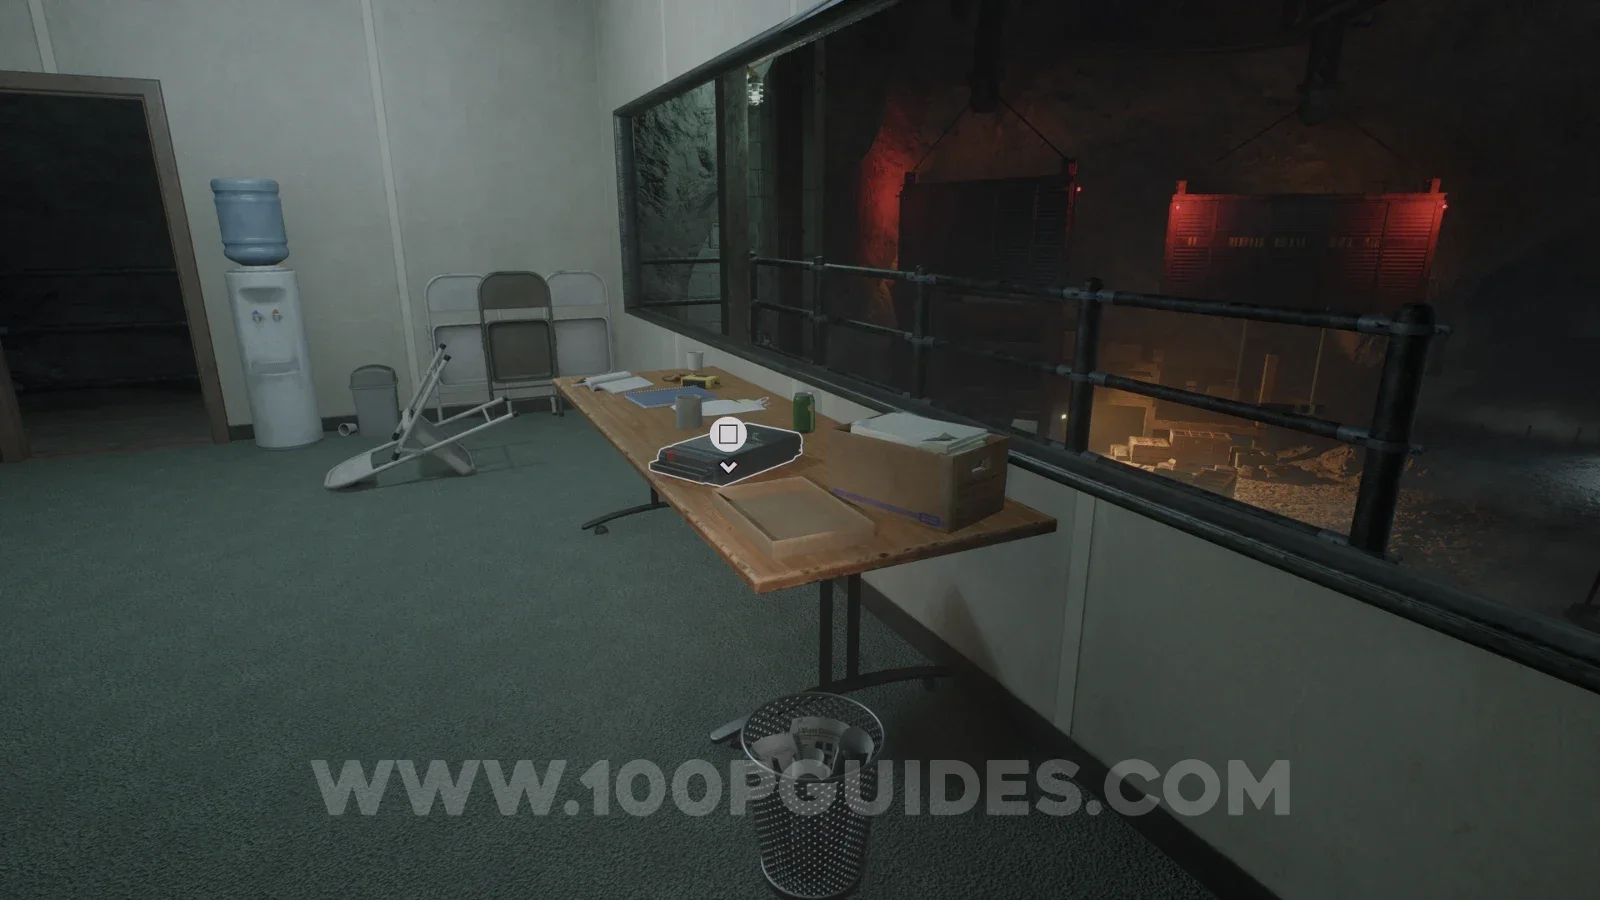
| Dalton Coolidge: The Quota | Early Chapter 3 tall building: check the table by the wide window overlooking the worksite; a water cooler stands alongside. Location image ↗ |
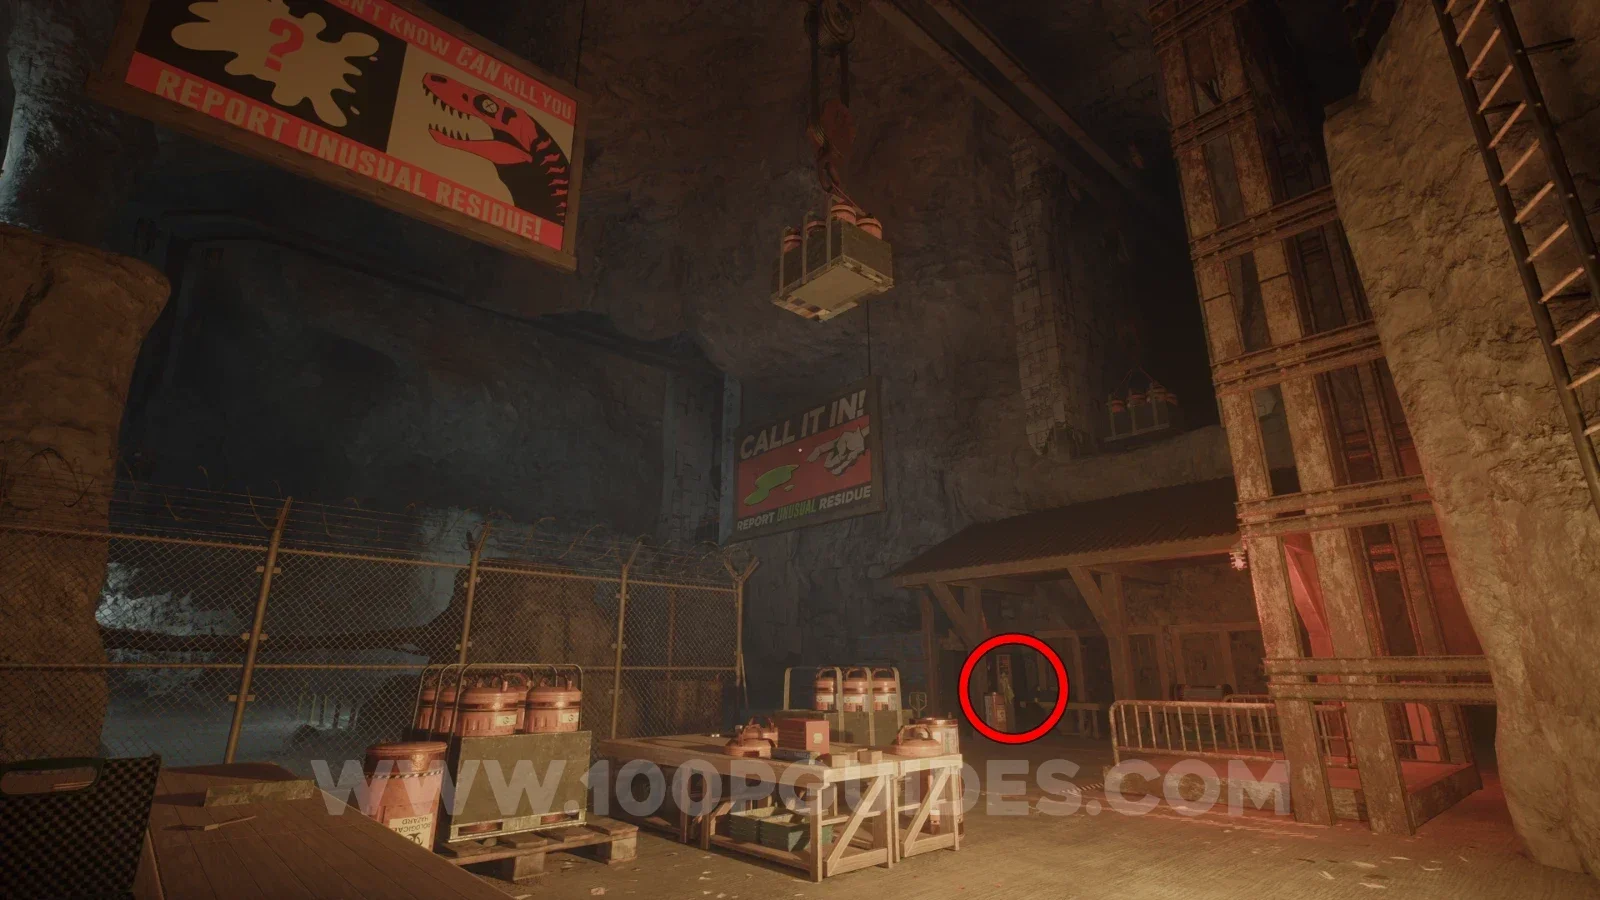
| Connor McDonald: Is This a Good Idea? | Goo-research work area: check the tall locker under the lean-to, below the Call It In sign and beside the supply tables. Location image ↗ |
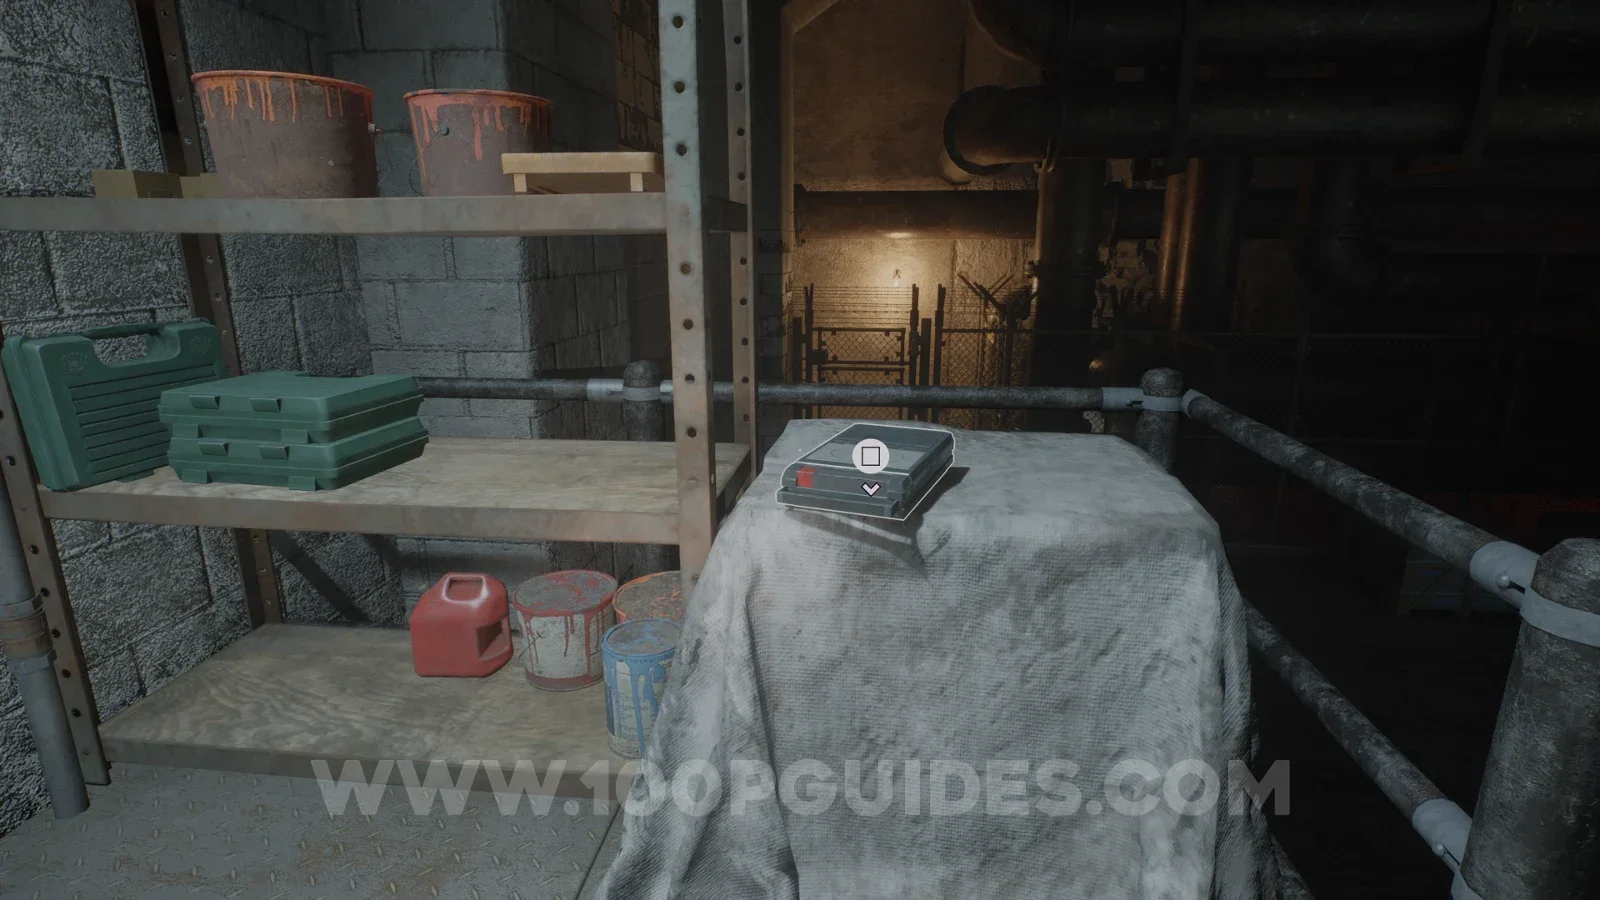
| Jacob Hewitt: I See It | Past the steam-pipe passage: climb the metal stairs. Look on the cloth-covered stack beside the shelves of paint cans and tool cases. Location image ↗ |
| James Cook: A Message Home | Adhesion research area: examine the worktables by the large sample rack. The recording sits near the red storage box and sample tray. Location image ↗ |
| Mark & Leonard: Where does the goo go? | Freight/key-office area: check the low wooden box beside the large crate and red wall light, opposite the minecart tunnel. Location image ↗ |
| Crewmen: Worksite Attack | Late worksite ruined building: look inside on the gray seat beside a yellow hard hat and the Beware of Infiltrators poster. Location image ↗ |
| Dalton Coolidge: The Motherlobe | Sloping wooden building: check the bench beside the generator, portable toilet and boxed supplies. See the title-spelling note below. Location image ↗ |
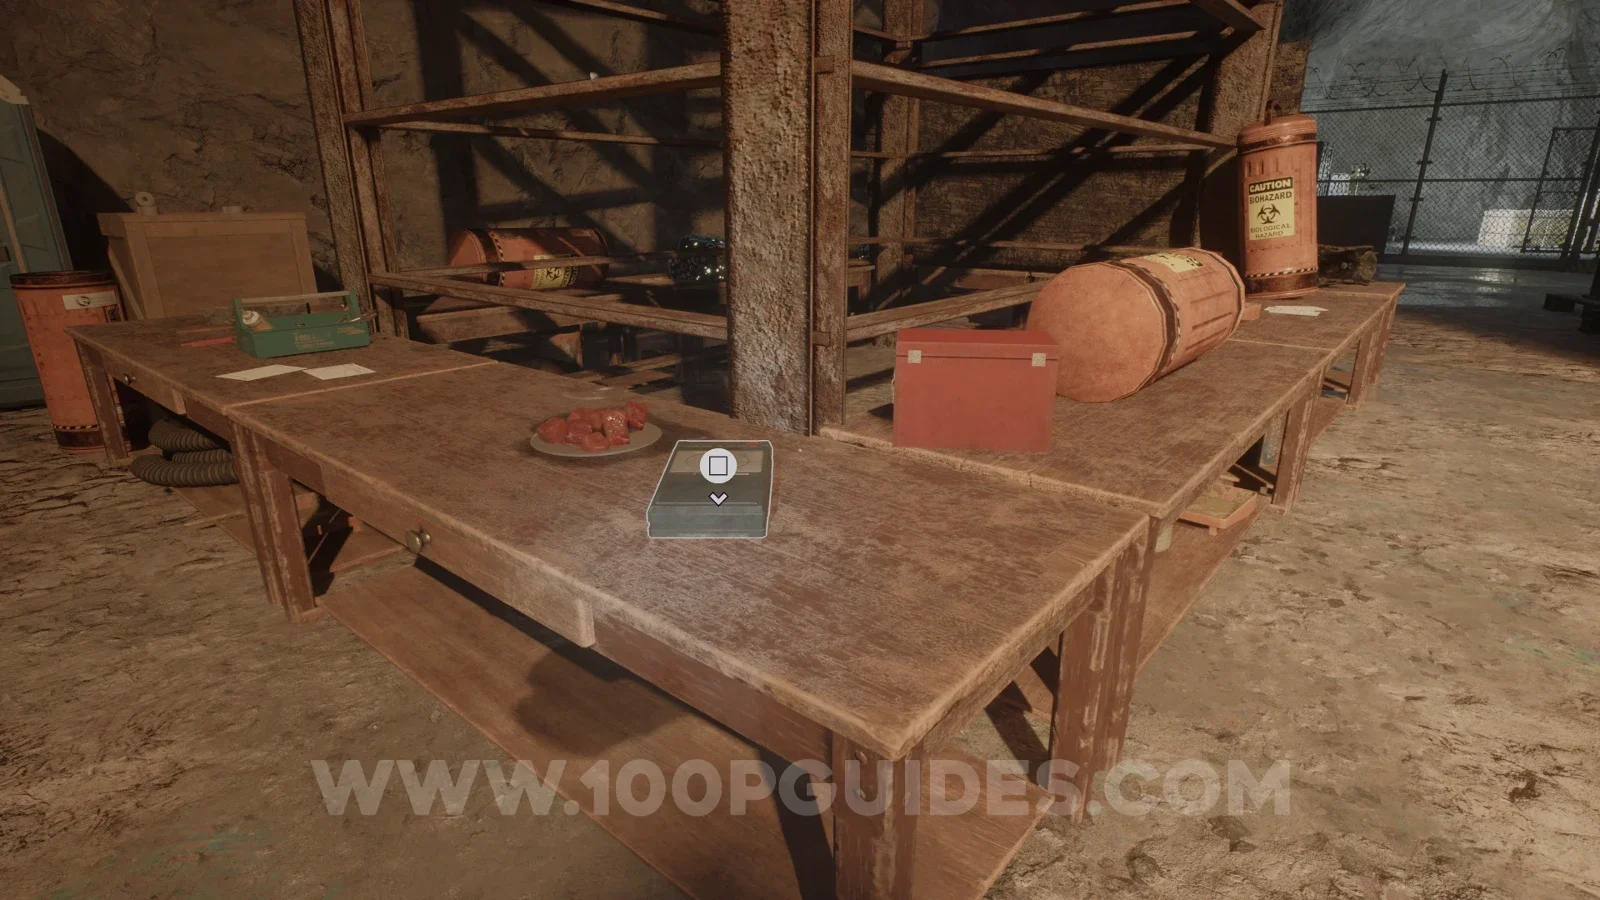
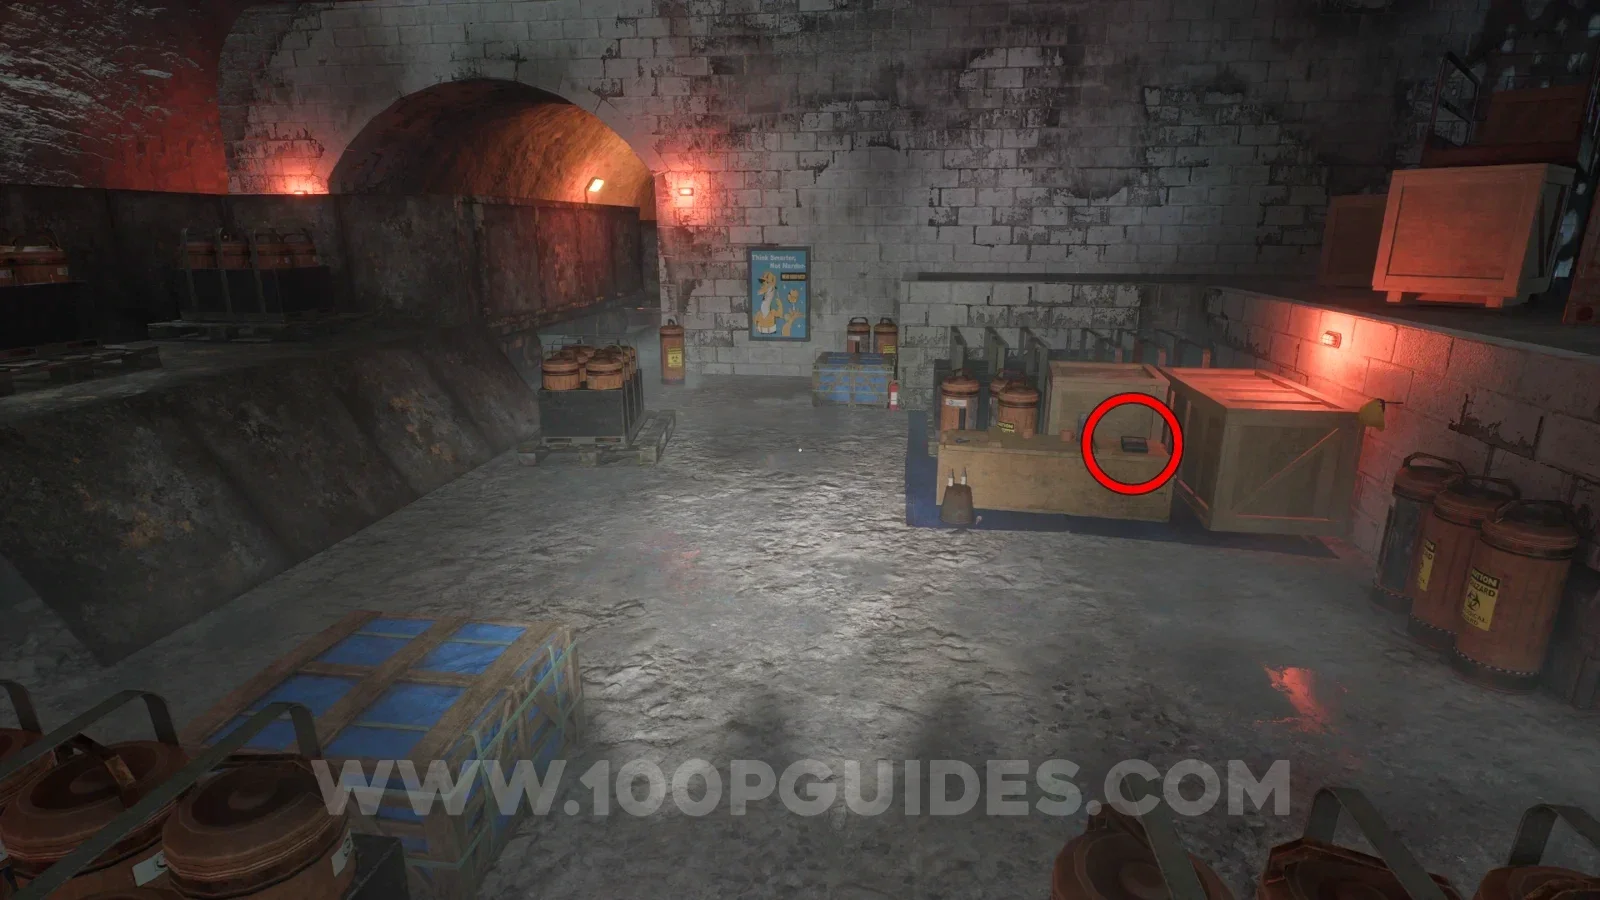
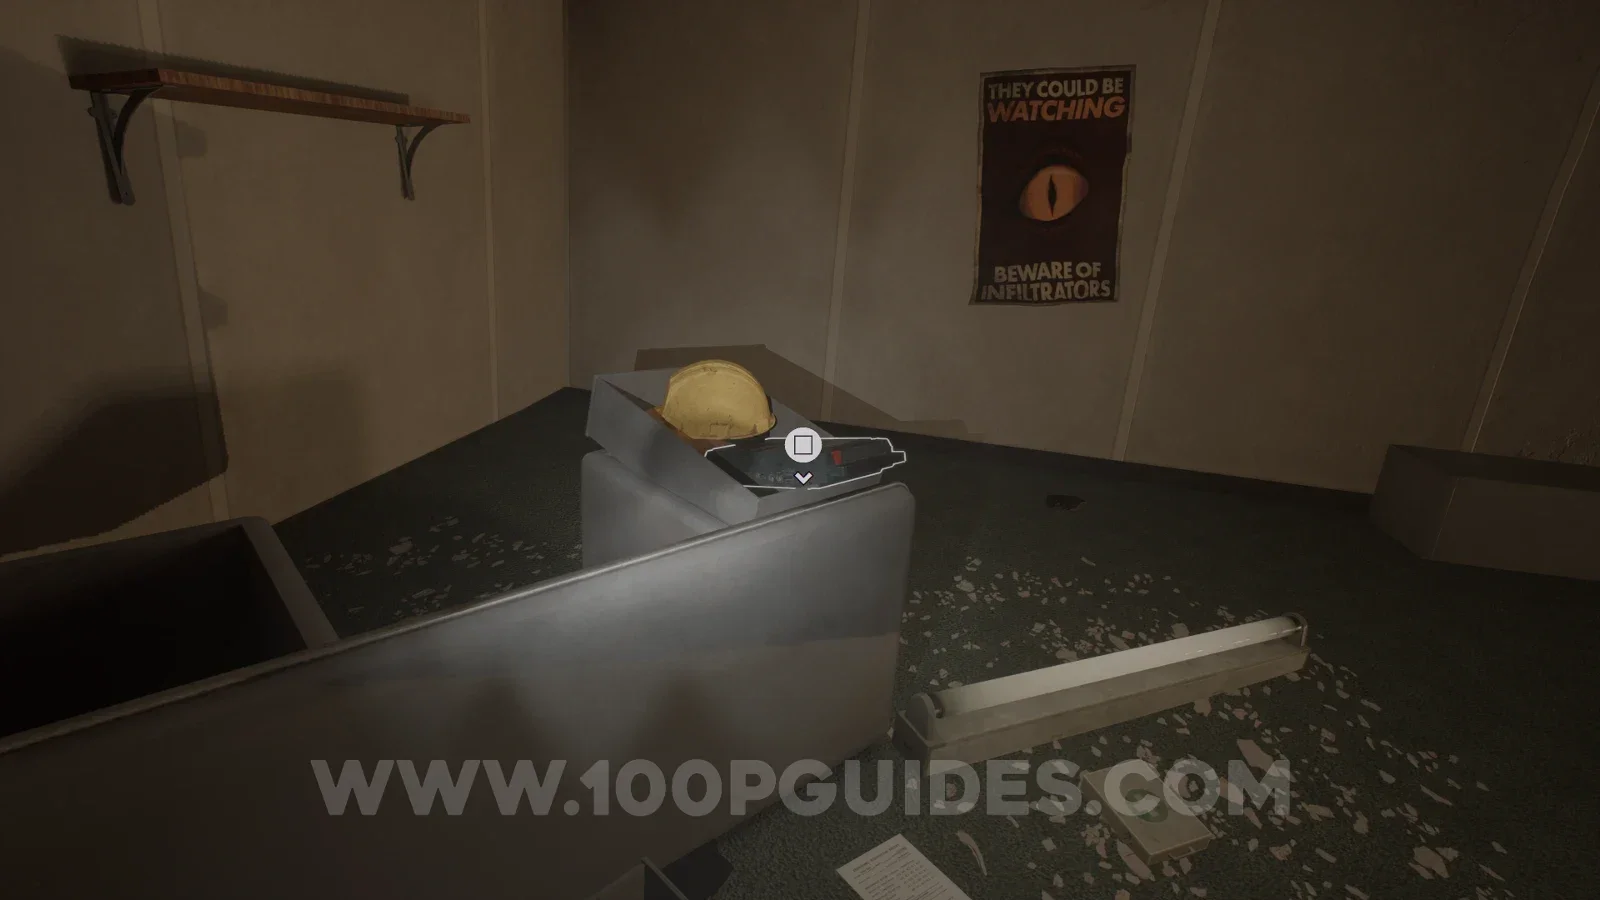
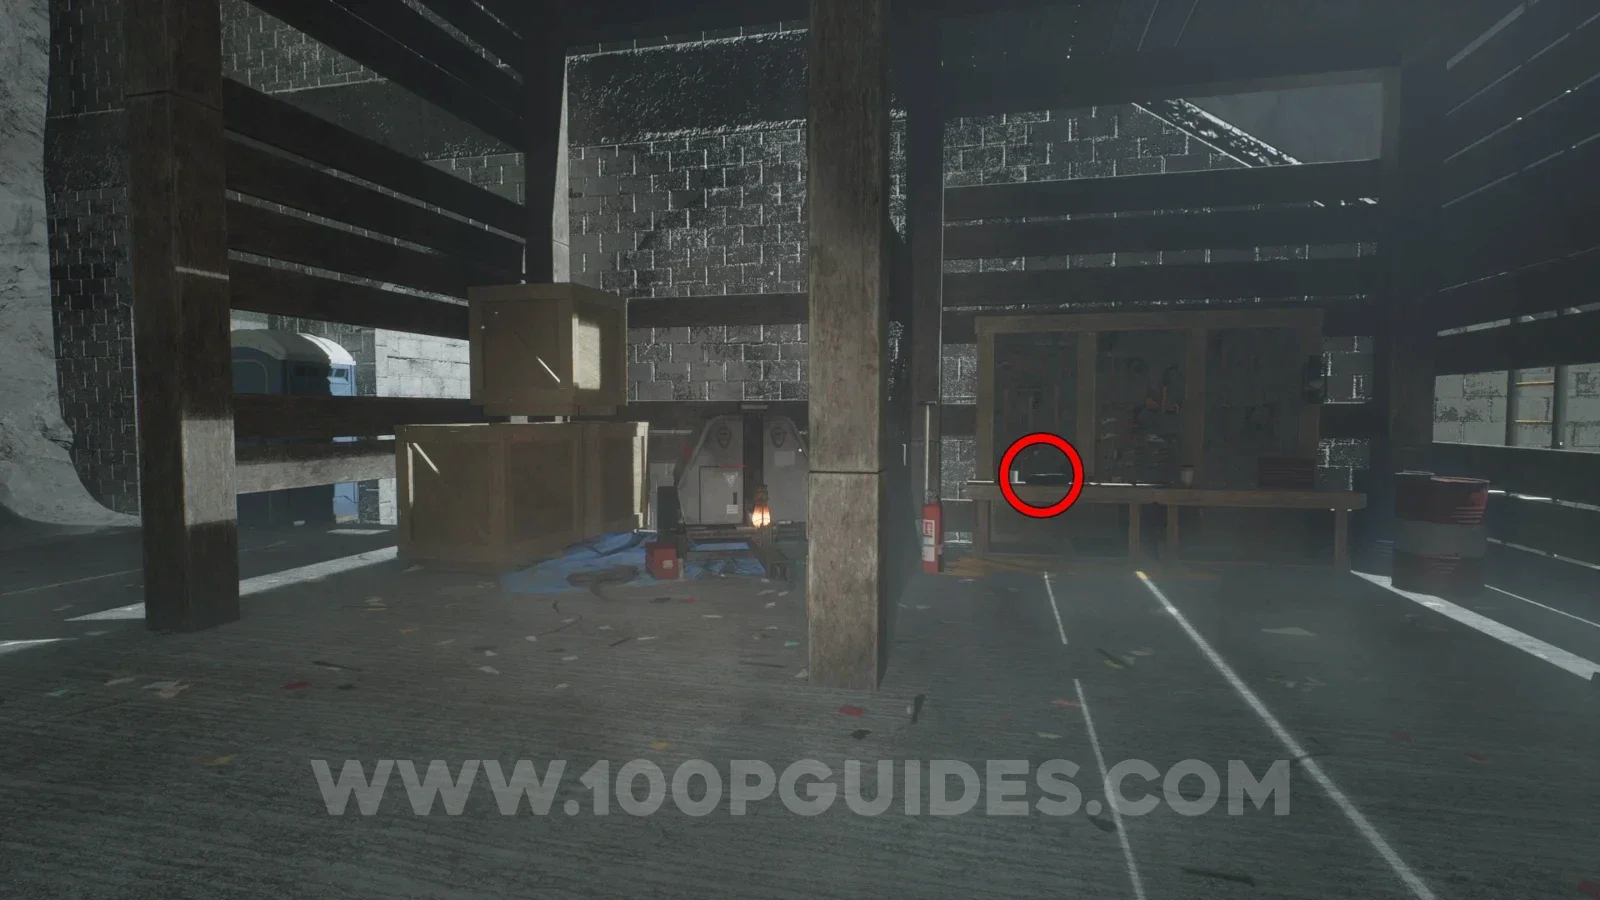
Chapter 4
Chapter 4 walkthrough · Follow the story route between these landmarks.
| Recording | Where to look |
|---|---|
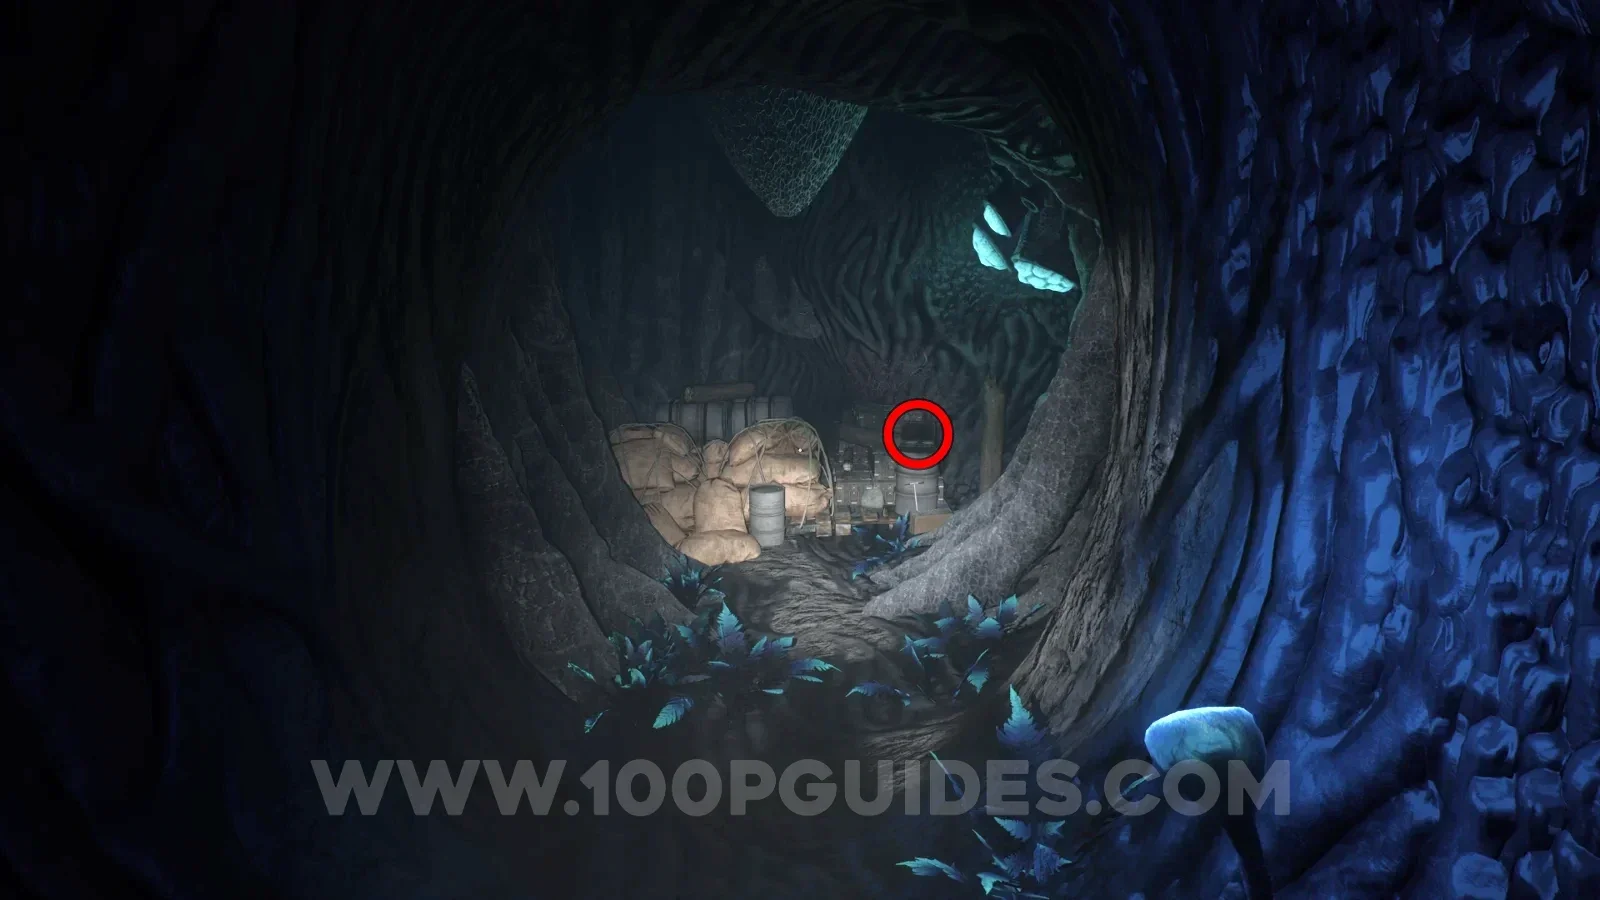
| Commander Ridgewater: Expedition Setup | Opening expedition camp: follow the yellow-lit passage to its end. Check the supply stack among sandbags and metal cases. Location image ↗ |
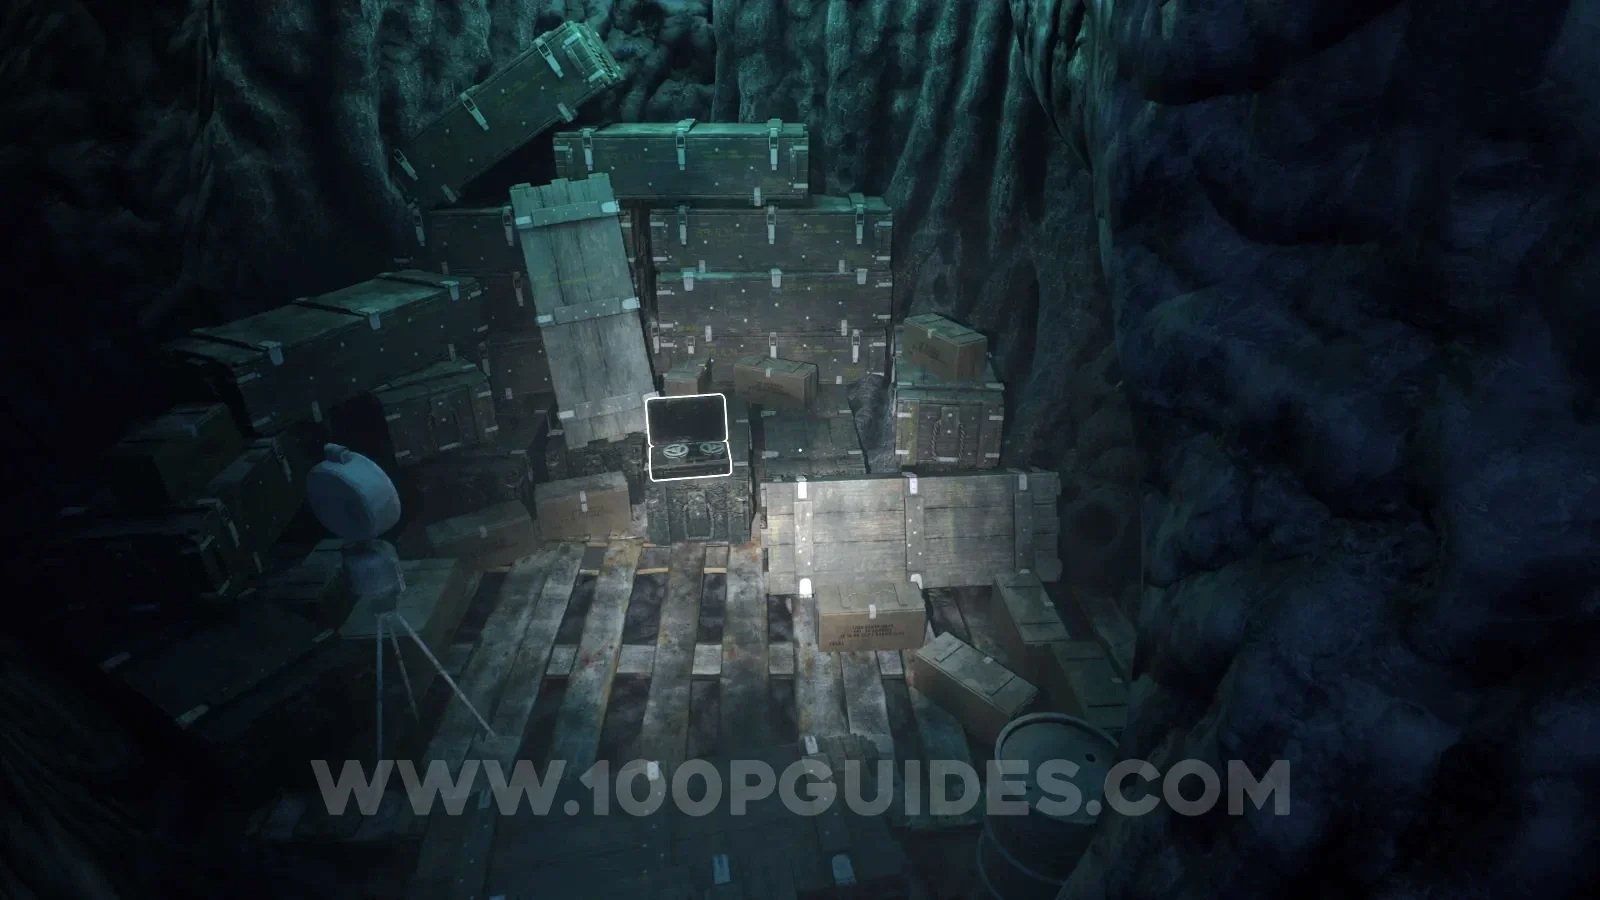
| Lt. Maxwell: After Action Report | Generator-side detour near the Hybrid survivor note: climb to the supply platform. Look among stacked military cases above the wooden floor. Location image ↗ |
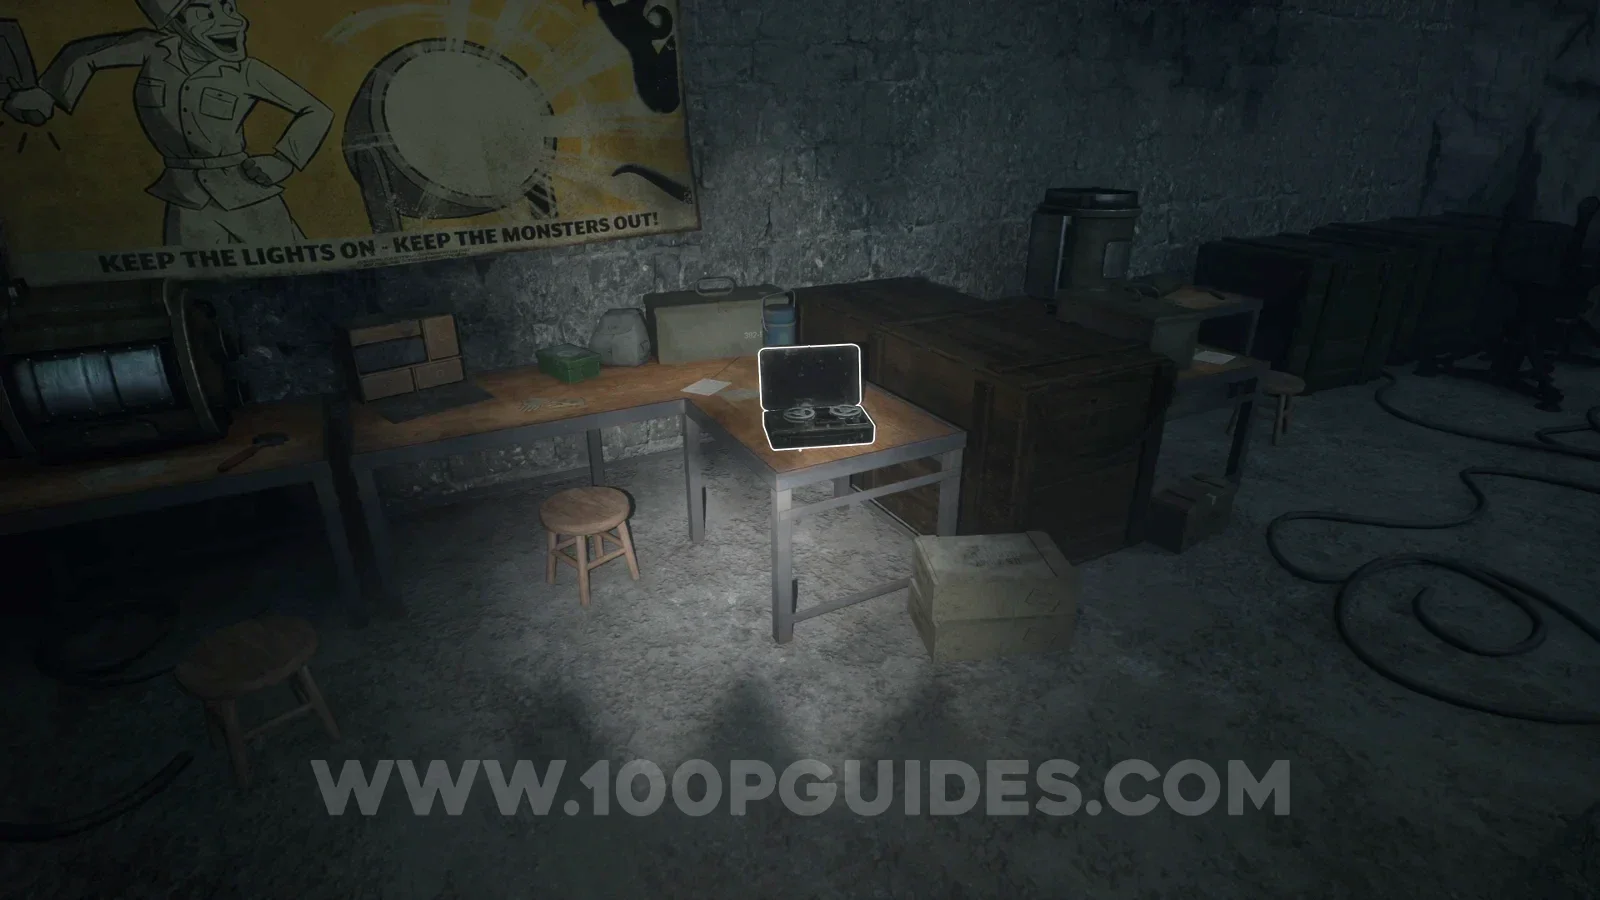
| Commander Ridgewater: The Special Light Spectrum | Camp after the chase: search the worktables beneath the Keep the Lights On poster, beside the large wooden crate. Location image ↗ |
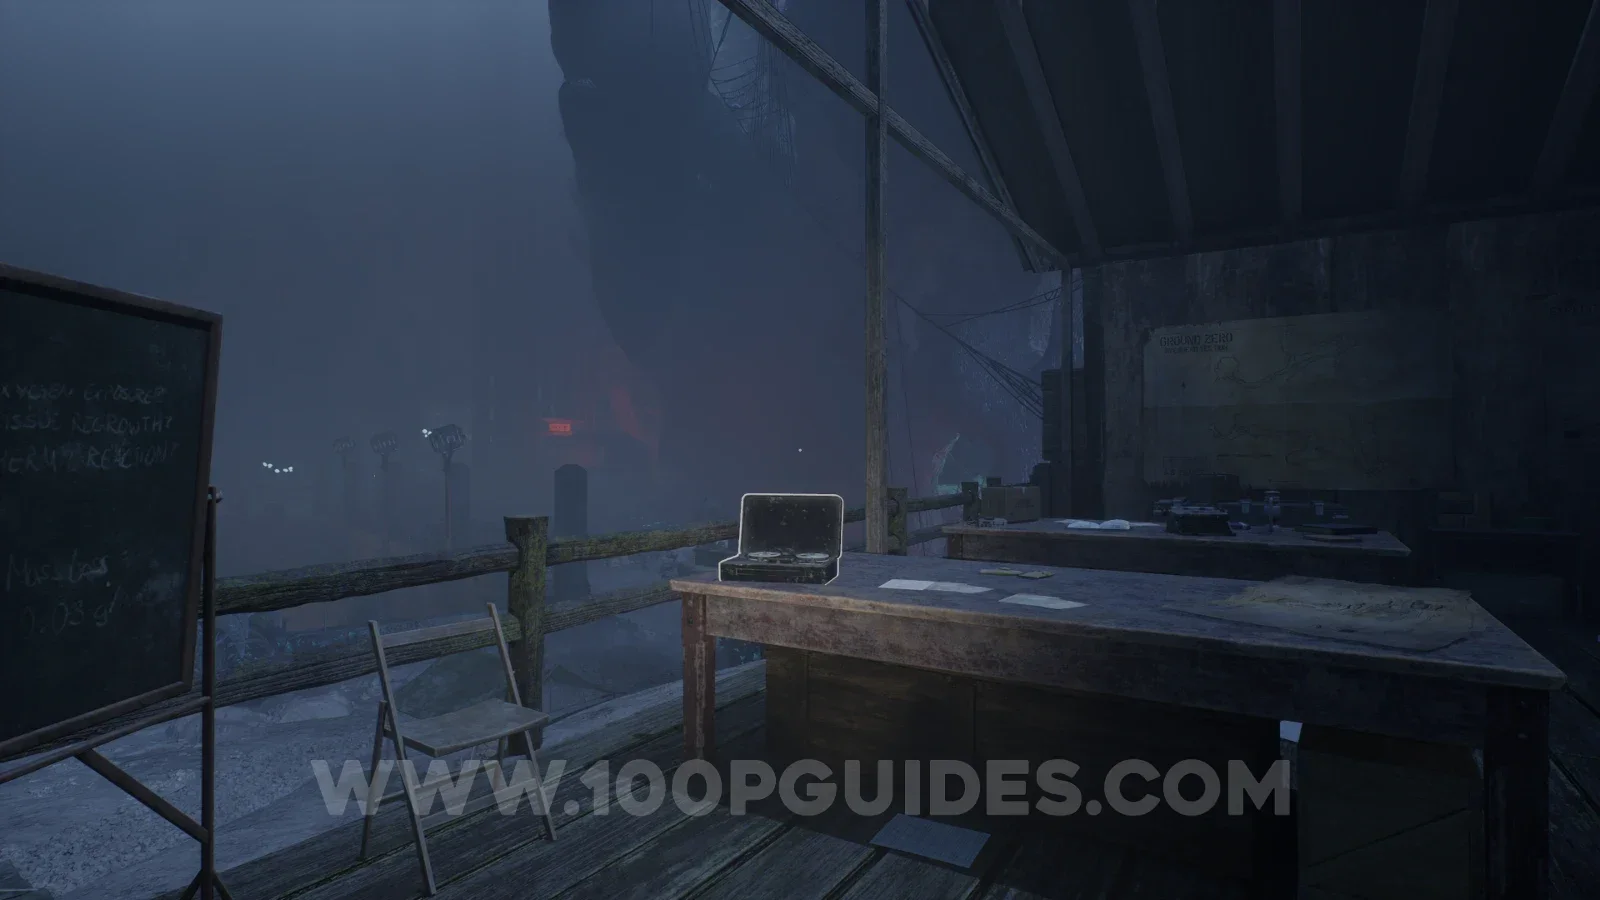
| Jim & Bob: The Key | Crew Lift camp upper canopy: look on the table by the blackboard and railing overlooking the camp. Location image ↗ |
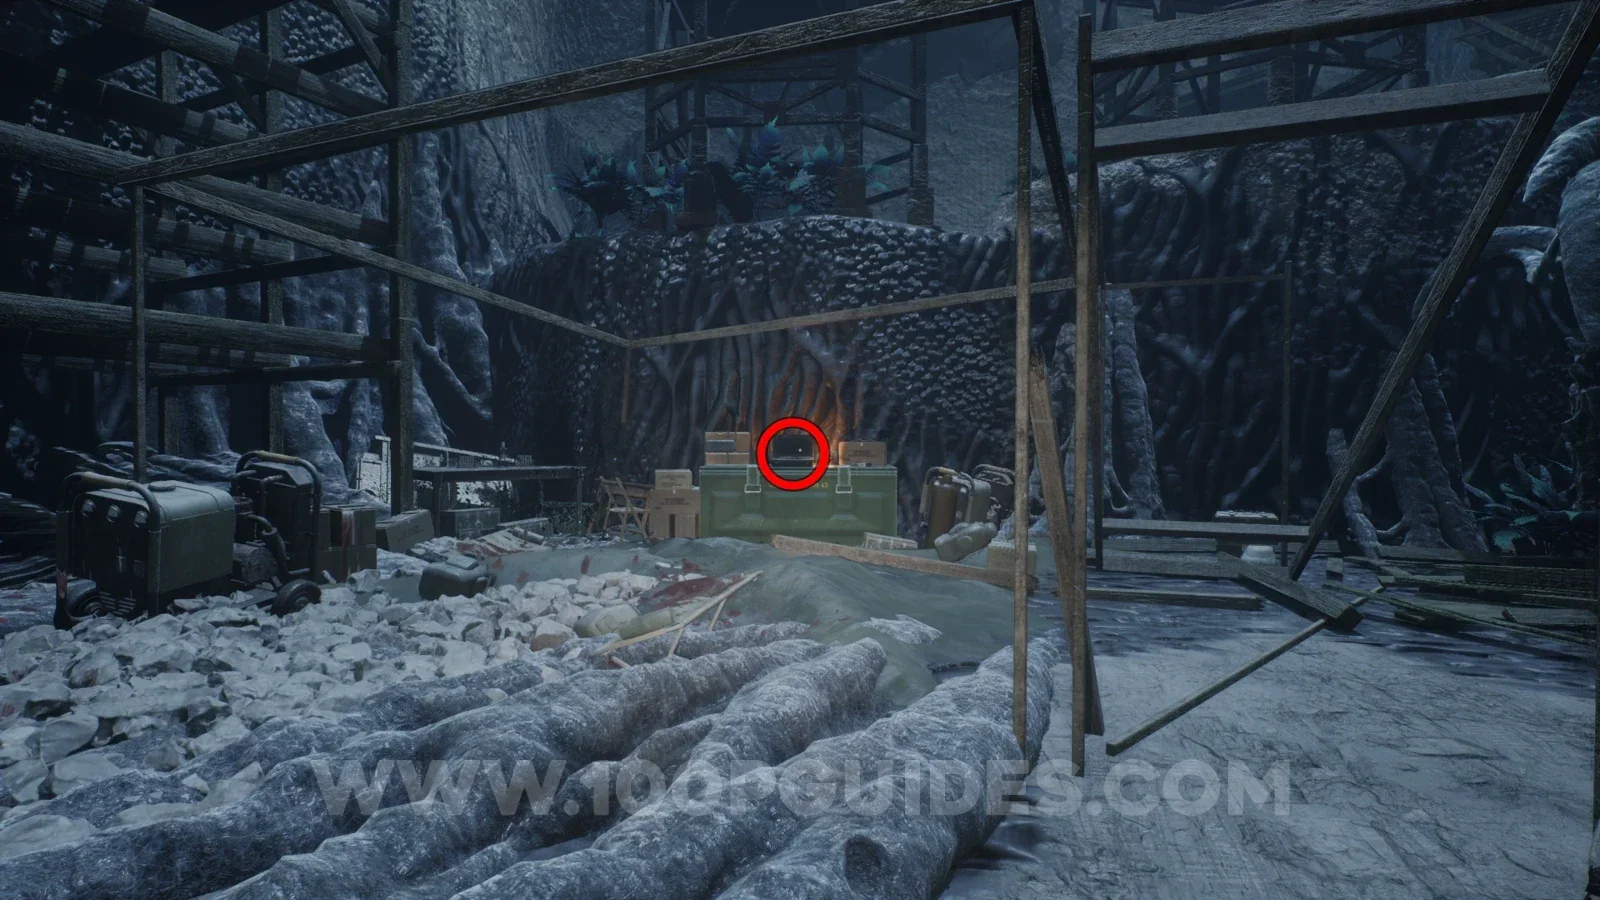
| Dr. Fellows: Troop Movement Observations | Cavern B lower route: search the green equipment chest beneath the wooden scaffold, between the generators and curved cavern wall. Location image ↗ |
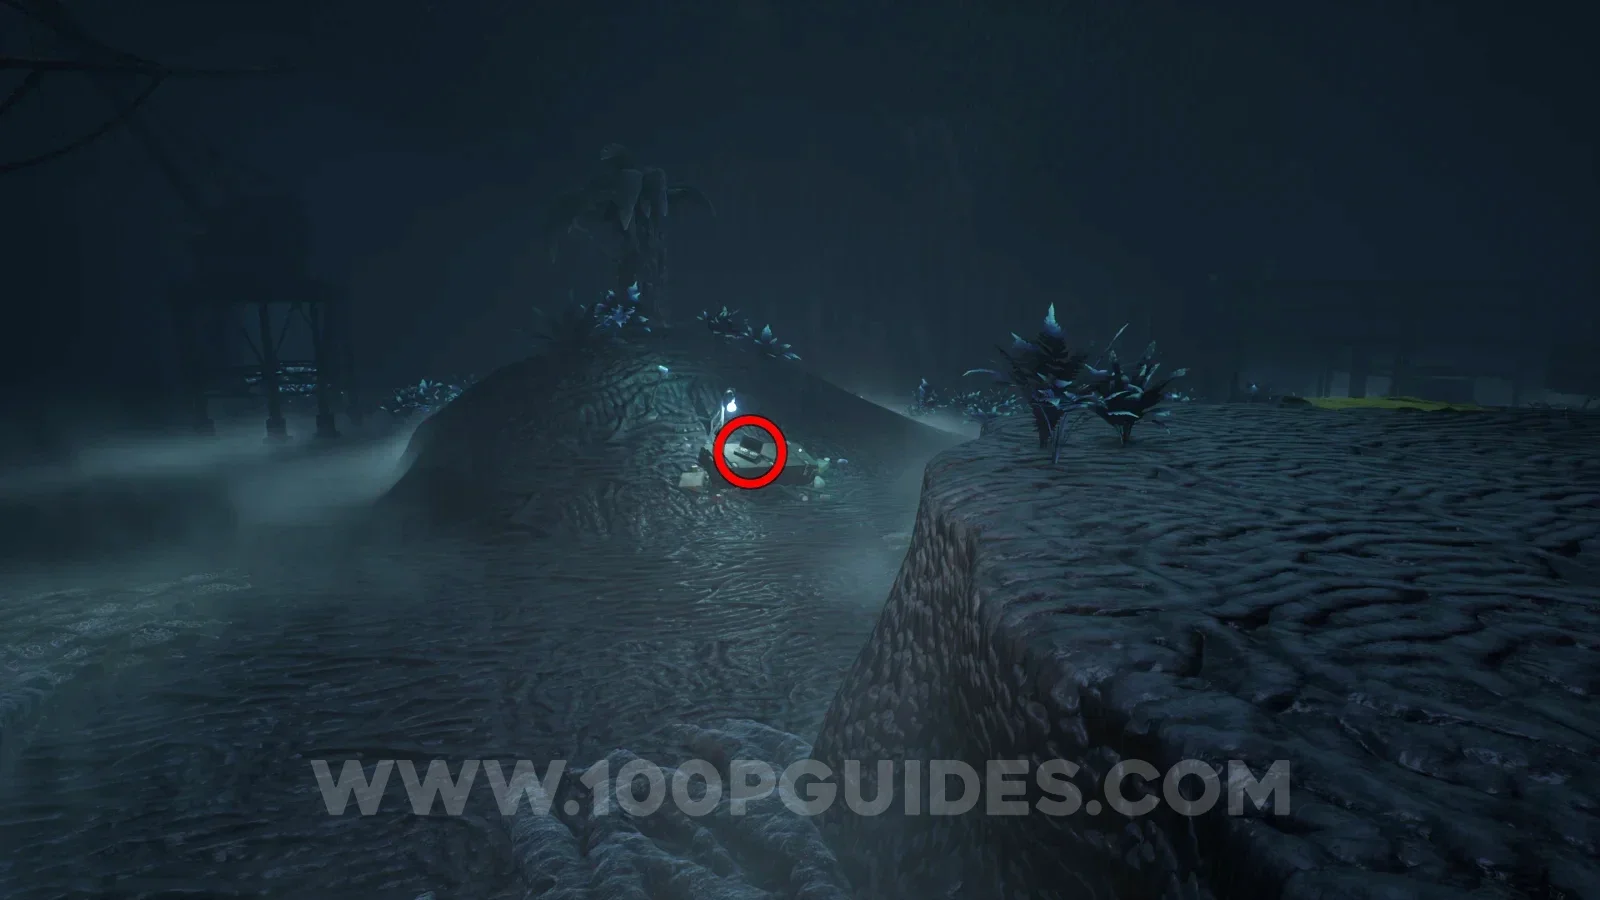
| Tony Marino: Burned Body | Cavern B spires: remain low and look toward the small supply pile beside the central raised goo formation. Location image ↗ |
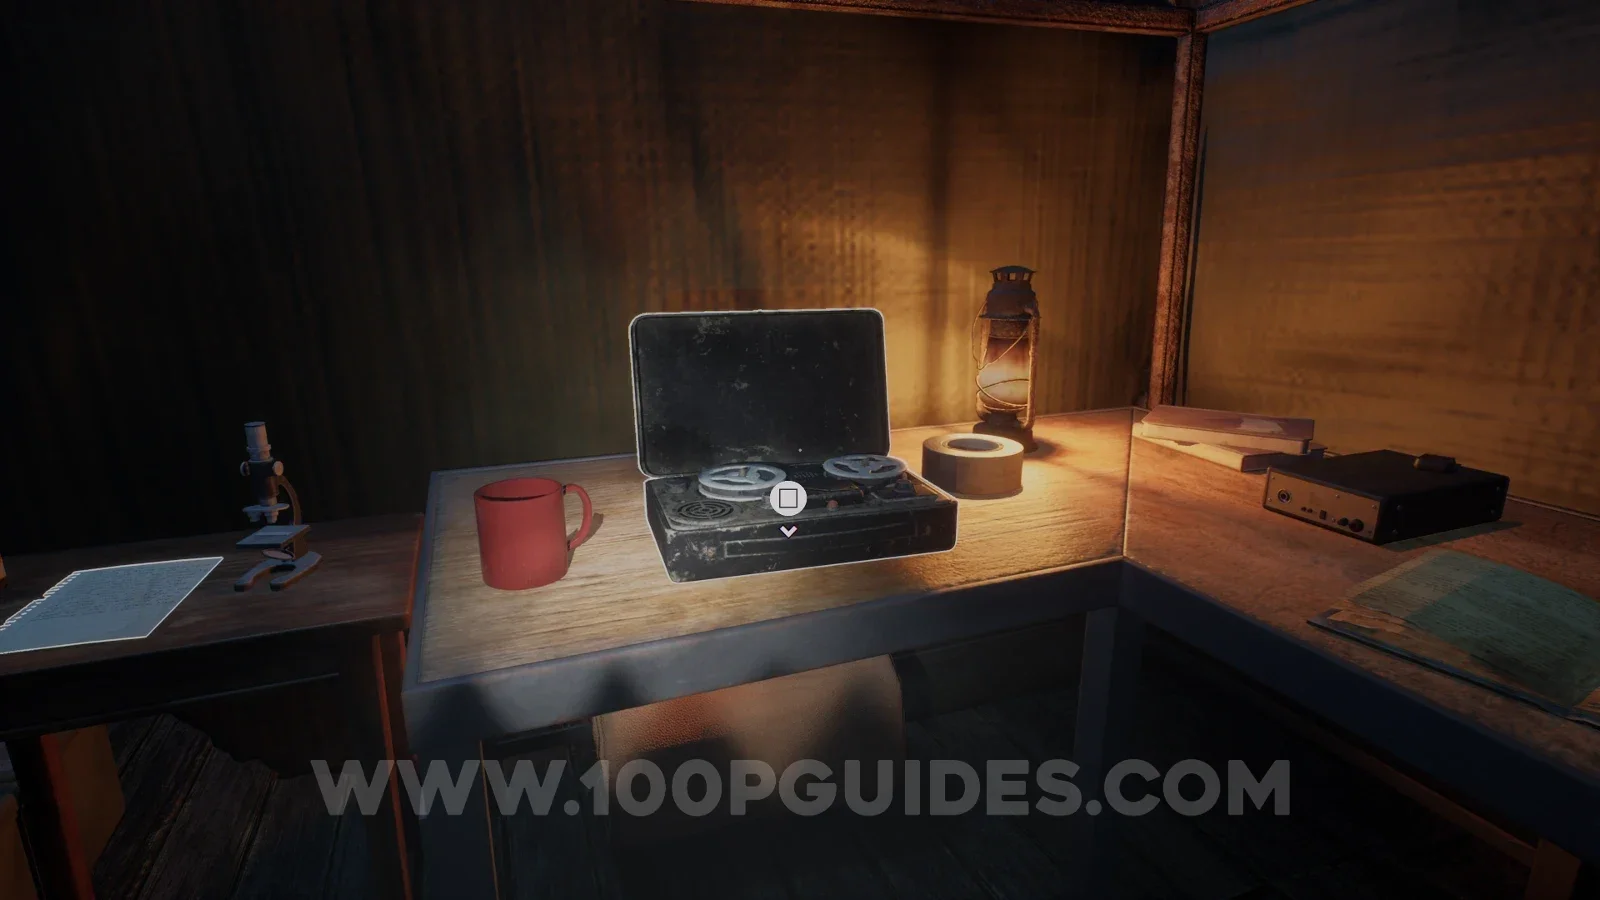
| Dr. Crane: A Request | Tent after the cliff encounter: inspect the desk with the red mug, lantern and microscope. The recording is next to the mug. Location image ↗ |
Still under review
Crewmen: Birds vs Lizards is reported beyond the conveyor’s red-lit crawl opening in Chapter 3. The reviewed image shows the approach rather than the recording itself, so it is not counted among the 23 location stops. Consult the original illustrated guide for that report; we are not publishing an invented pickup spot.
Title spelling: the source labels a late Chapter 3 recording “Dalton Coolidge: The Motherlobe.” We preserve that label in the table because its in-game title has not been independently checked. The location is the sloping-building workbench; “Motherlode” is also used for that story area.
Audio recordings versus story playback
The collection route includes different-looking recording devices. The source groups them as tapes; the screenshots show both cassette-style equipment and reel recorders. A story projector objective is not, by itself, confirmation that an Audiophile entry has been credited. Check the collection menu after interacting.
Report a correction
Send the item’s menu title, chapter, platform and build to contact@terriblelizardswiki.com. A screenshot showing the pickup and its surroundings is useful. For other collection categories, return to the amber and toy guide.