Final-chapter spoilers: this page follows the rescue and escape through the end of the game. Stop here if you only want the spoiler-light walkthrough index.
Counterweight: reach DJ
Follow the glowing caverns to the abandoned expedition. Operate the counterweight button to bring the elastic goo into jumping range. Bounce upward and link the adhesive walls, ledges and hanging supports toward the crying voice. Speak to DJ to receive the tooth objective.
Tooth and the gun encounter
Take the hanging-bar route away from DJ and search the lair for the Allosaurus tooth. Continue toward the projection room. When the encounter starts, follow the weapon-interaction objective and move to the next pickup when a gun fails. Continue through the escape passage when it becomes available, then return the tooth to DJ.
Source discrepancy: one written route claims a gun eventually works; the gameplay-illustrated route shows failed attempts and an escape. We have not independently played this sequence and do not prescribe a successful shot as the solution. Follow the changing objective rather than repeatedly retrying a failed weapon.
The return conversation leads into another chase. Continue through the blue tunnels toward the expedition camp.
Expedition camp: special-spectrum lights
Speak with DJ at the covered controls. Restore the lighting using the surrounding power switches and the main light control. The illustrated route identifies a switch on a wooden post beside the sloping path; another guide describes three auxiliary controls before the main console. Check the active objective for unfinished power controls rather than assuming a single interaction completes the sequence.
Return to DJ after the lights resolve the encounter. The Crew Lift still requires its safety key.
Cavern A: collect the dynamite
The blocked Cavern B entrance is your destination, but Cavern A holds the explosive. Follow its climbing route to the dynamite table. Bring the charge back, place it at the Cavern B obstruction and operate the detonator.
Cavern B: recover the Crew Lift Key
Climb through the bounce surfaces, adhesive walls and bars to the upper rock route. Search beside the body at its far end for the key. Collect it before leaving. The return becomes a pursuit; follow the escape until the cliff encounter finishes.
Beyond the tents, another obstruction requires a nearby charge. Clear it to regain the route to camp. This is a separate blast from the Cavern B entrance.
Crew Lift: start the ascent
Insert the key at the camp controls, turn it and pull the lever. Descend beneath the Crew Lift sign, board with DJ and use the elevator button.
Catch the elevator and finish Level 4
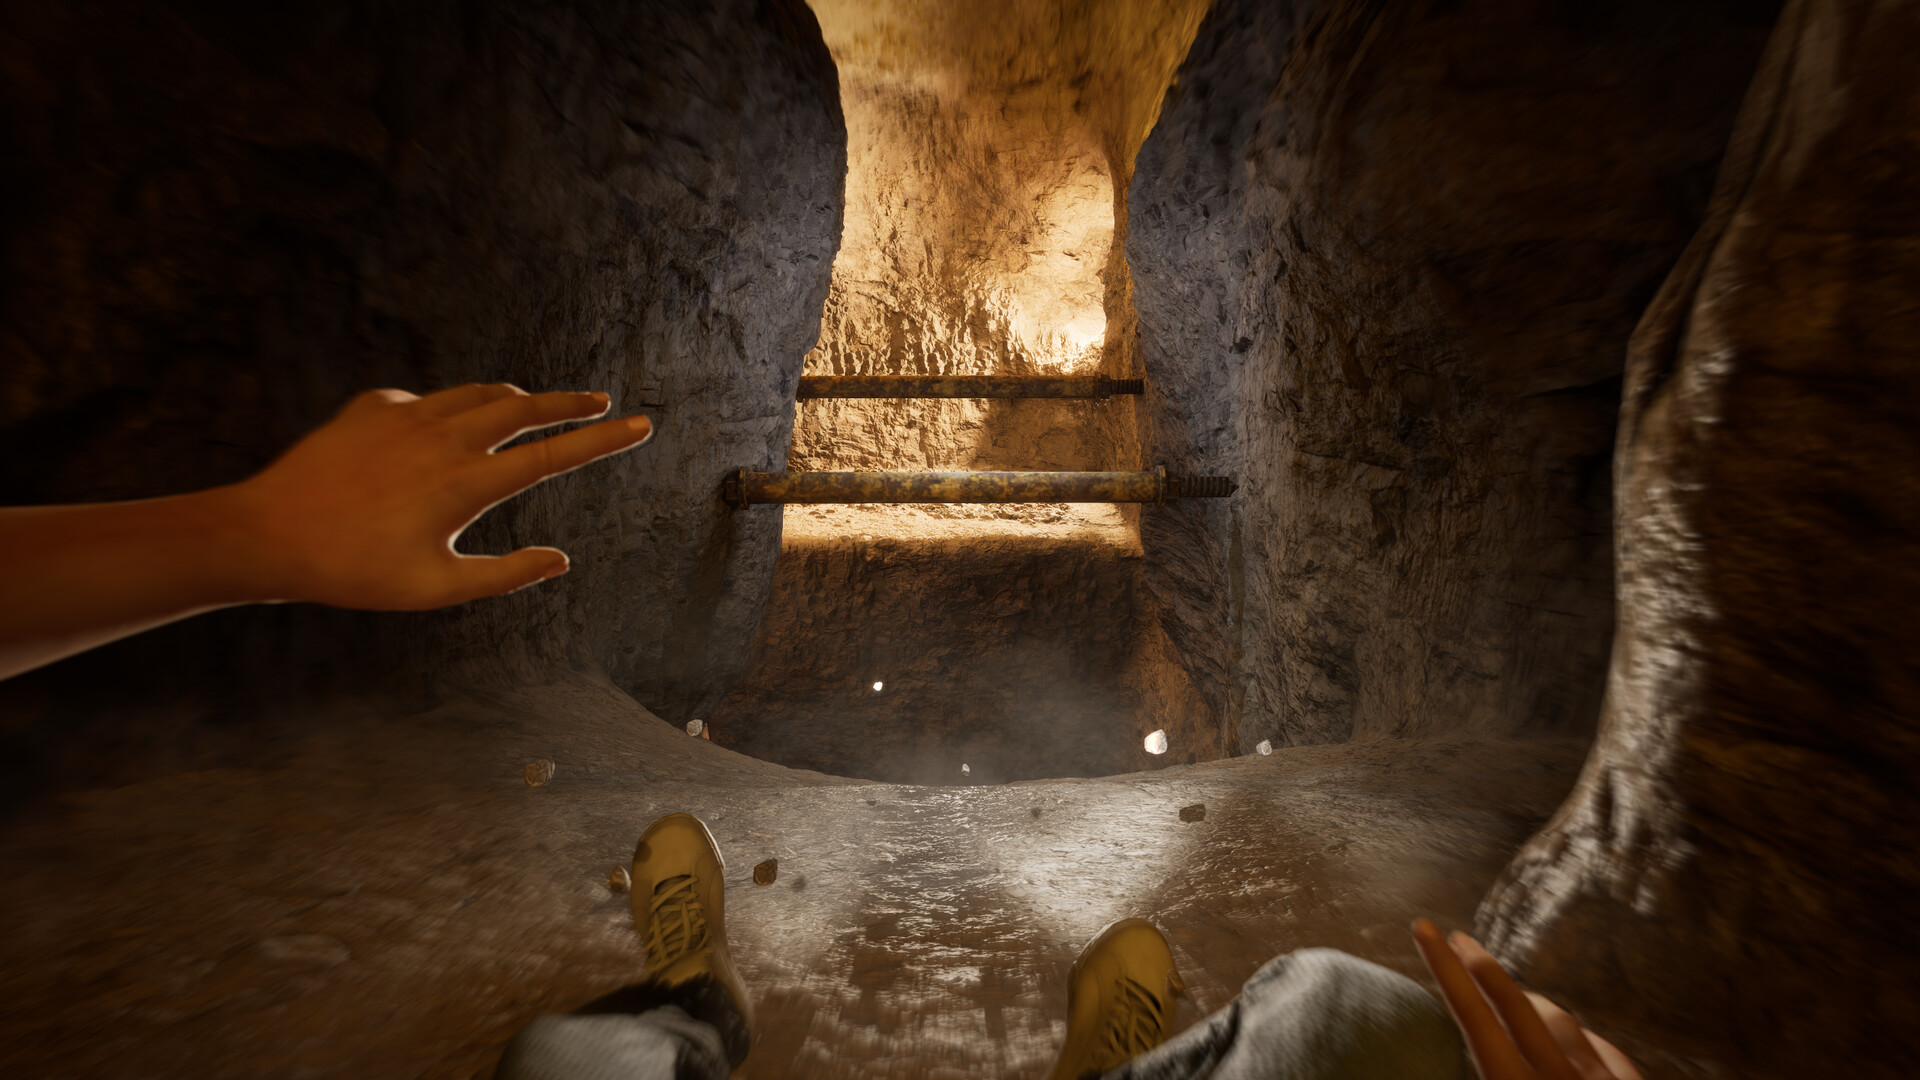
After Jordan is knocked off, the timed catch-up objective begins. Climb alongside the lift using goo walls and marked bars. Continue around the winding ledges and suspended structure, then through the narrow cave. When DJ calls, jump back onto the elevator and complete the final encounter.
At the top, follow DJ through the short passage to the ladder and climb out. Finishing Level 4 unlocks Finally. Review the remaining achievements before starting collectible cleanup.