Coverage and how to use this list
28 note locations are covered below, out of a reported target of 97. This is a selected set of reviewed locations, not a complete Pterry’s Scrapbook route. The original community guide documents 90 entries but still acknowledges seven missing locations.
Names follow that source’s labels. We compared the listed landmarks with the original 100% Guides screenshots linked in each row; no independent playtest is claimed. Chapter 4 locations and the linked pictures contain story spoilers.
| Chapter | Published stops |
|---|---|
| Chapter 1 | 8 |
| Chapter 2 | 3 |
| Chapter 3 | 7 |
| Chapter 4 | 10 |
Chapter 1
Chapter 1 walkthrough · Follow the story route between these landmarks.
| Note | Where to look |
|---|---|
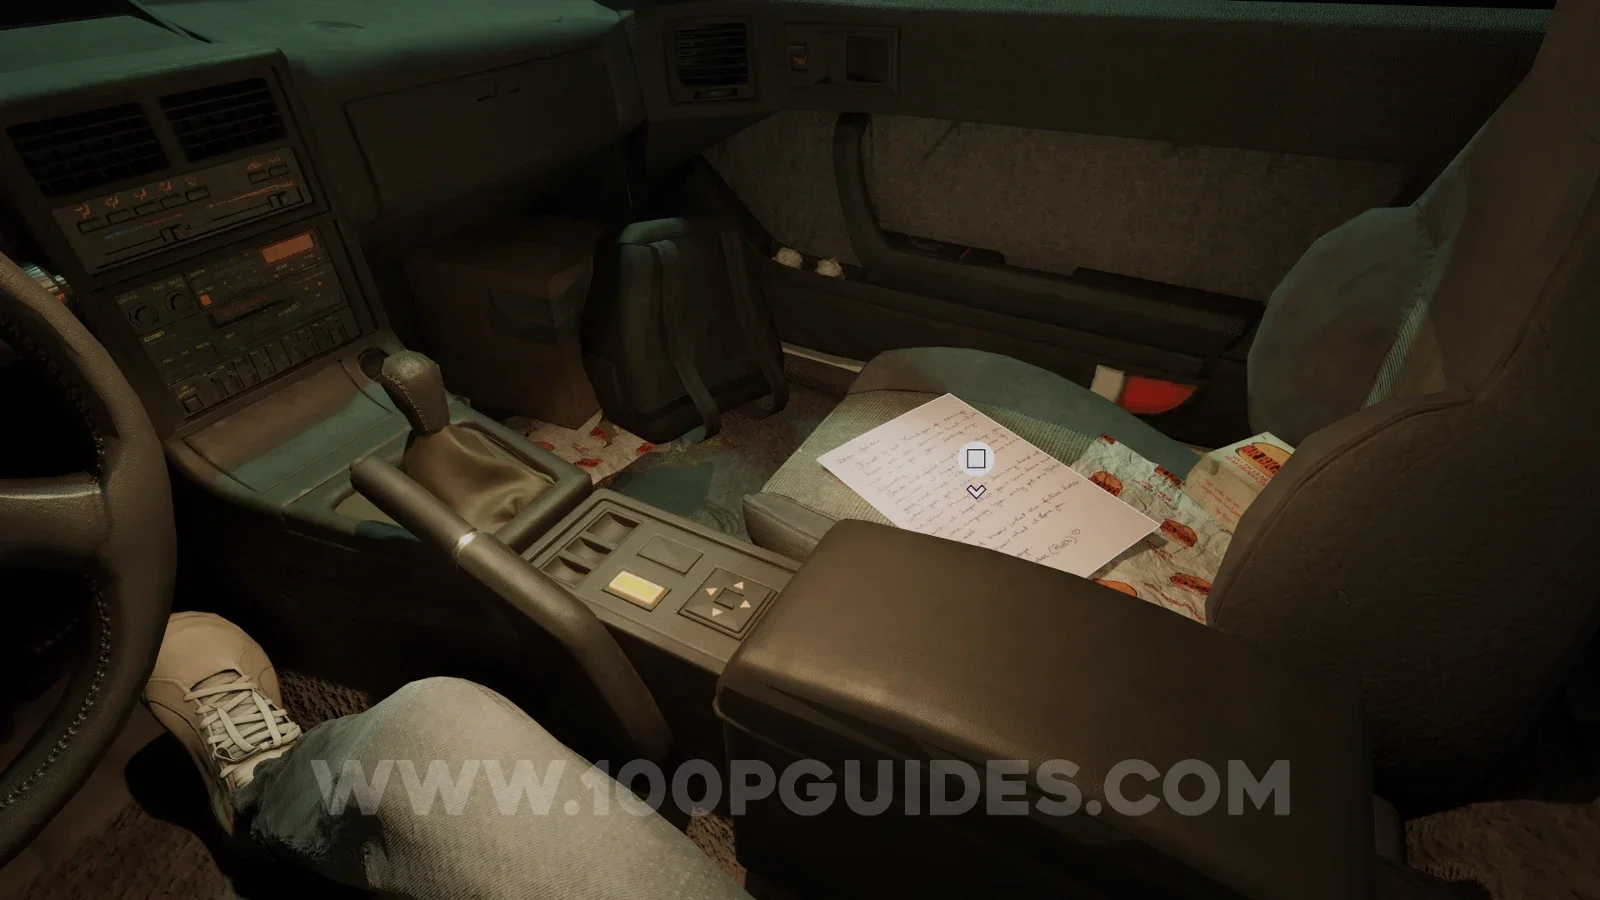
| Letter from Mom | Opening car: look at the front passenger seat, beside the backpack and food wrappers. Read it before getting out. Location image ↗ |
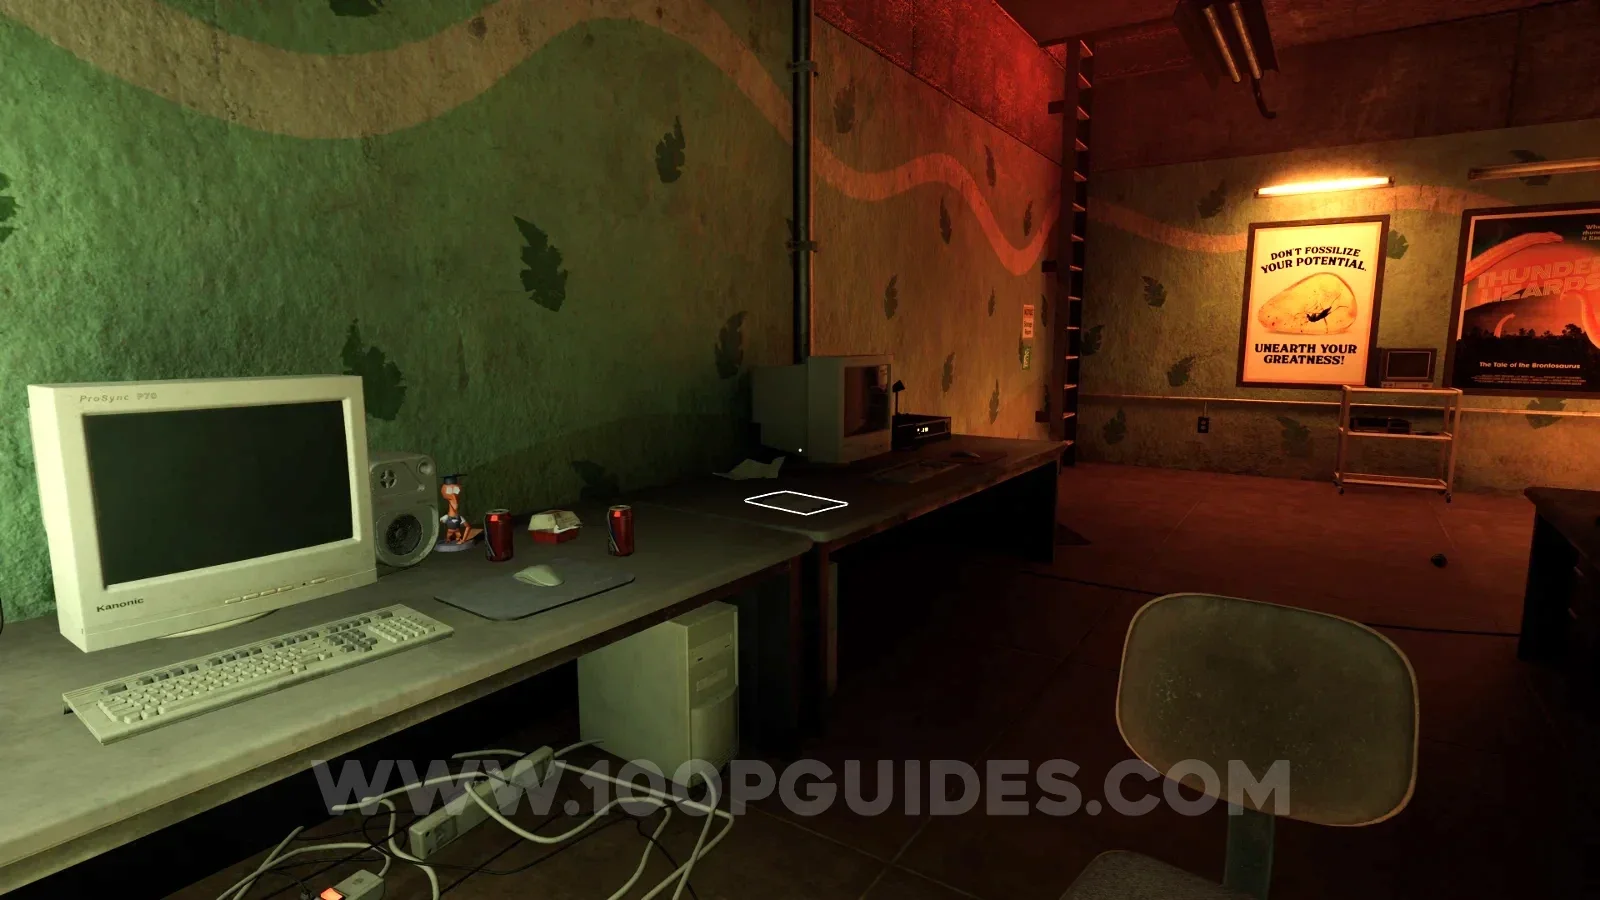
| Note from office manager | Box office: examine the long computer desk below the dinosaur-pattern wall. The paper lies between the monitor workstations. Location image ↗ |
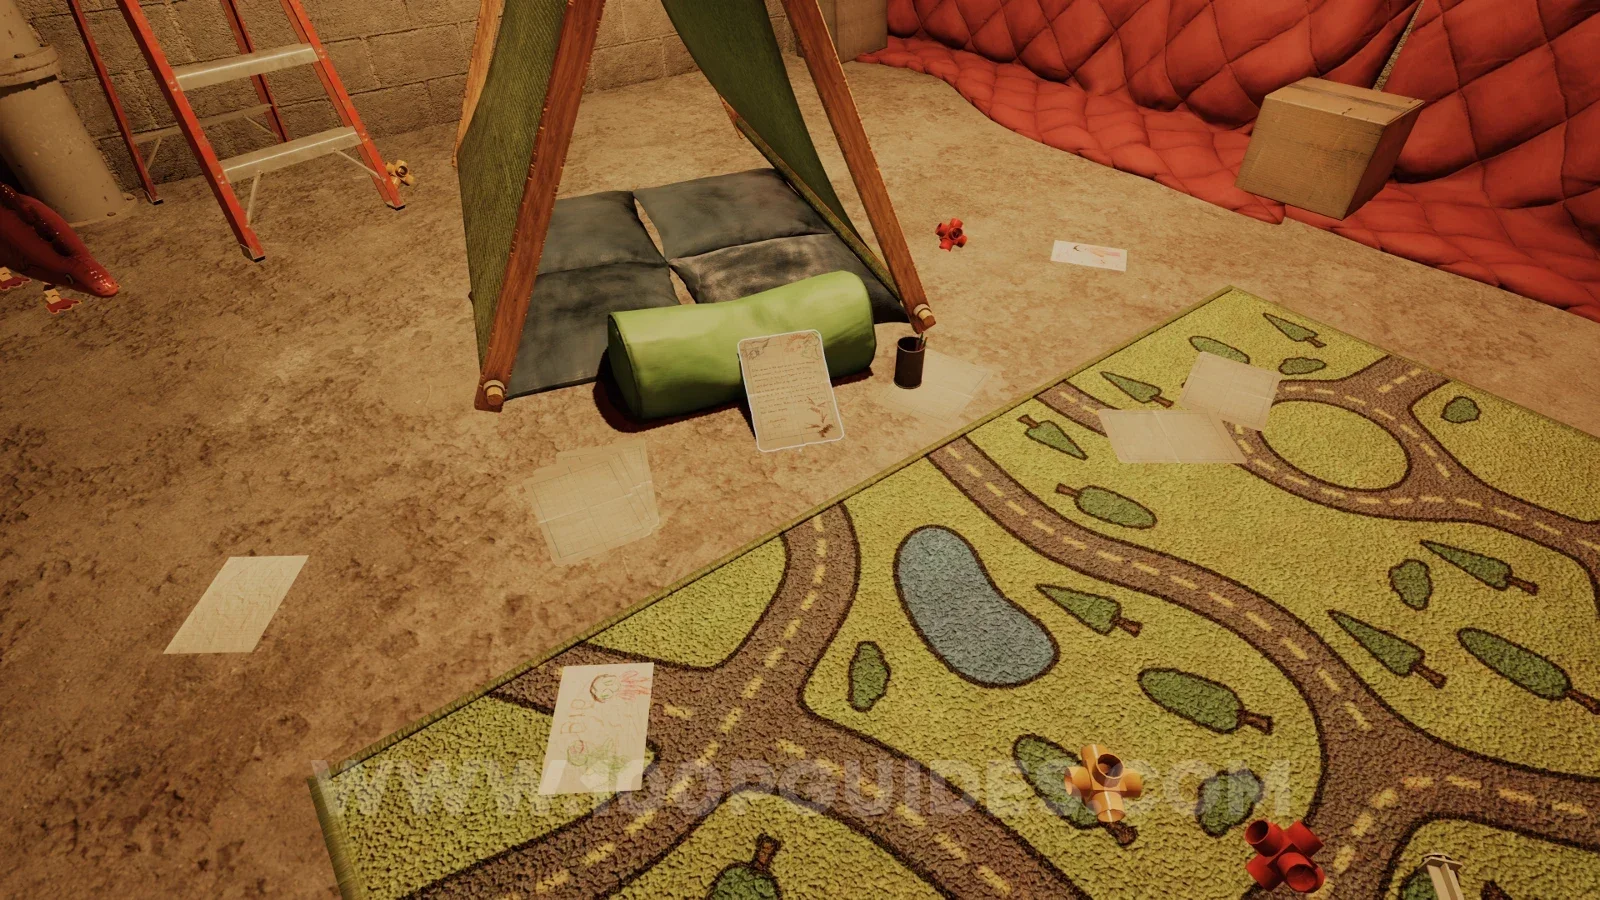
| Letter from Dalton to Elena | Tent above the box office: look beside the rolled green sleeping mat, next to the road-pattern play rug. Location image ↗ |
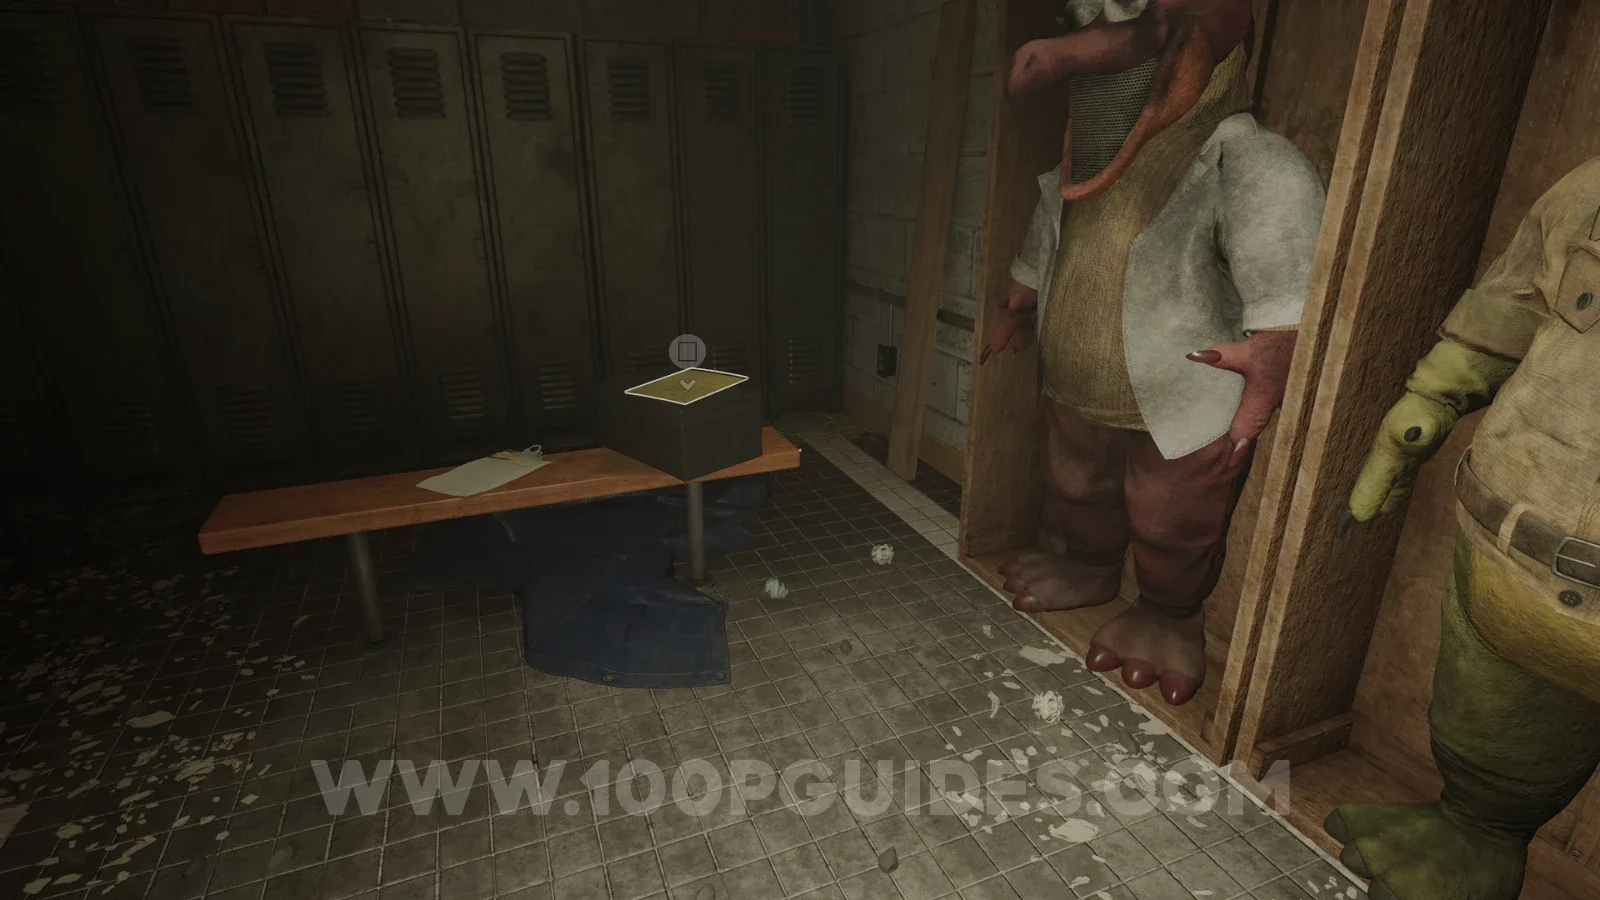
| Note from mascot suit guy | Mascot storage room: check the box on the bench in front of the lockers, beside the hanging costumes. Location image ↗ |
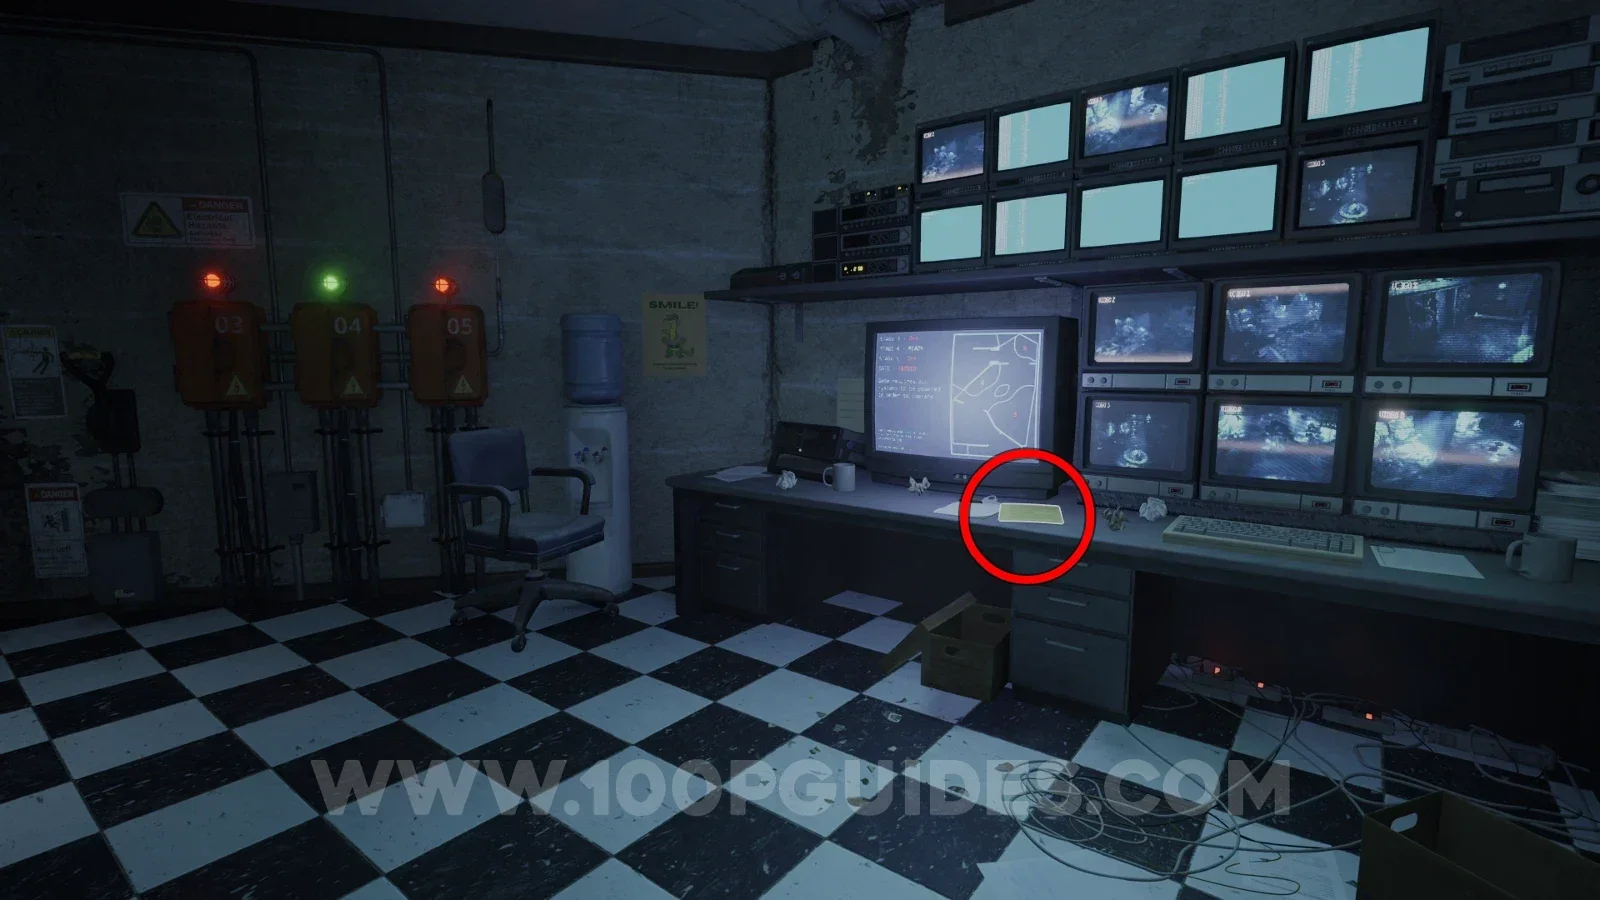
| Note from Security Guard | Watering Hole control room: look on the desk in front of the bank of security monitors. Location image ↗ |
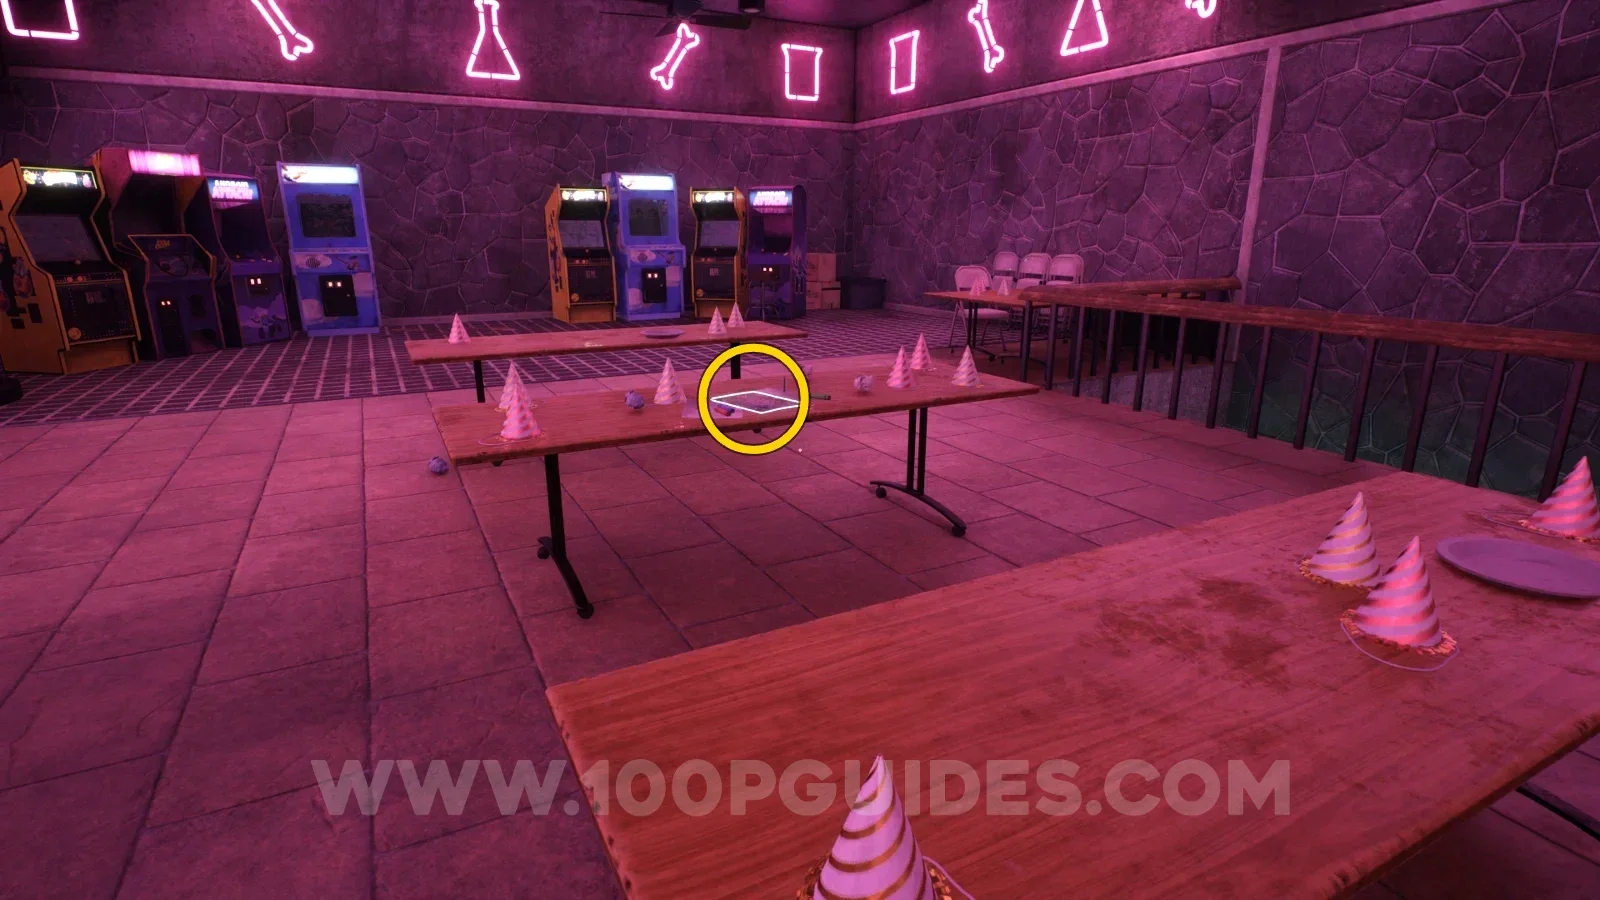
| Dalton Jr. Journal Entry: Sick Dennis | Arcade upper area: examine the party table with paper hats in the purple-lit room. Location image ↗ |
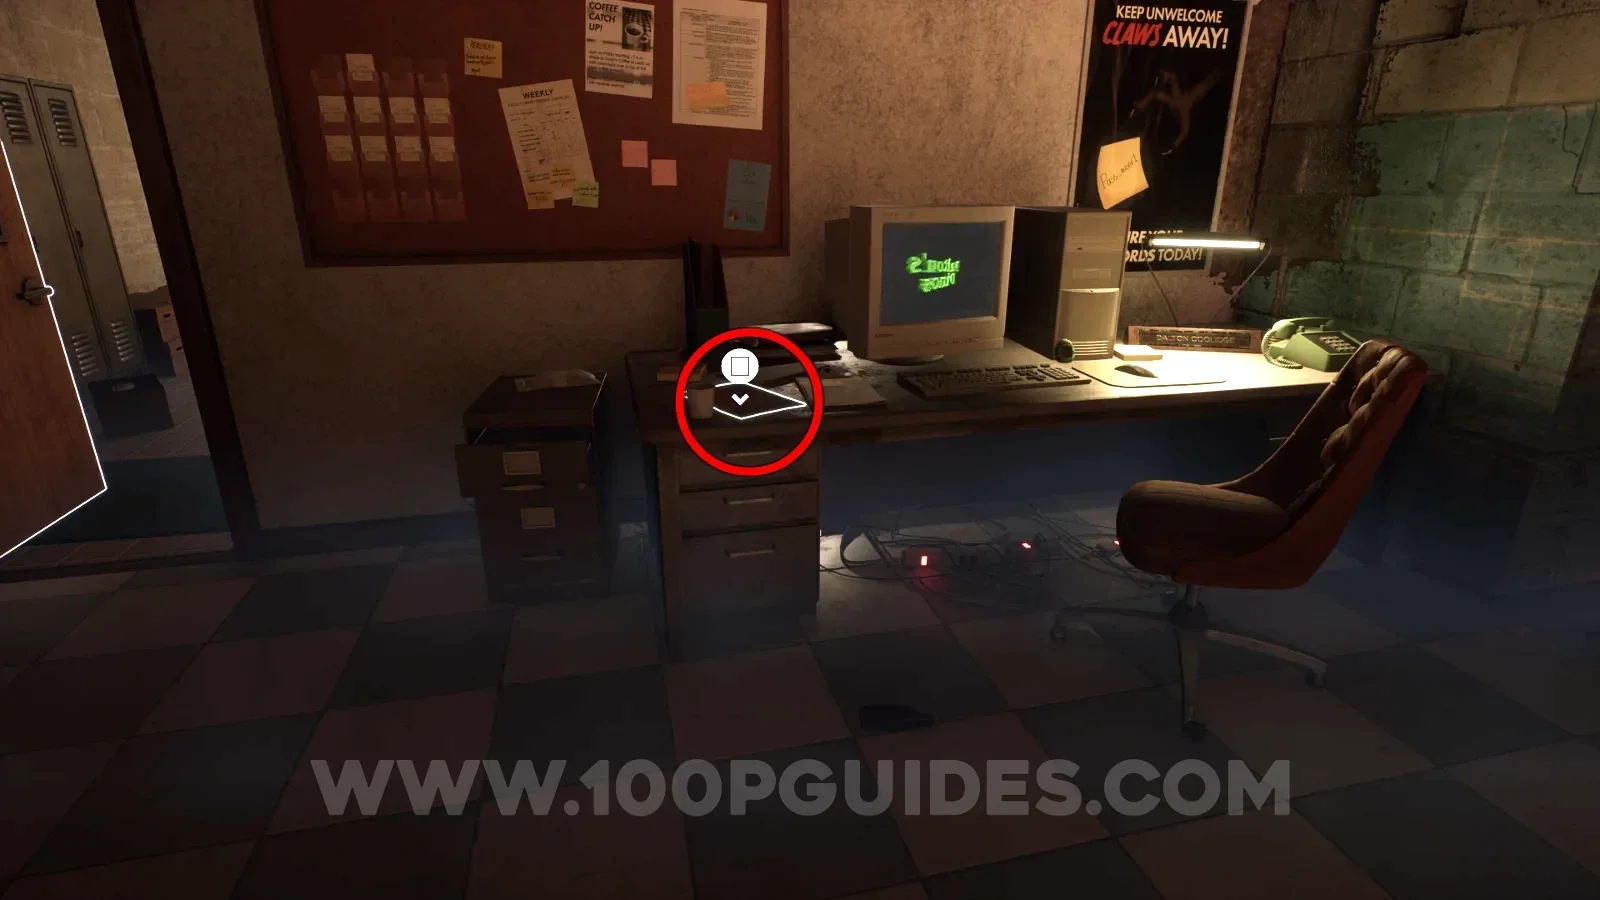
| Letter from Elena to Dalton | Gift-shop office: check the desk beside the computer keyboard and mug, beneath the noticeboard. Location image ↗ |
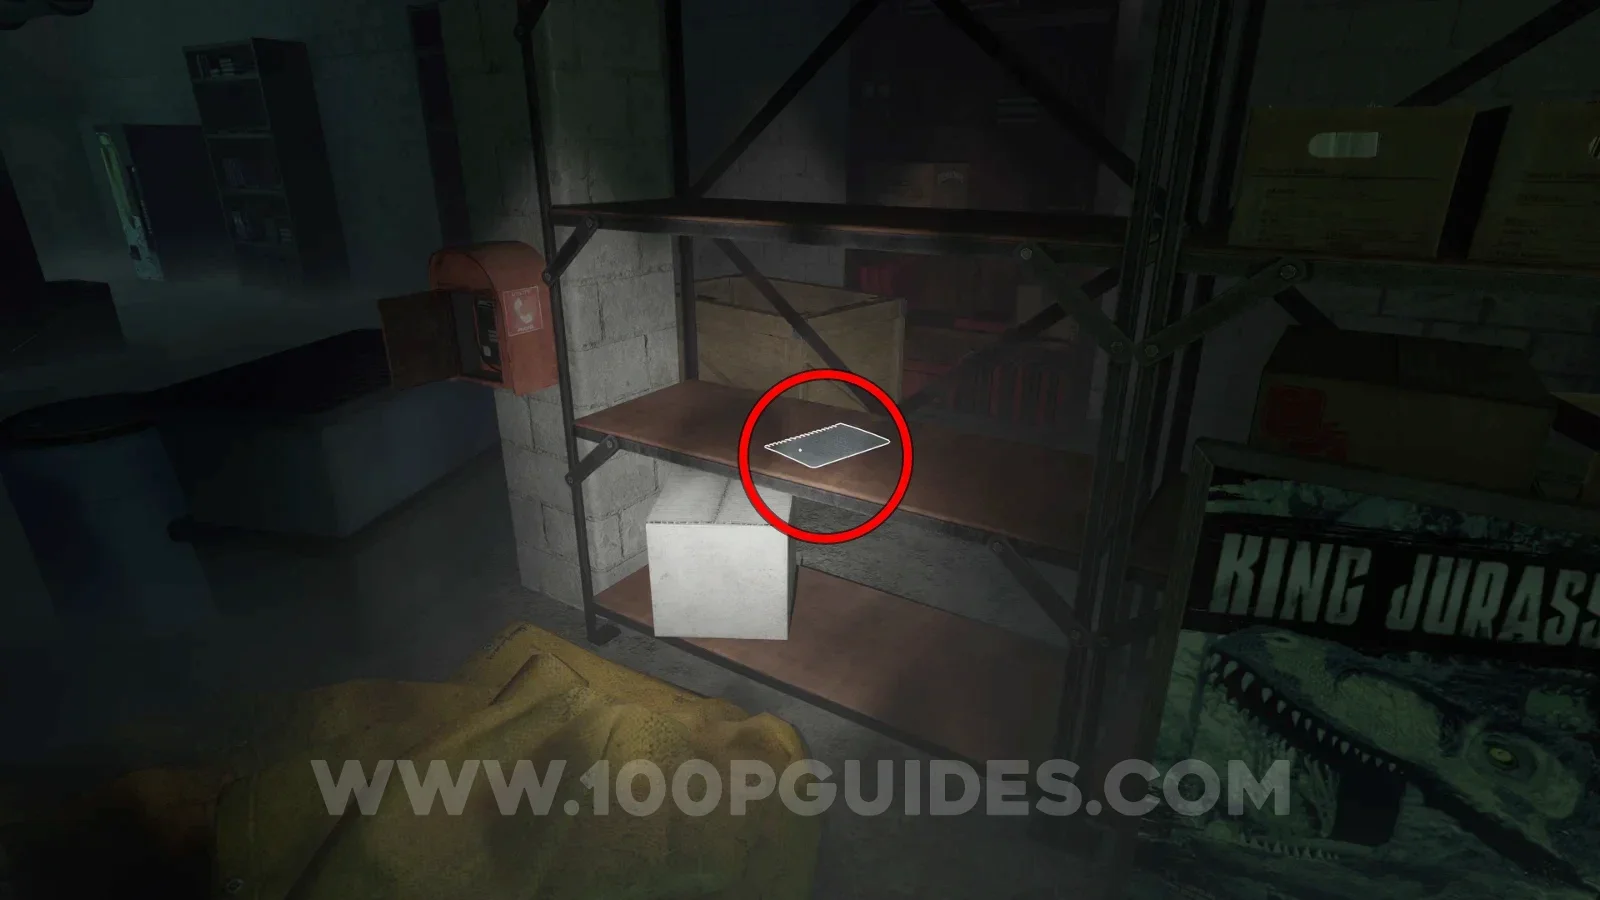
| Dalton Journal Entry: March 15 1981 | Gift-shop fuse basement: inspect the metal shelving beside the wall-mounted fire box and stacked exhibition signs. Location image ↗ |
Chapter 2
Chapter 2 walkthrough · Follow the story route between these landmarks.
| Note | Where to look |
|---|---|
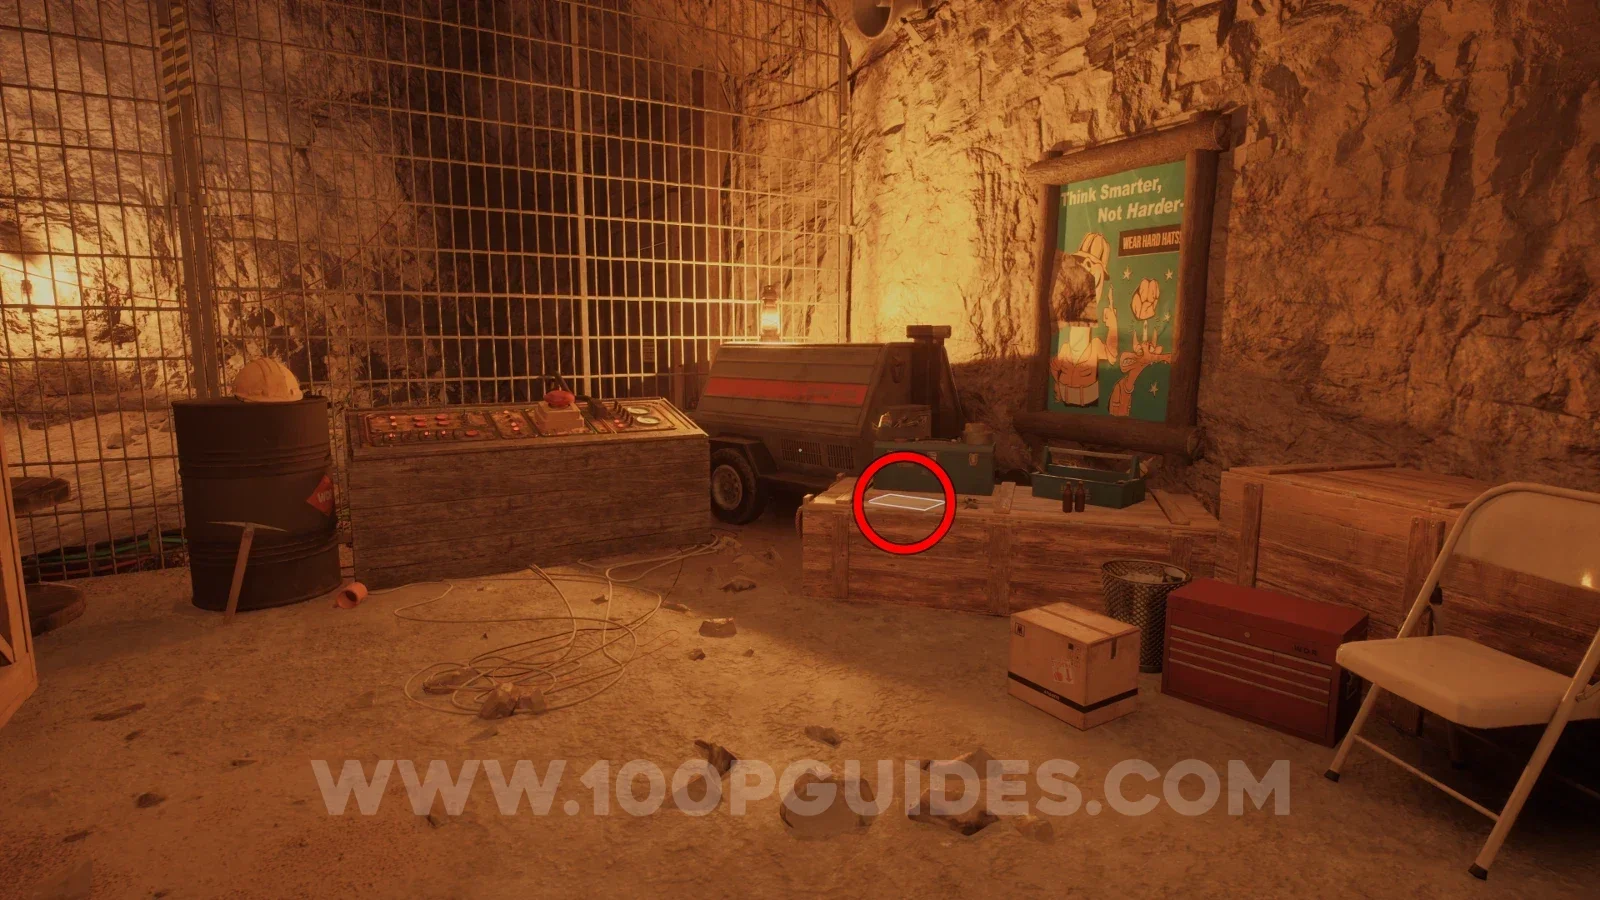
| Power Saver Doors | Initial digsite generator route: check the low crate beside the generator, tool case and red-button control. Location image ↗ |
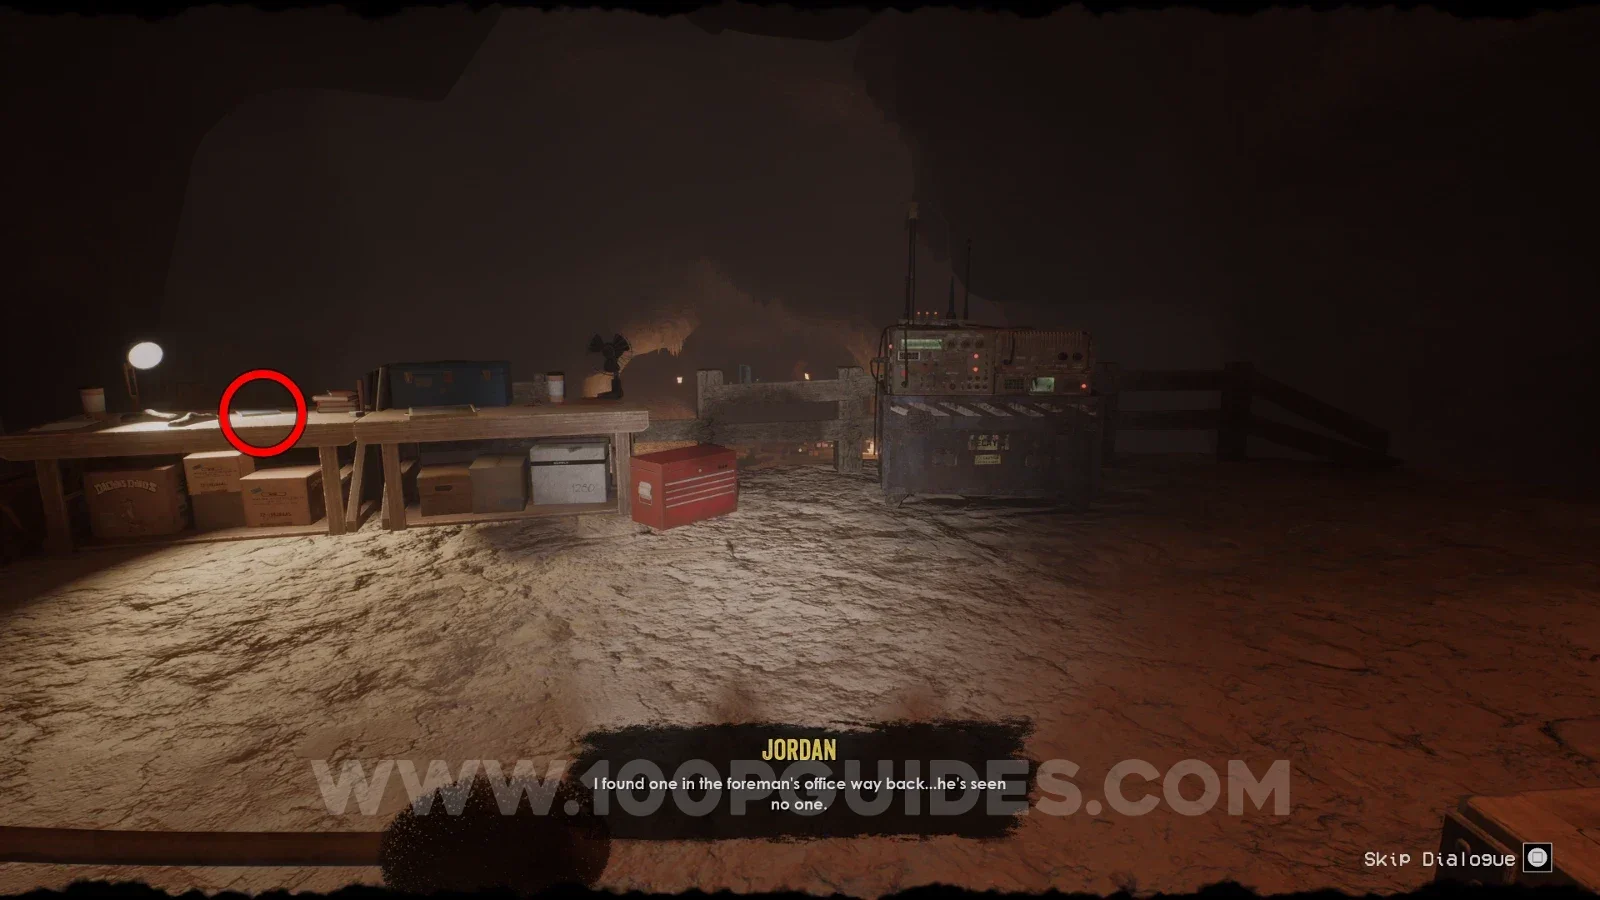
| Outpost Report | Communications outpost: inspect the lit workbench immediately beside the radio equipment, near the red toolbox. Location image ↗ |
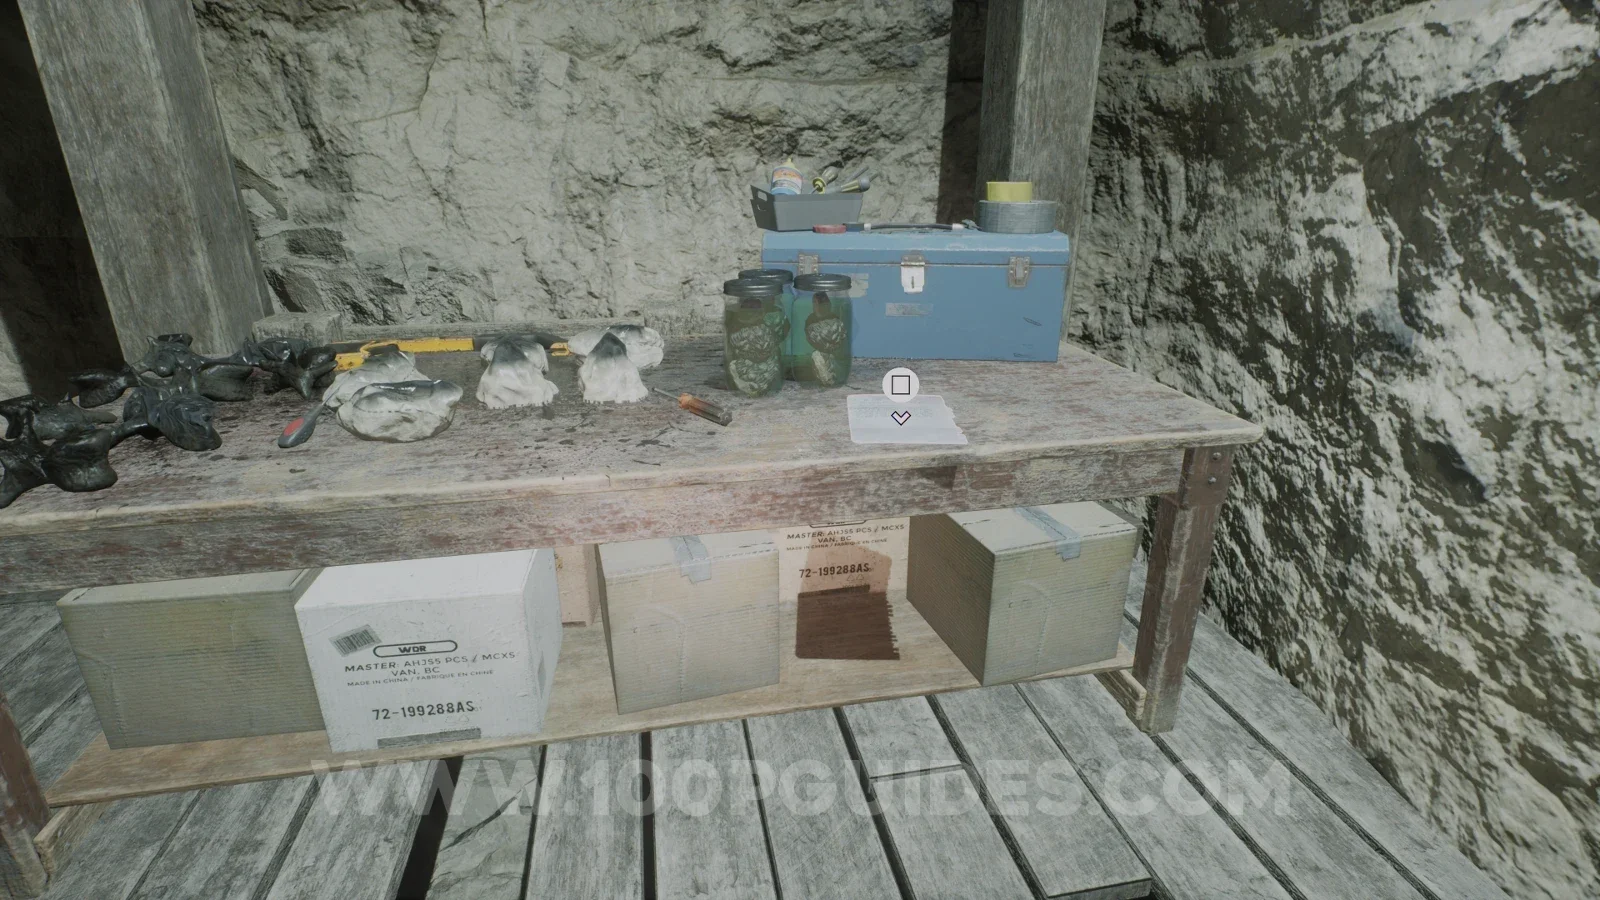
| Stella’s Journal Entry: Jan 10 1989 | Lit workstation near the Paleo Pal: check the table with specimen jars, fossil casts and the blue toolbox. Location image ↗ |
Chapter 3
Chapter 3 walkthrough · Follow the story route between these landmarks.
| Note | Where to look |
|---|---|
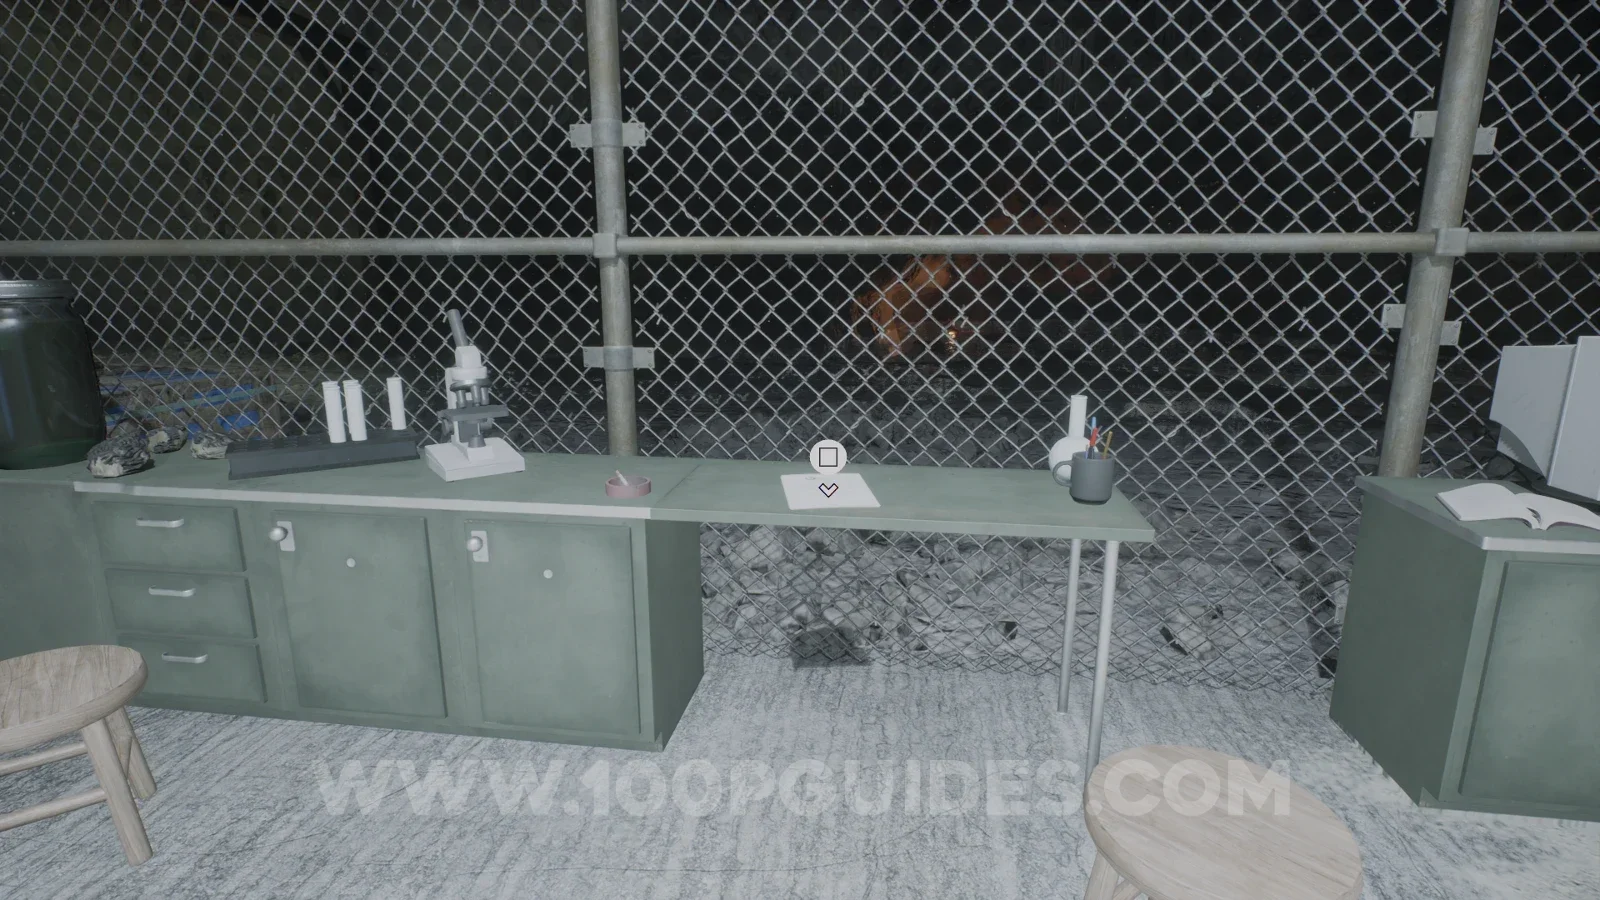
| Water Issues | Opening flooded worksite: enter the fenced research area and check the pale table beside the microscope. Location image ↗ |
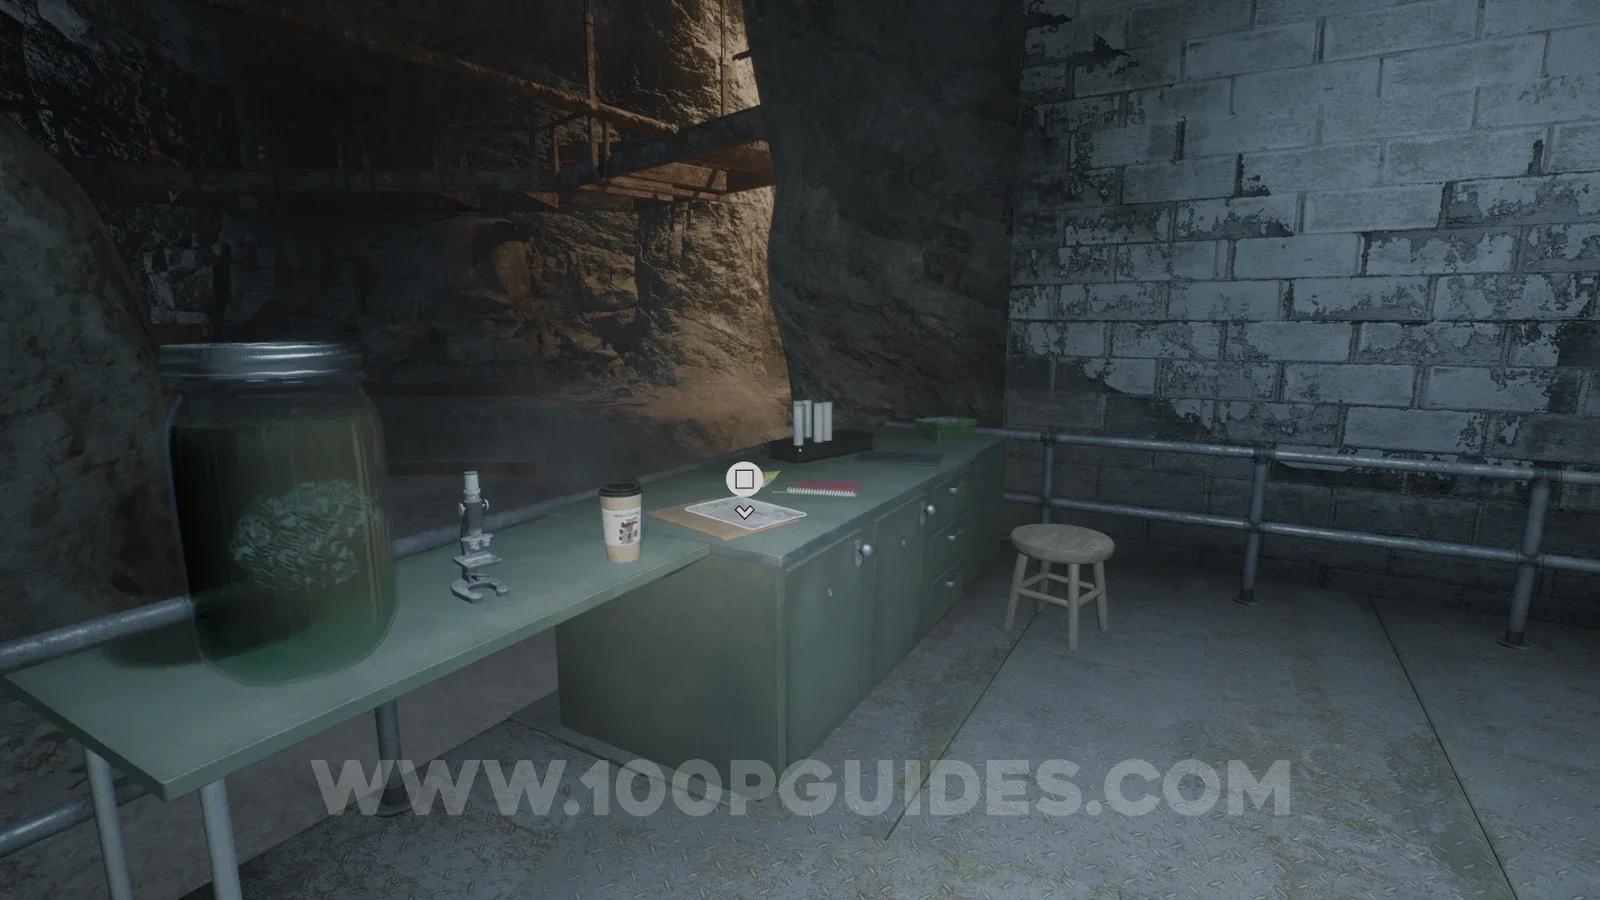
| Substance Field Report: Elastic | First elastic-goo research area: inspect the laboratory counter beside the specimen jar, microscope and stool. Location image ↗ |
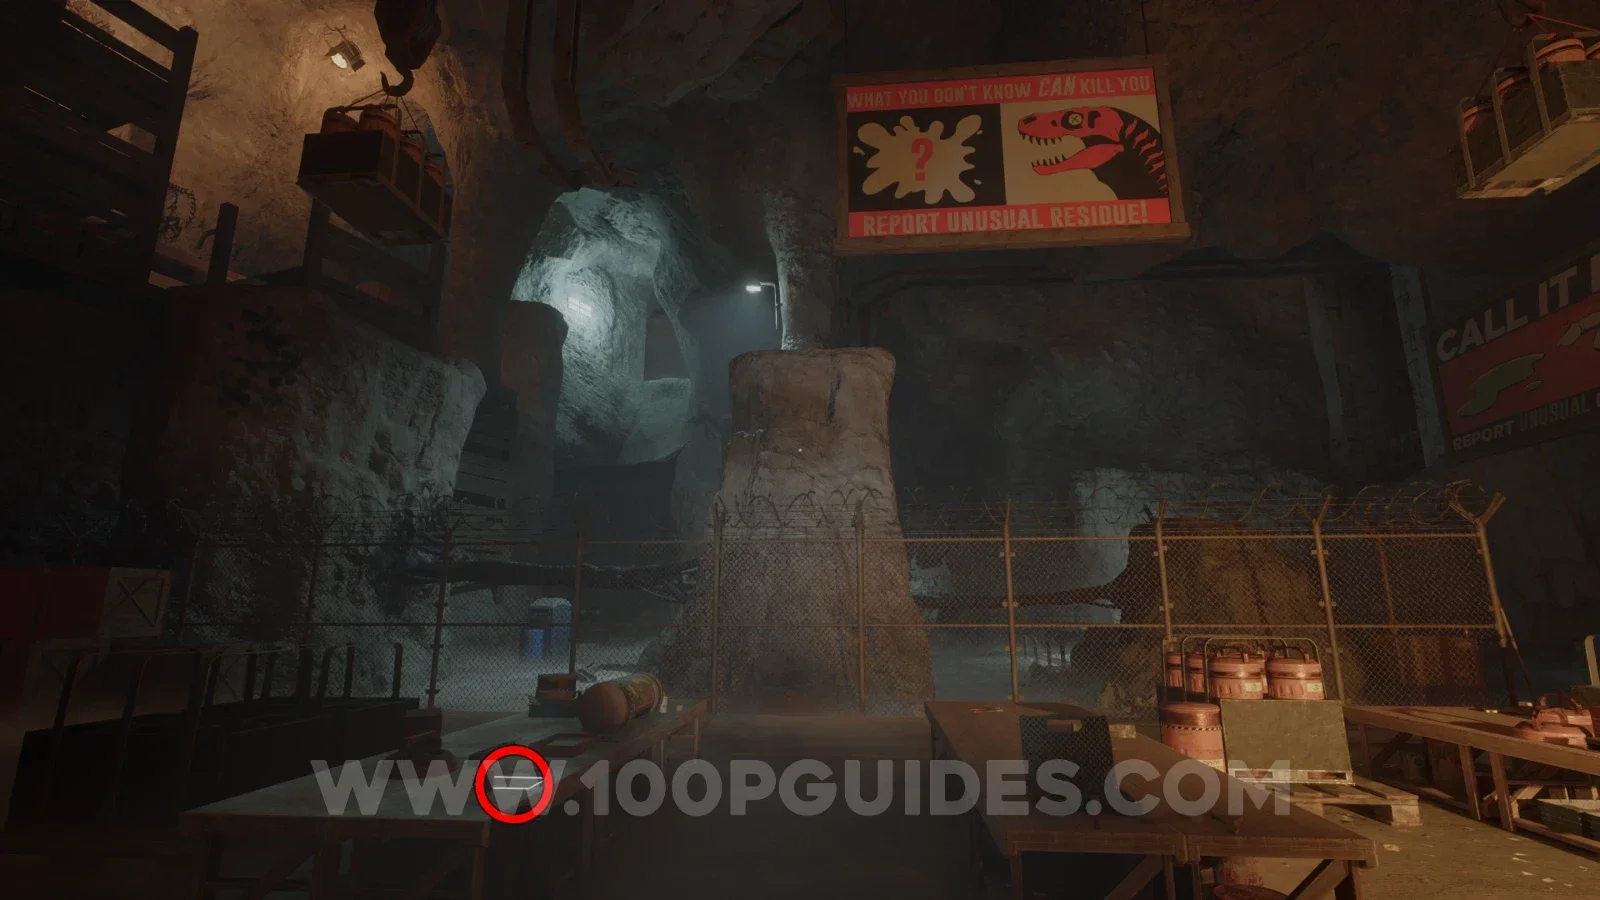
| Memo to DC | Dinosaur-billboard equipment area: check the front supply table beneath the unusual-residue warning signs. Location image ↗ |
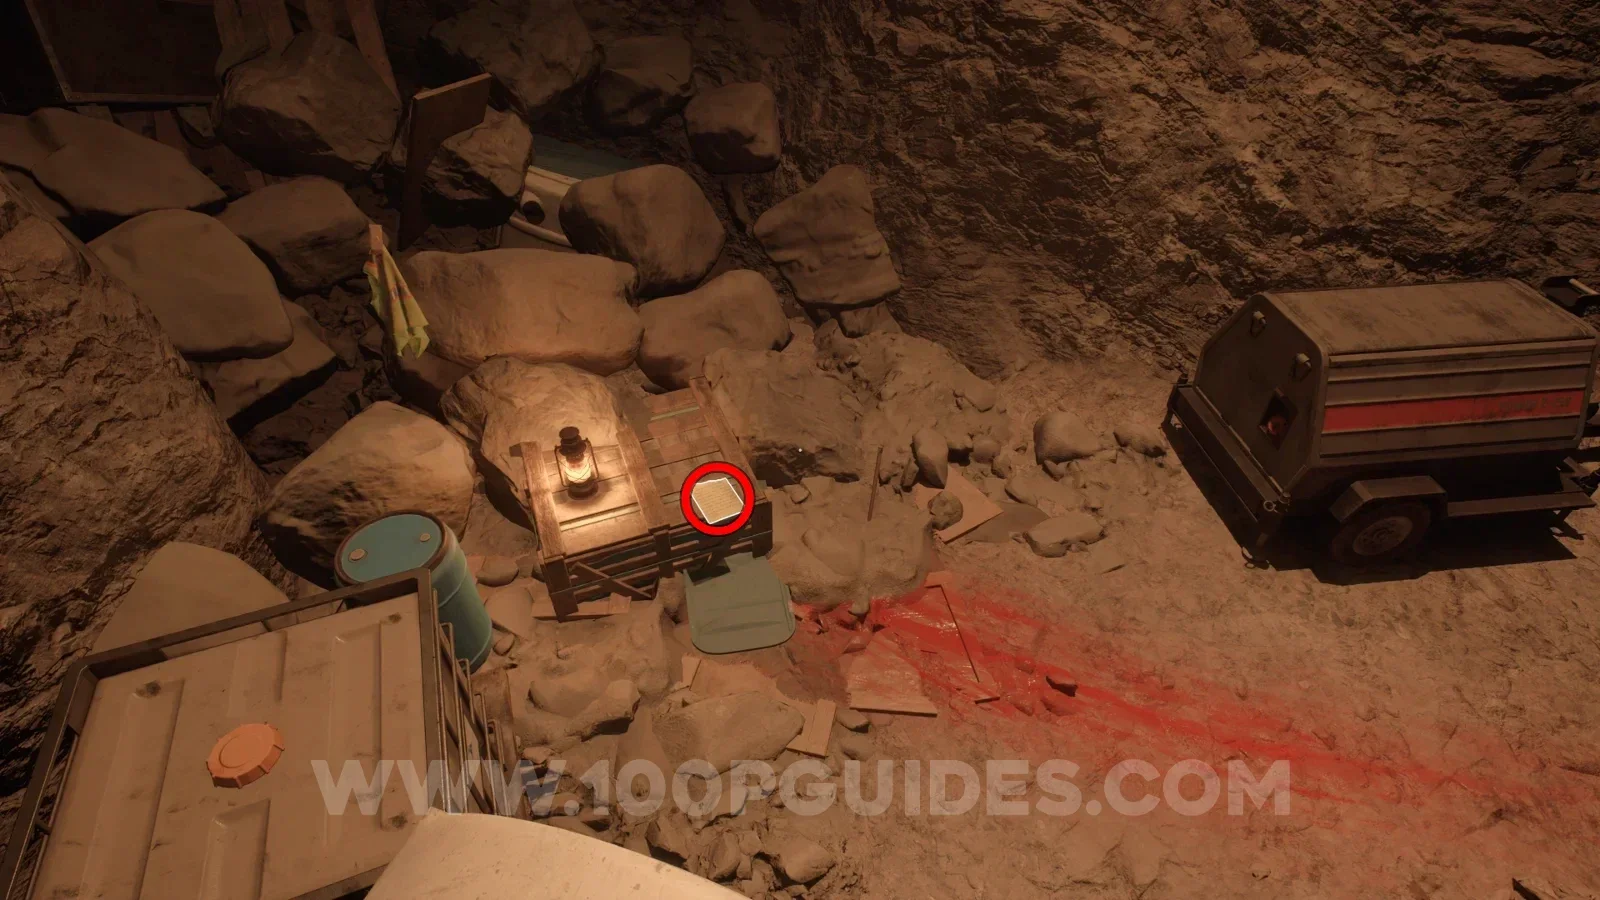
| The Allo has rules | After the first Allo escape and floor collapse: look down toward the lantern-lit wooden crate beside the red trail. Location image ↗ |
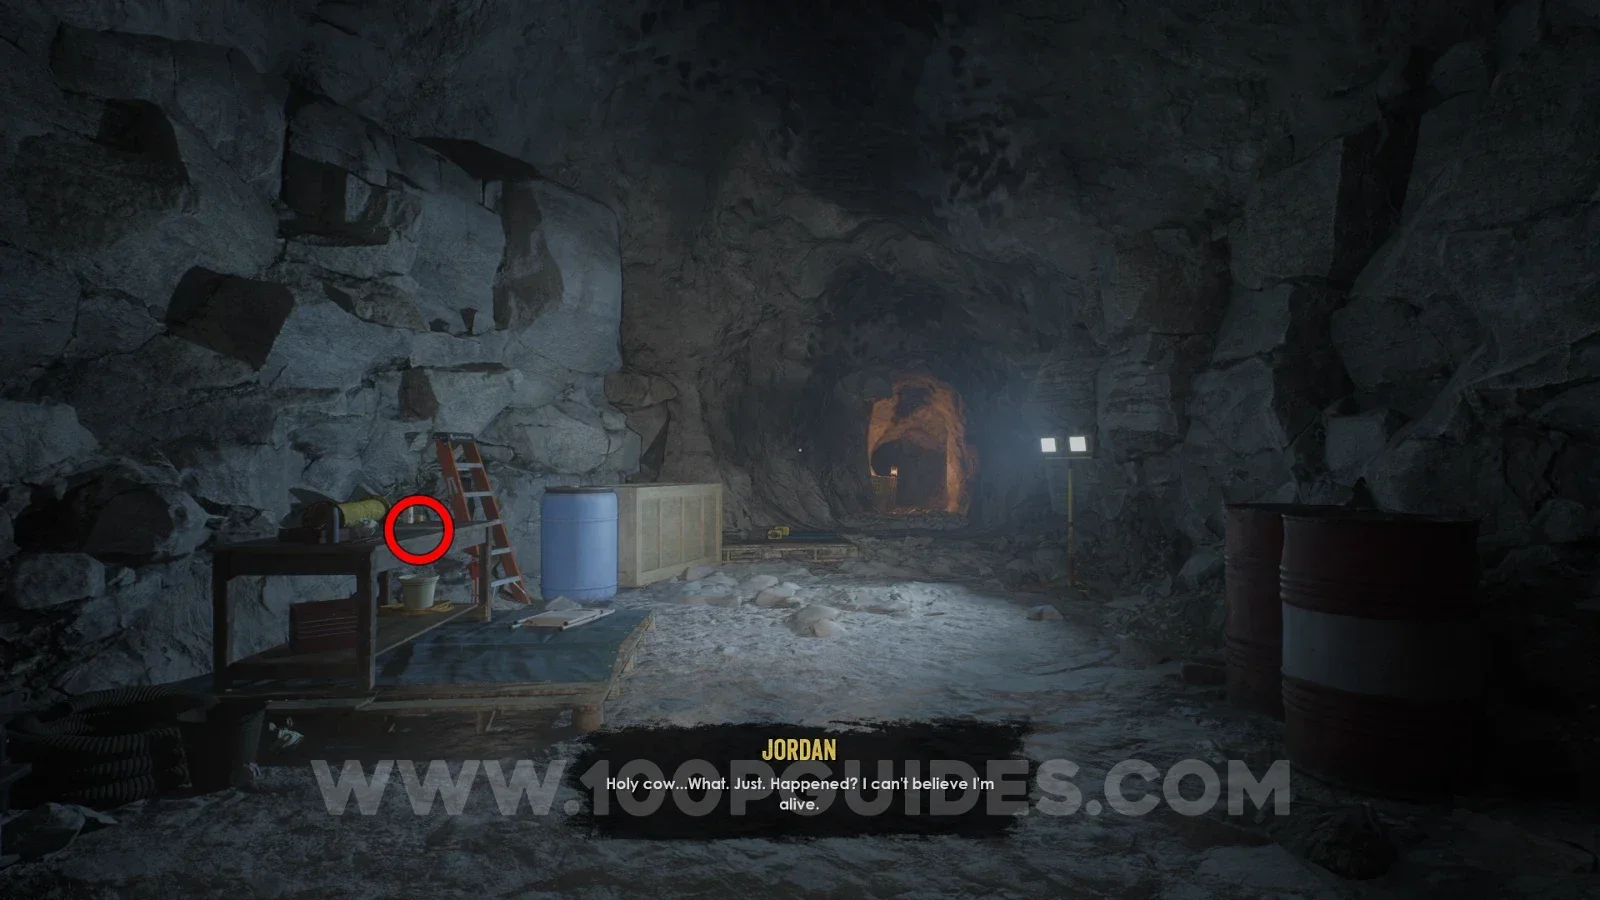
| Water never plays nice, does it? | Exit from the narrow Allo escape passage: check the workbench beside the ladder and blue barrel. Location image ↗ |
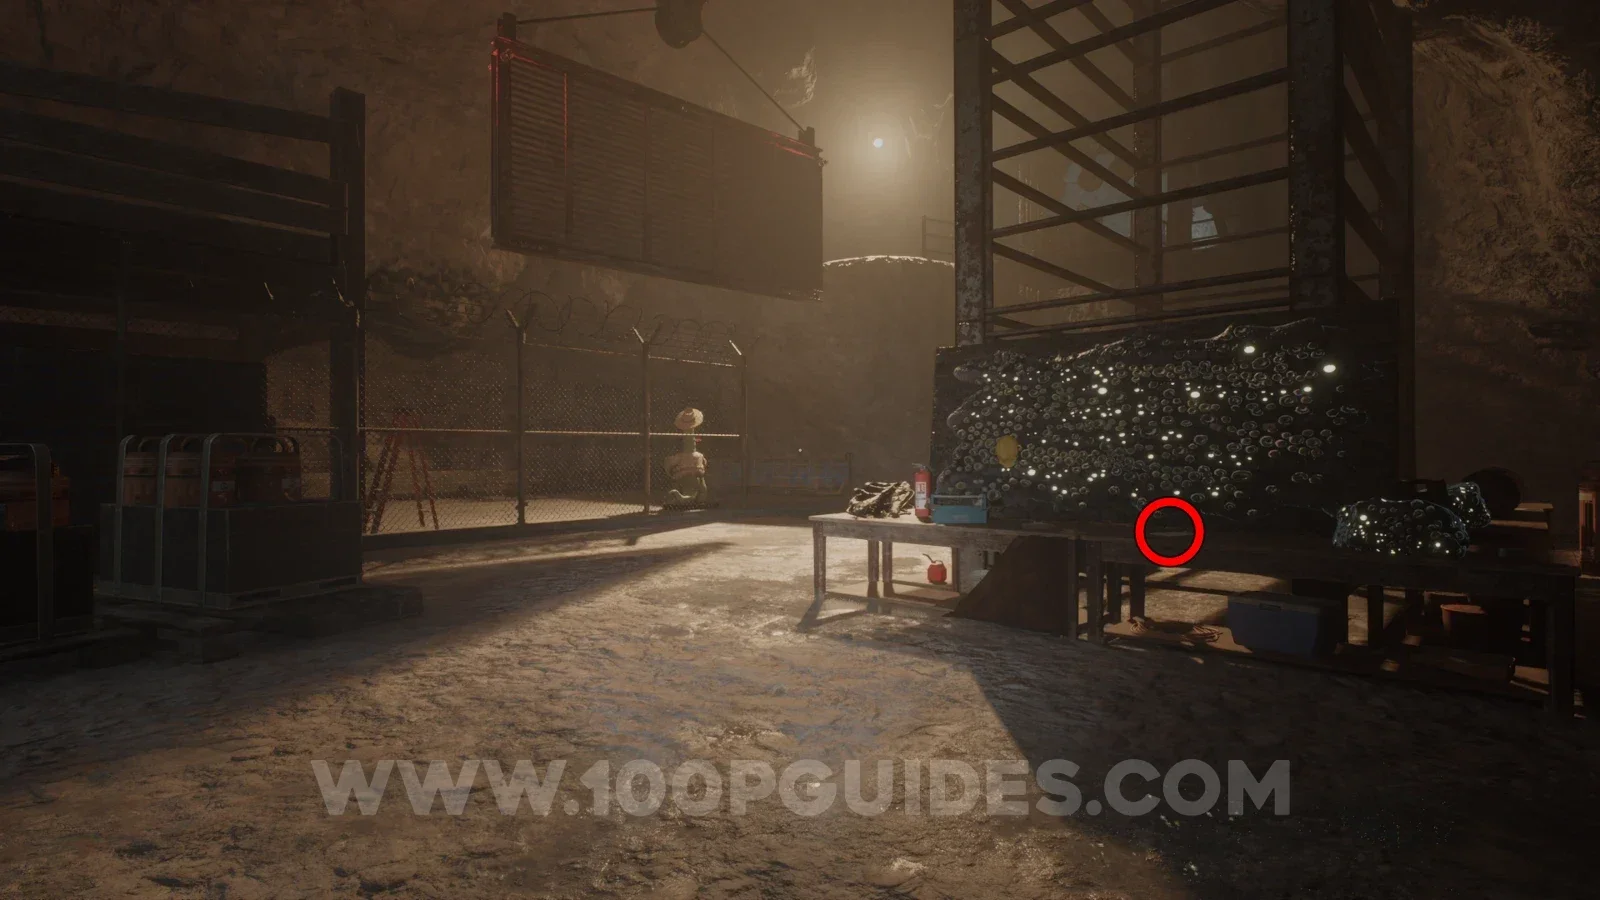
| Substance Field Report: Adhesion | Wallrunning research area: search the table in front of the large dark goo sample. The framed coated panel rises behind it. Location image ↗ |
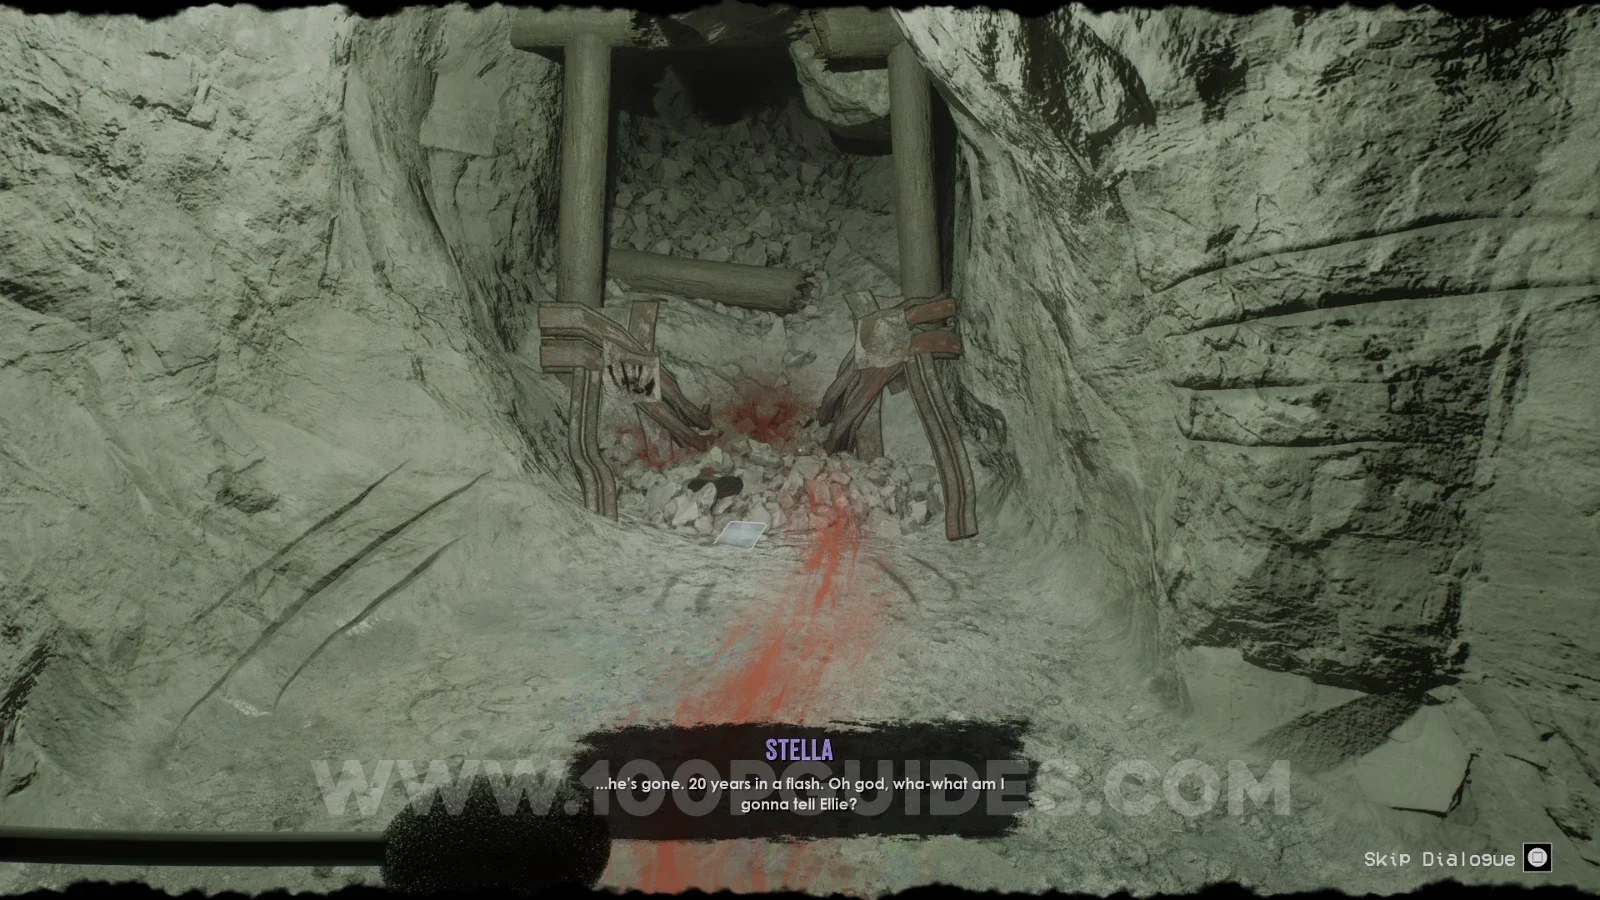
| Dalton’s letter goodbye | Dalton’s blood-trail cavern: look on the ground beside the collapsed timber supports and rubble. Location image ↗ |
Chapter 4
Chapter 4 walkthrough · Follow the story route between these landmarks.
| Note | Where to look |
|---|---|
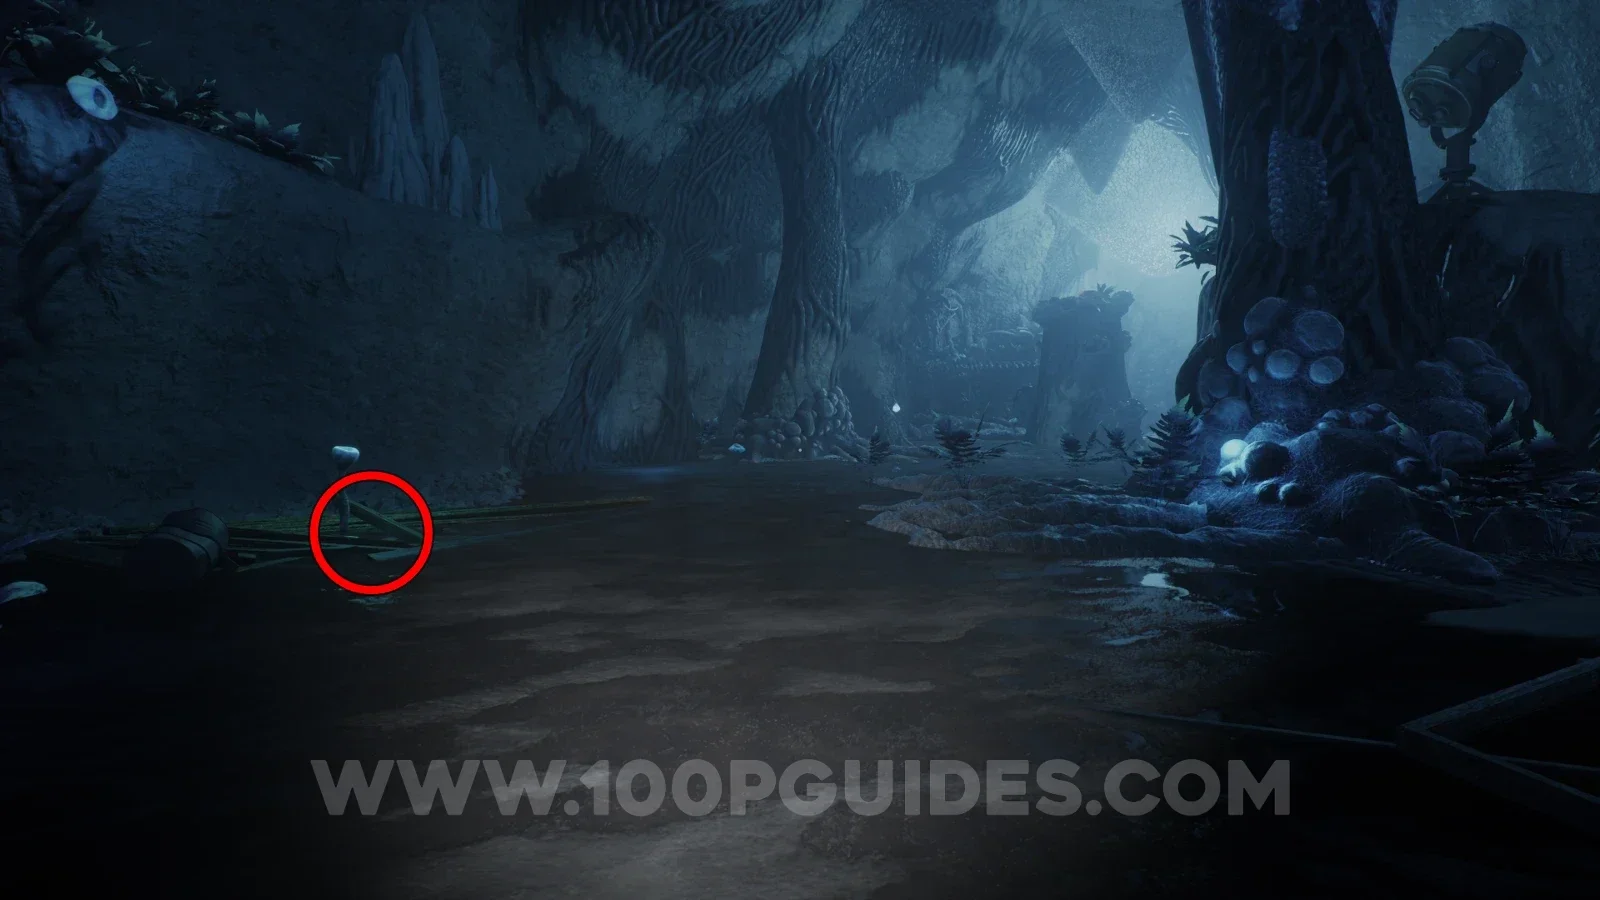
| It’s everywhere | Opening blue cavern after the chase: inspect the wooden planks along the left side of the path. Location image ↗ |
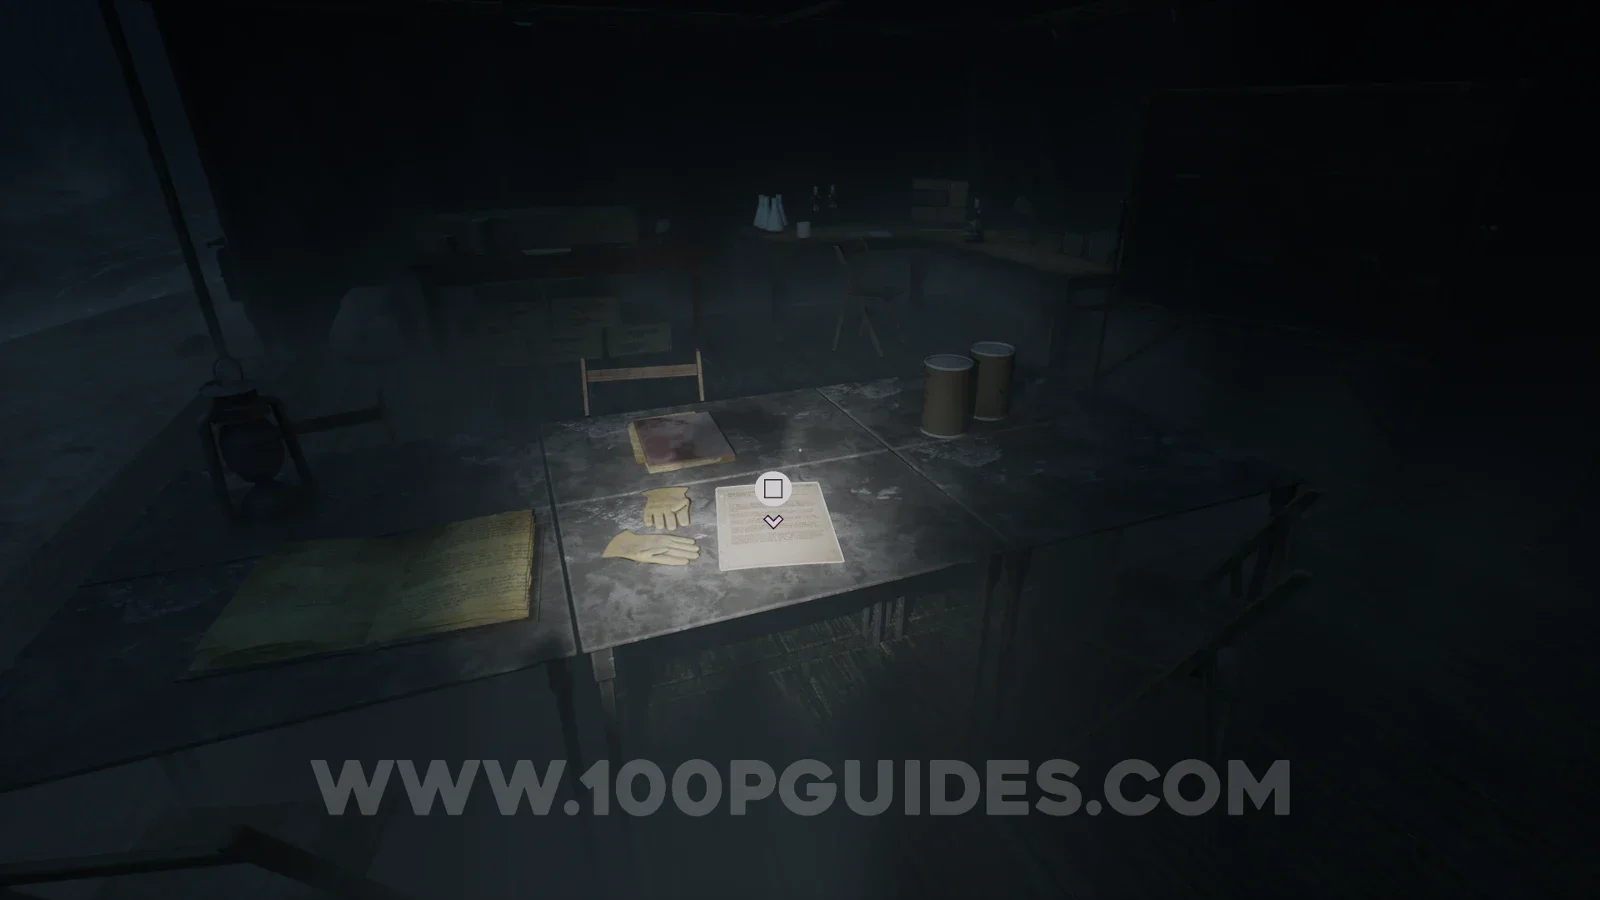
| Dr. Jane Hicks: Research Report | Opening tent camp: search the first tent on the left. Check the metal table beside the yellow gloves and folder. Location image ↗ |
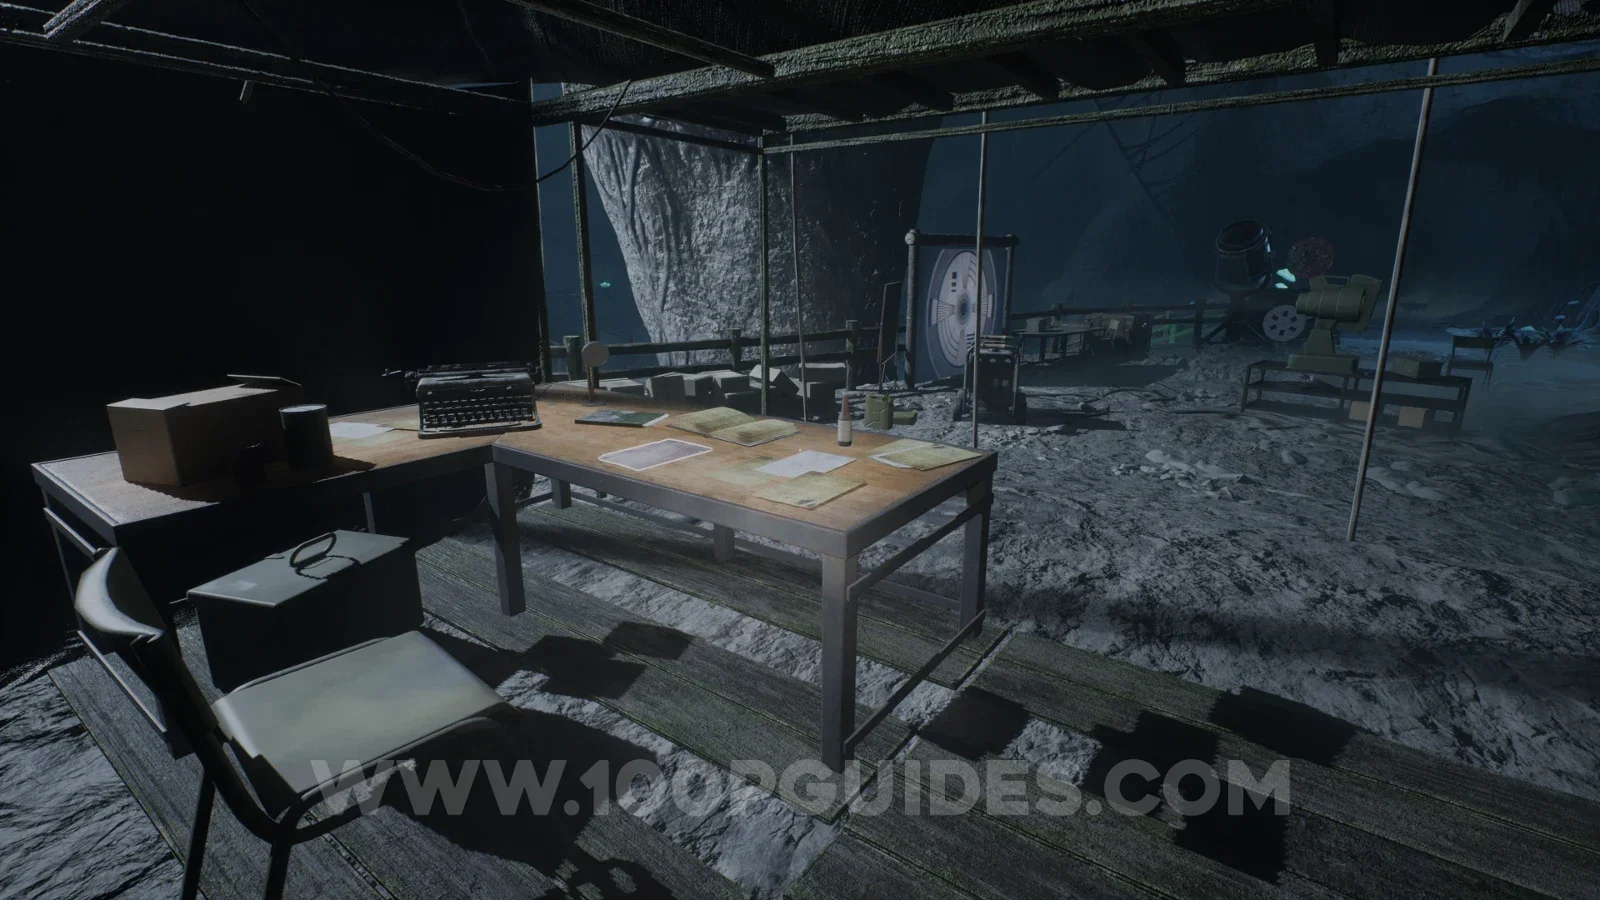
| Missing man | Tent left of the projector: inspect the writing table by the typewriter, facing the shooting target and projector equipment. Location image ↗ |
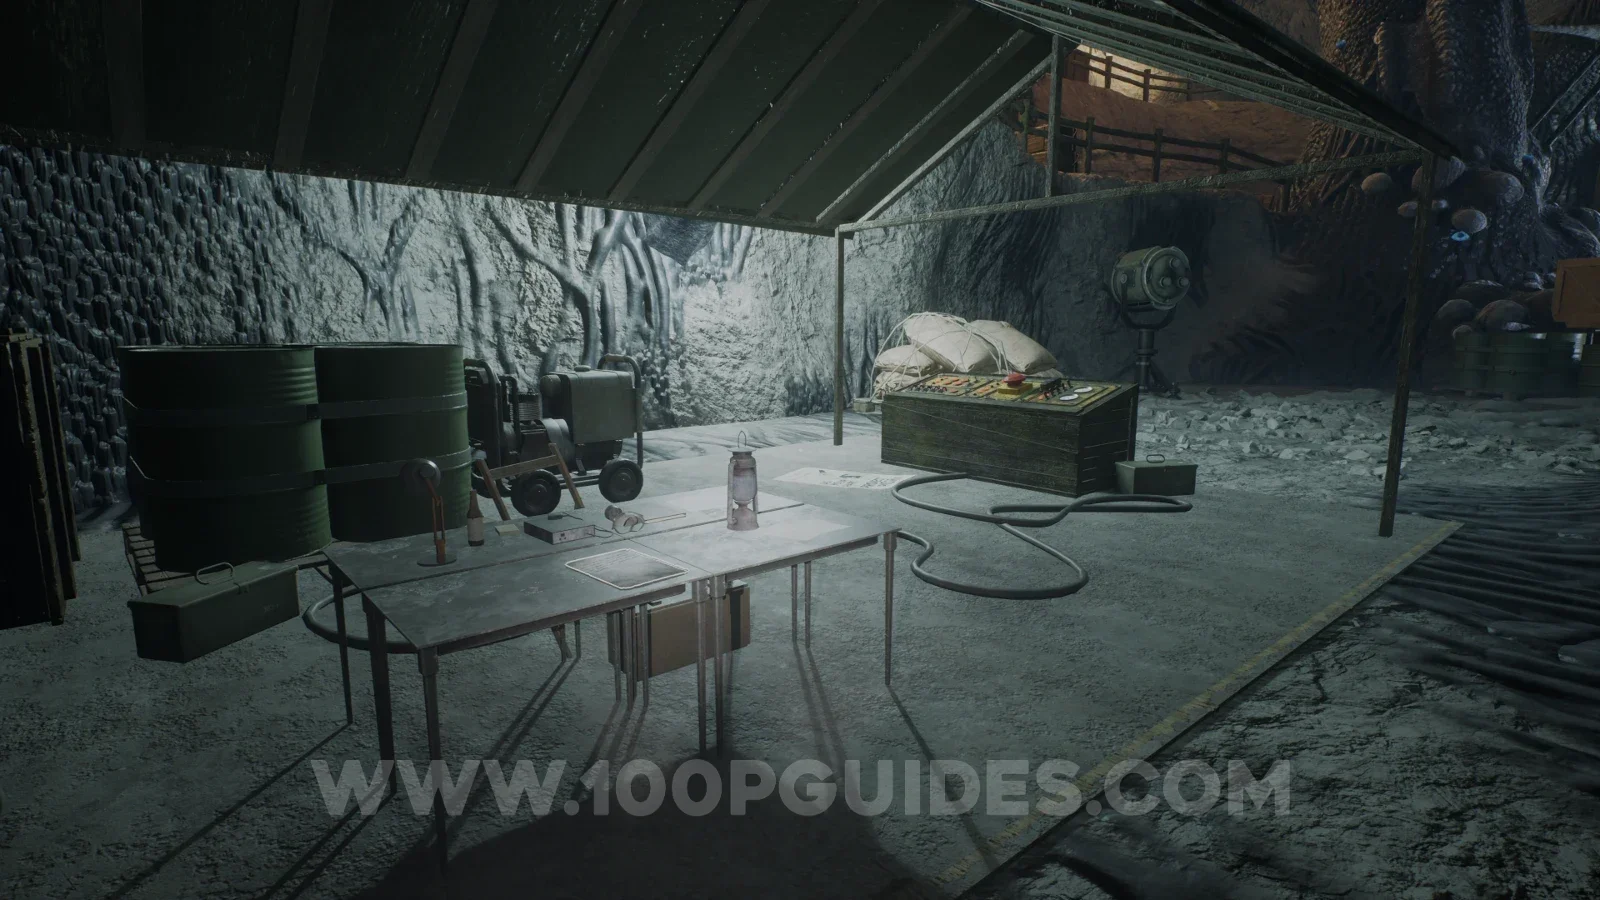
| Been through it | Counterweight control: check the folding table next to the machinery console, lantern and two large green barrels. Location image ↗ |
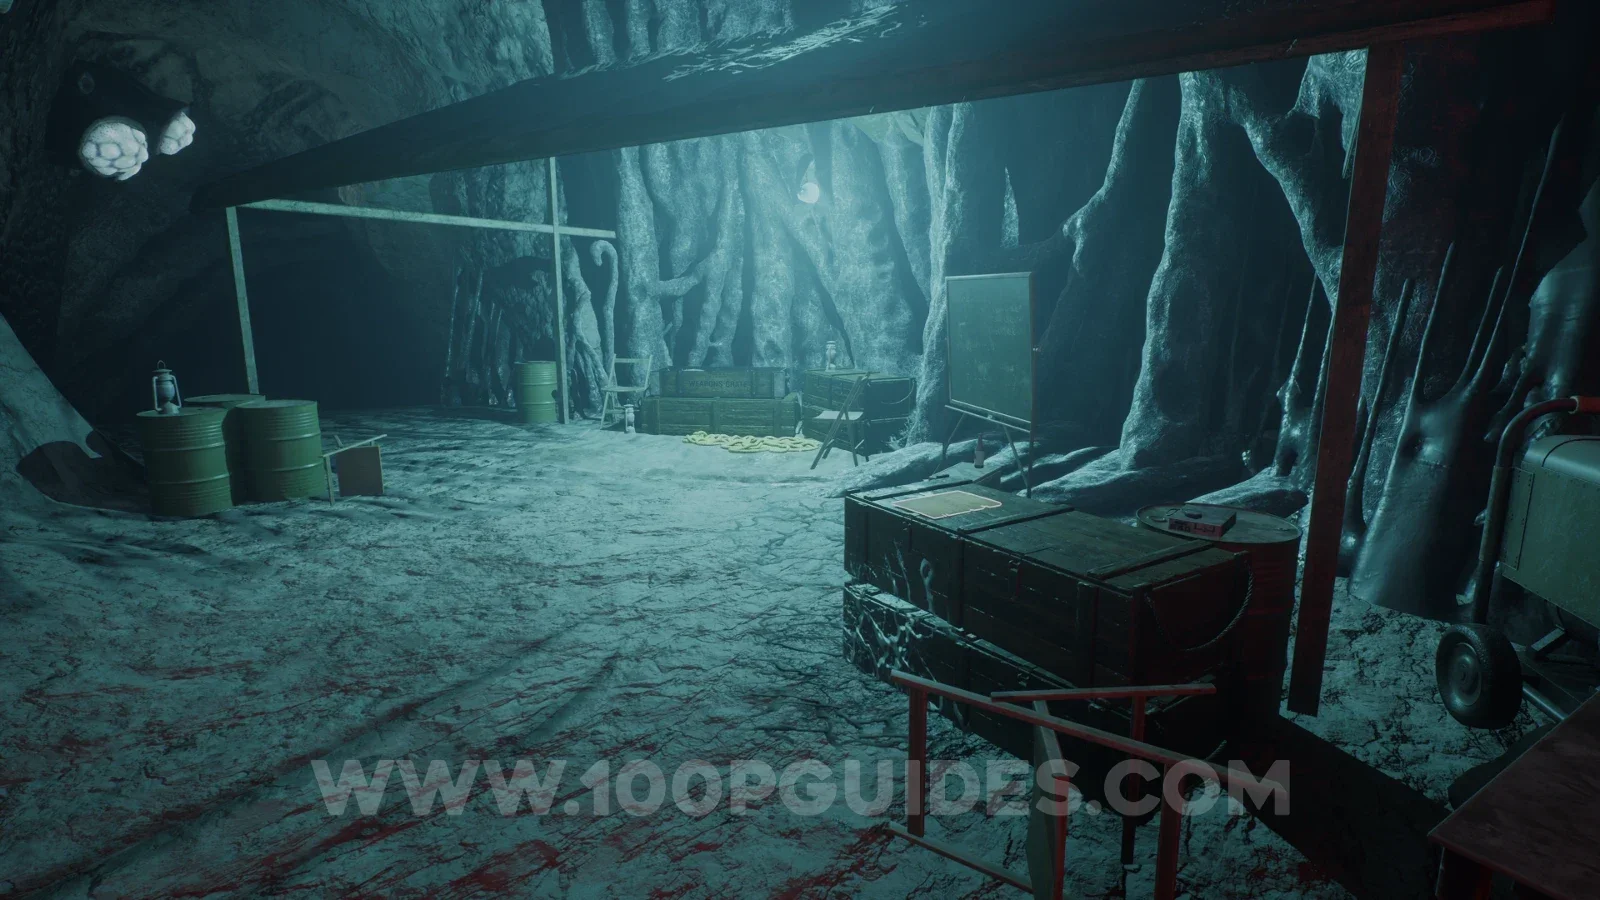
| Tommy Guns | Small weapon camp: examine the military chest beside the makeshift awning and red support post, near the blood trail. Location image ↗ |
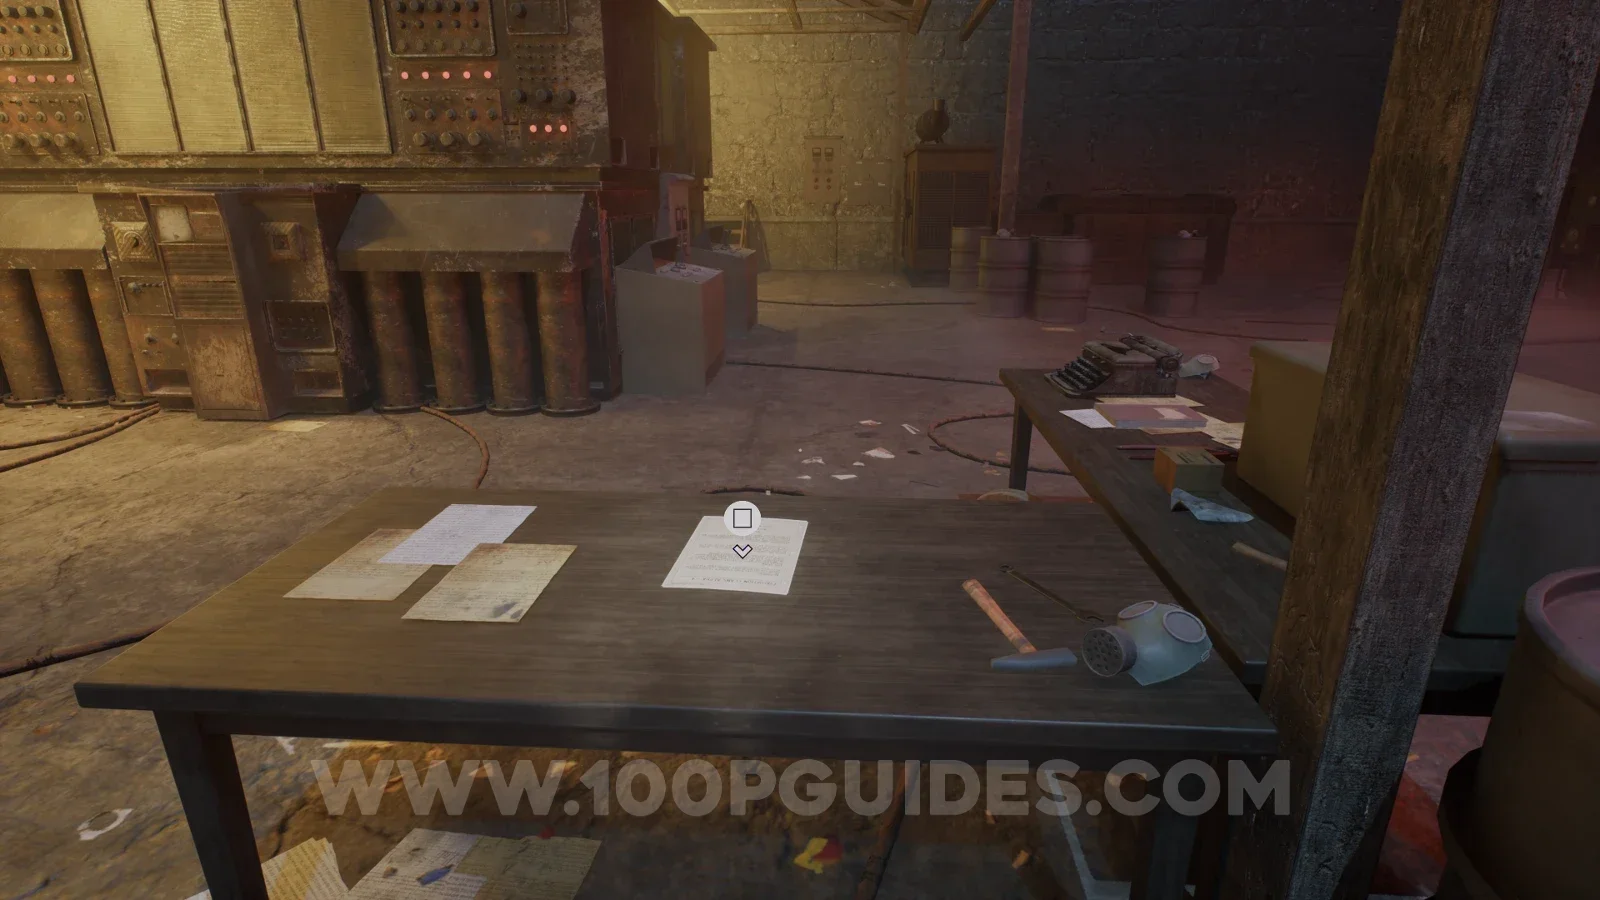
| Evacuation plans | Crew Lift camp: check the wooden worktable beside the tall lift machinery, near the respirator and typewriter. Location image ↗ |
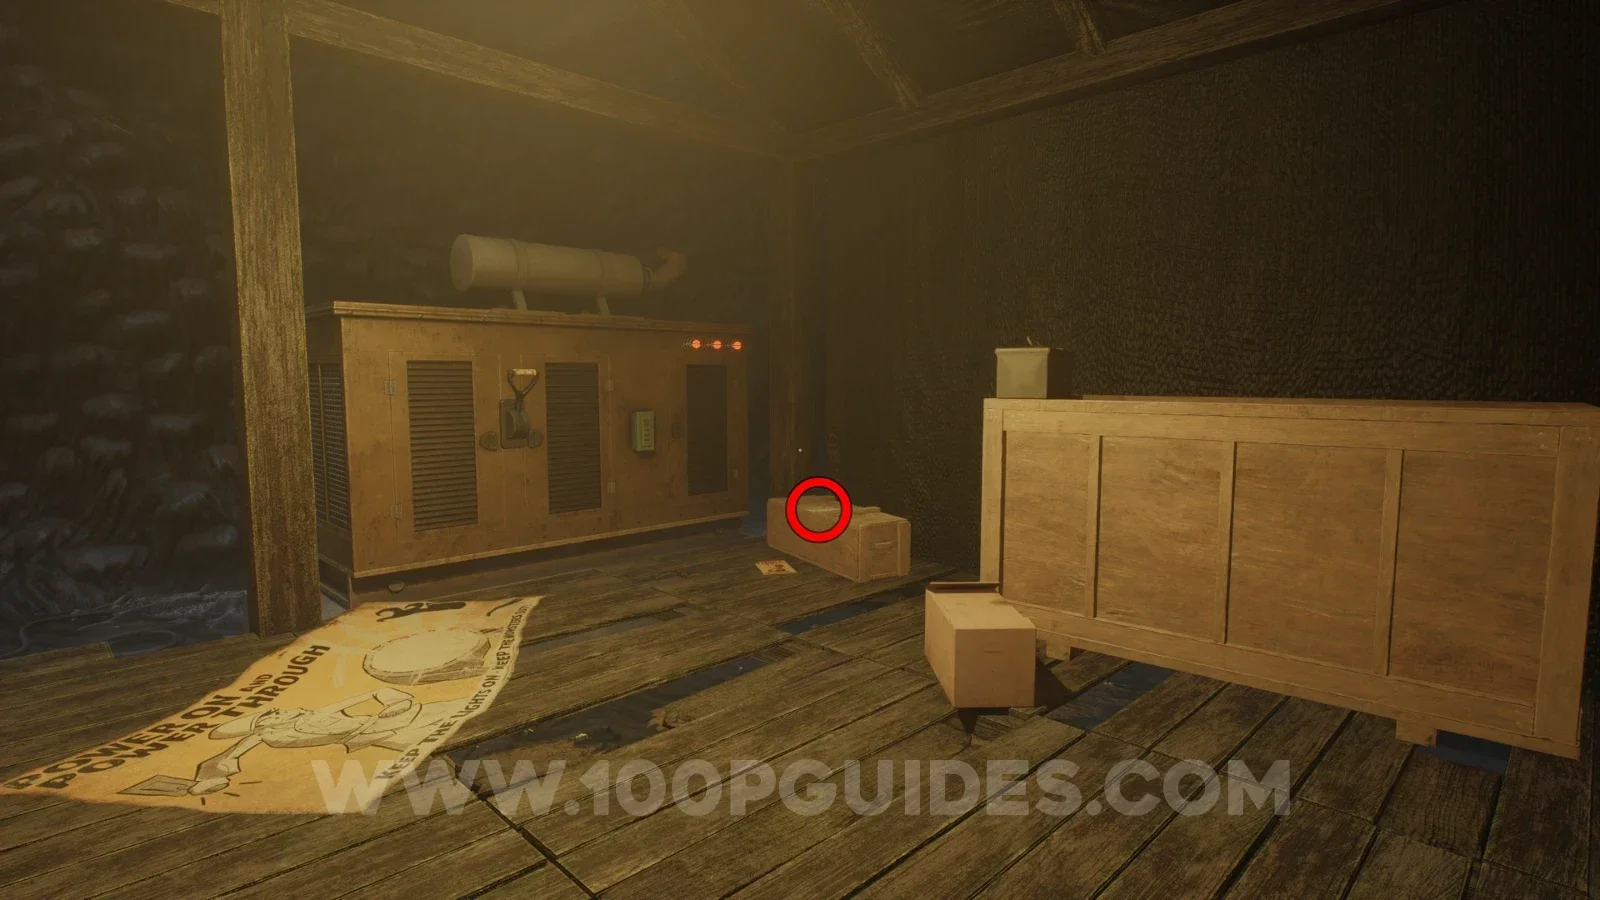
| The special light | DJ’s camp tent: inspect the box beside the yellow generator, beneath the Keep the Lights On poster. Location image ↗ |
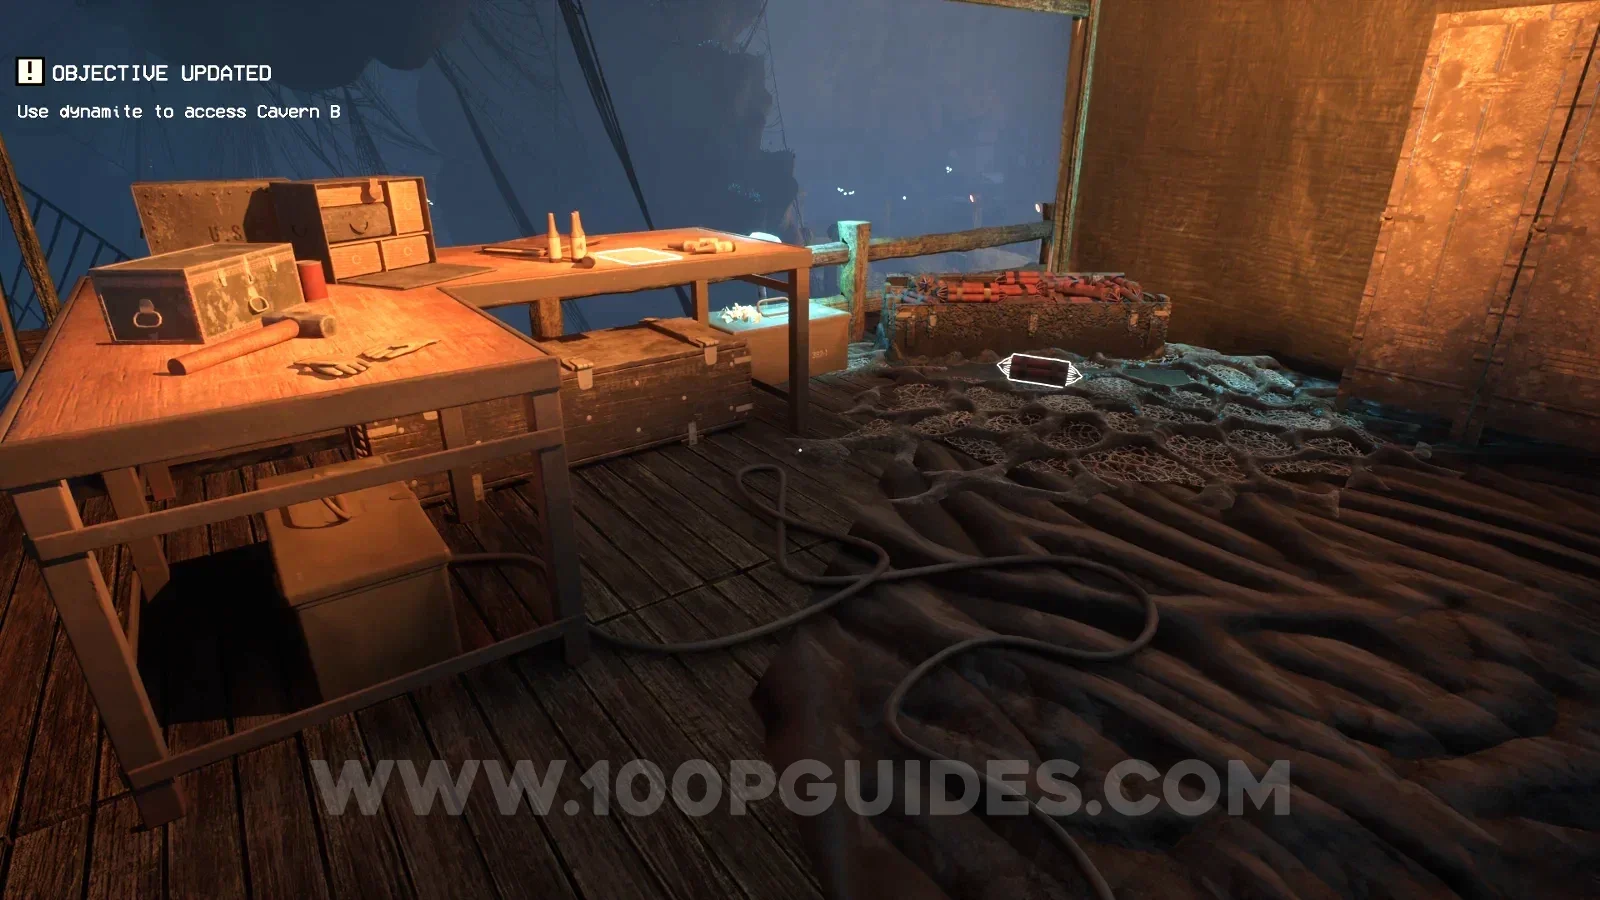
| To-do list | Cavern A dynamite platform: examine the rear worktable beside the explosives and rolled supplies. Location image ↗ |
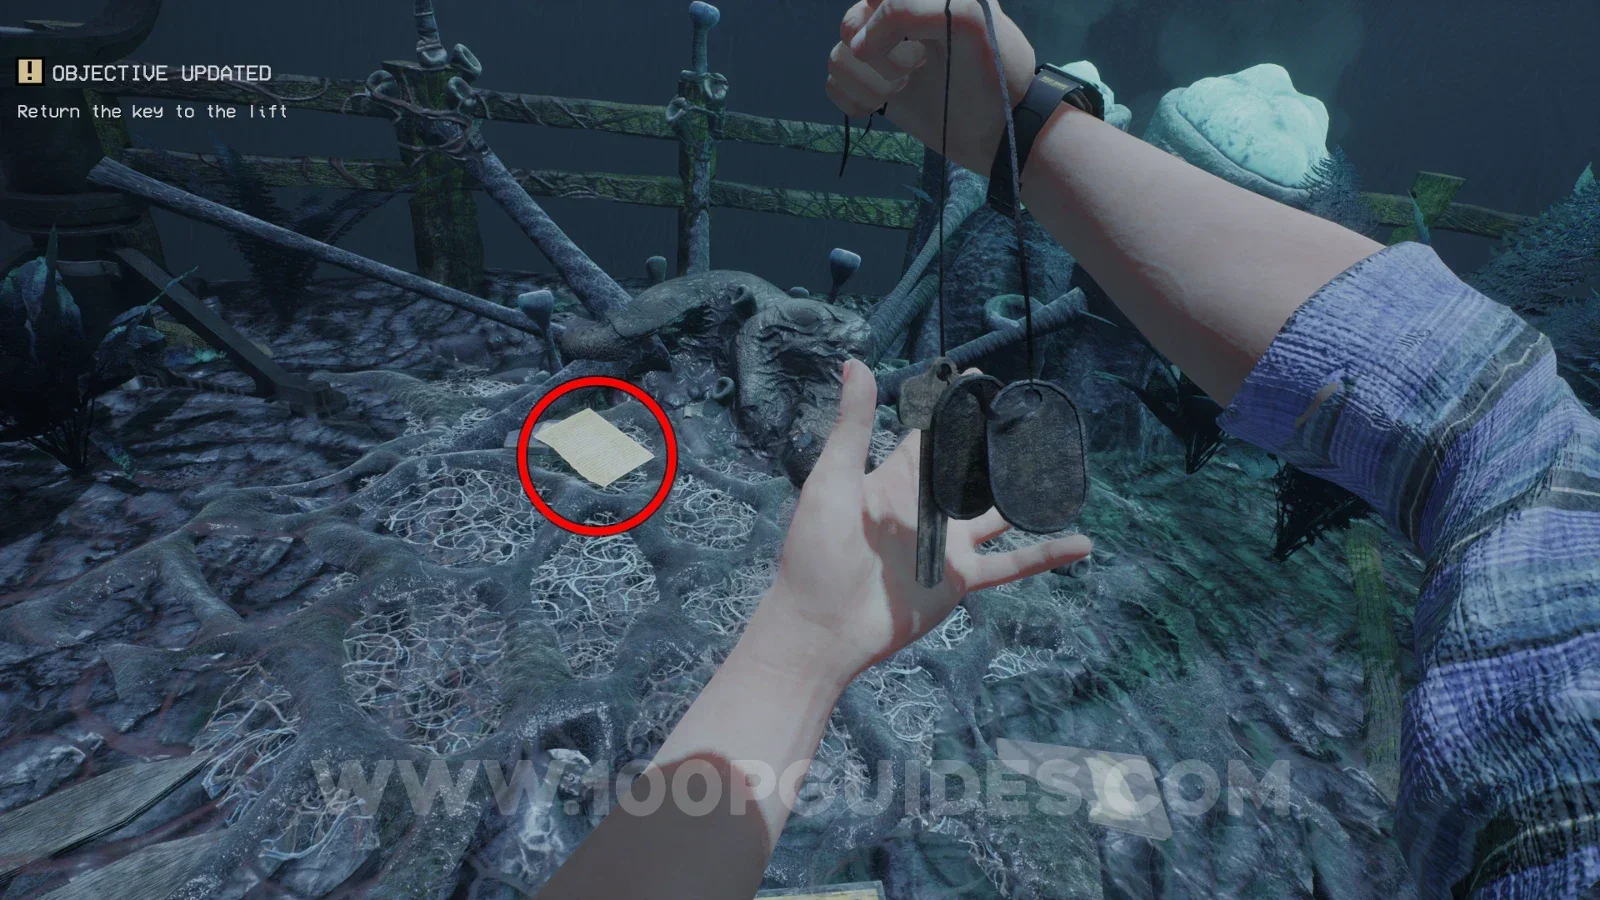
| Fellows’ last words | Cavern B key destination: look on the ground beside the body at the lift-key pickup. Location image ↗ |
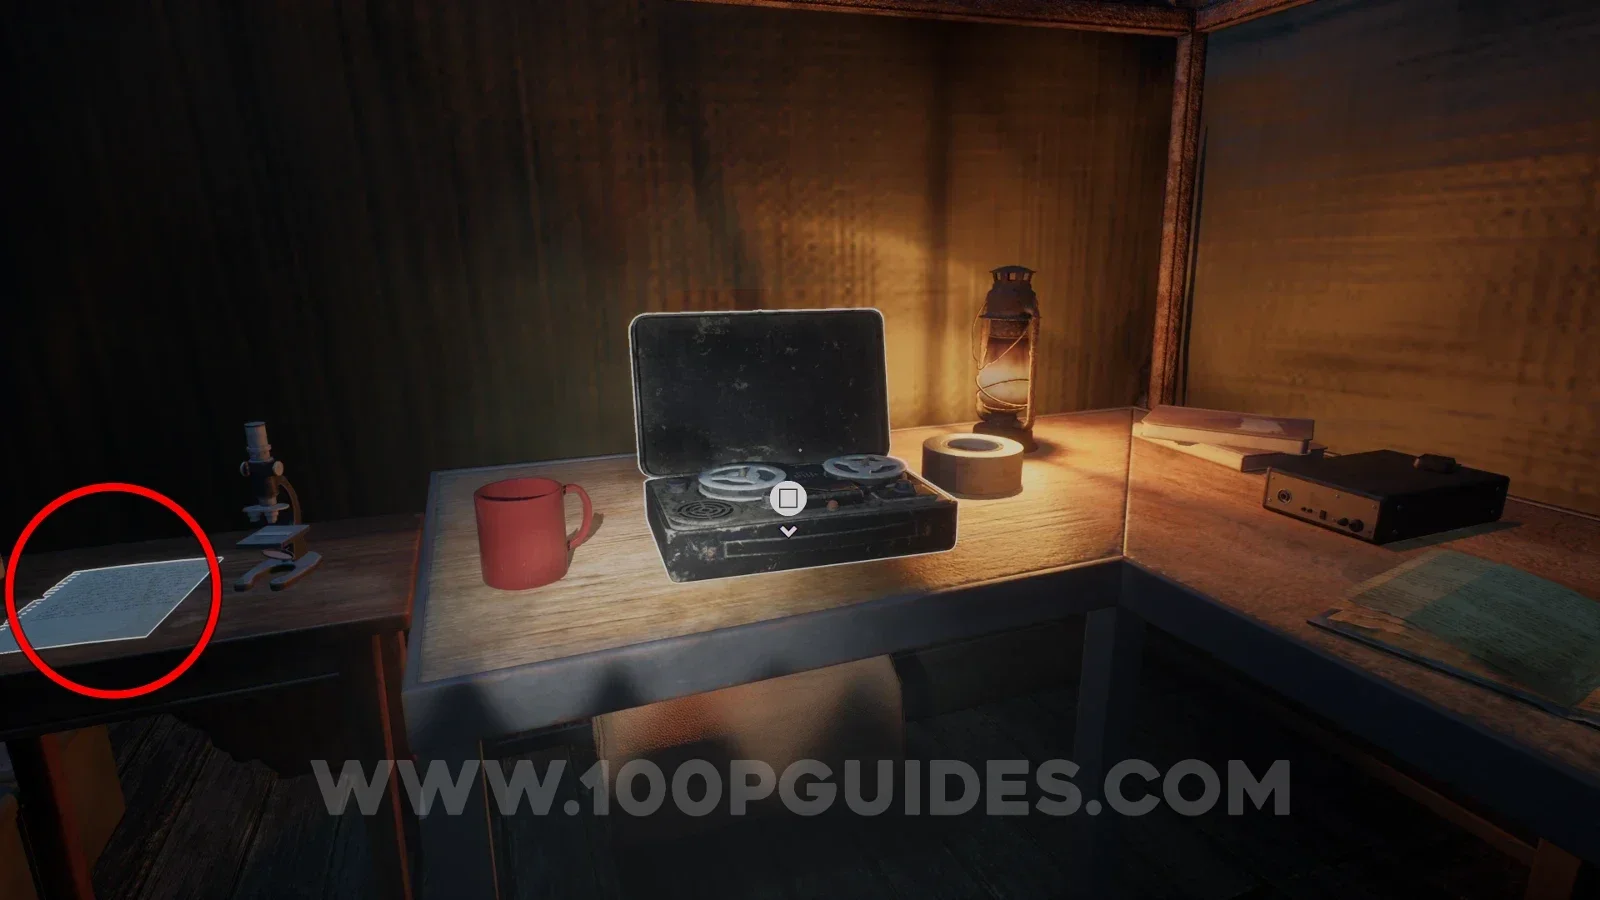
| Ground Zero | Cliff-side tent: check the small notebook beside the microscope, immediately left of Dr. Crane’s recording. Location image ↗ |
What remains unverified
This page has 69 of the reported 97 notes outside its reviewed coverage. That includes source entries still needing closer checks and the seven locations the original author says are missing. We do not assign those seven guessed titles, chapter totals or map positions.
Some source screenshots show only a building entrance, a distant object or the general approach. We have not promoted those into precise pickup instructions. A note absent from these tables may still be documented elsewhere; its absence does not mean it is unobtainable.
Matching a missing journal entry
Compare the source label and the landmark with your in-game list. A handwritten letter, journal page and recording may share a location but are different interactions. For example, Ground Zero and Dr. Crane’s recording sit beside one another; inspect both if you need both collection categories.
Report a correction
Send the item’s menu title, chapter, platform and build to contact@terriblelizardswiki.com. A screenshot showing the pickup and its surroundings is useful. For other collection categories, return to the amber and toy guide.