Before you start
This chapter lists 4 amber, 27 notes and 8 tapes (39 stops). Entries follow the published collection reference’s order, grouped into broad story stages. These groups are navigation aids, not a promise that every stop is immediately accessible or that no backtracking is needed. Follow your active objective and use the Chapter 3 walkthrough between detours.
Checks are shared with the amber, note and tape guides on this browser. Image reviewed means the linked source image was compared with the route; Community report means the final pickup remains unconfirmed here. Item names are reported labels. Seven notes remain unmapped across the game; this is not a complete 97-note achievement route. Toy deliveries remain in the separate pickup and pedestal list.
Chapter 3: Opening goo caverns
Story objective: Use the repositioned platforms, elastic goo and timed doors. Open the steps.
Checkpoint: You can continue to the train worksite. Collectible detours below may span the approach and return route.
| Stop | Location and reference |
|---|---|
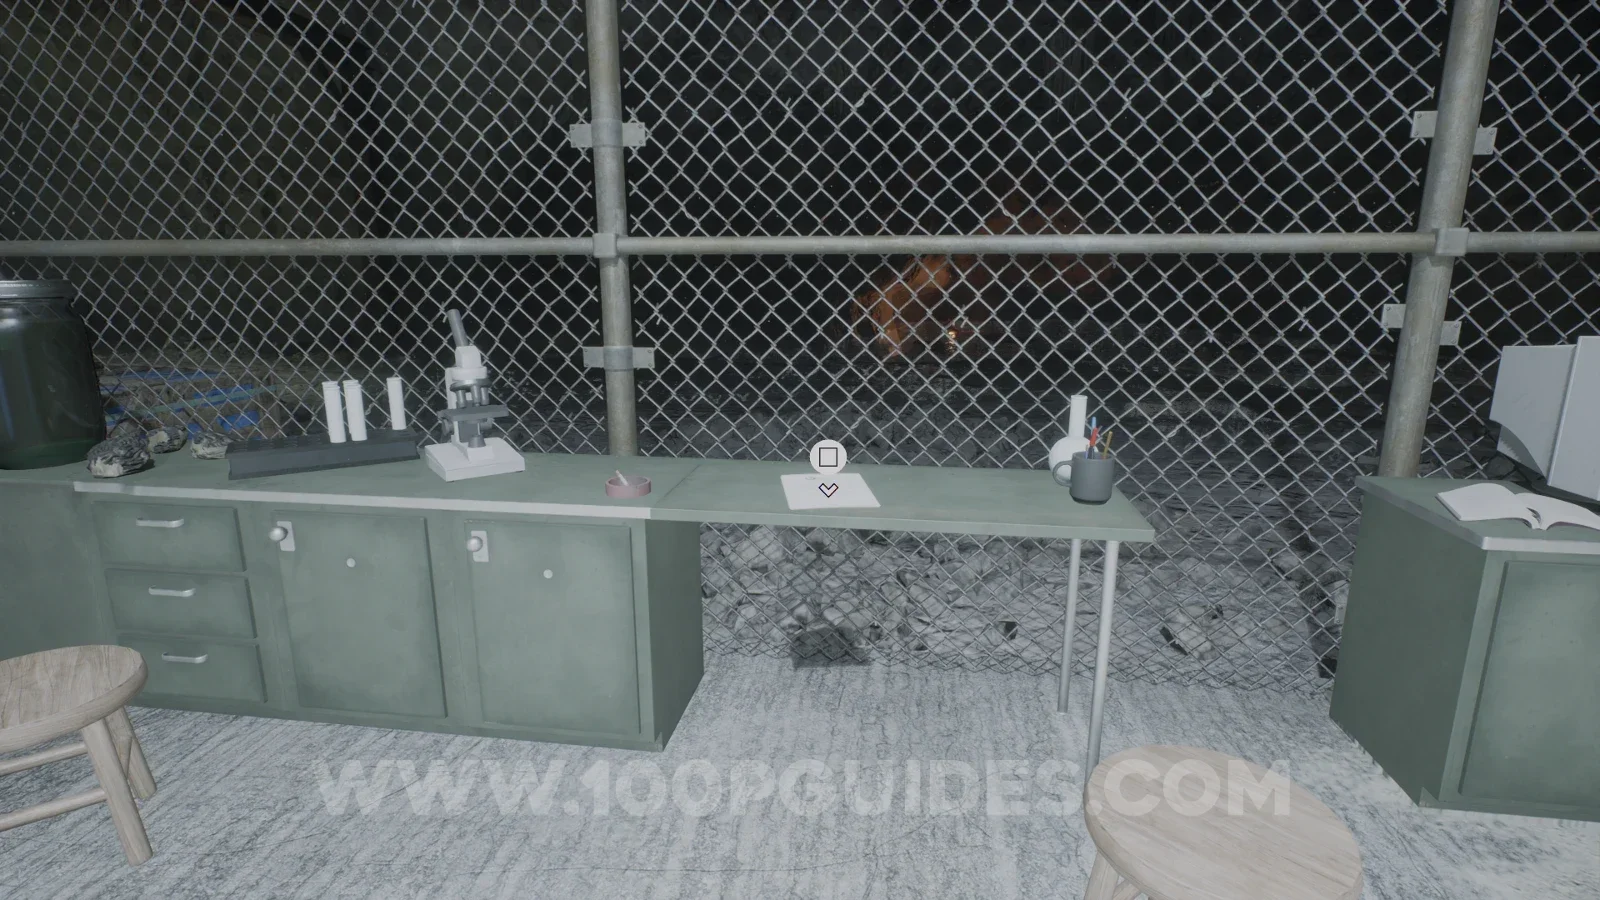
NoteWater IssuesImage reviewed |
Opening flooded worksite: enter the fenced research area and check the pale table beside the microscope. Location image ↗ Open collection entry ↗ |
NoteEvacuation Notice at Site 4BImage reviewed |
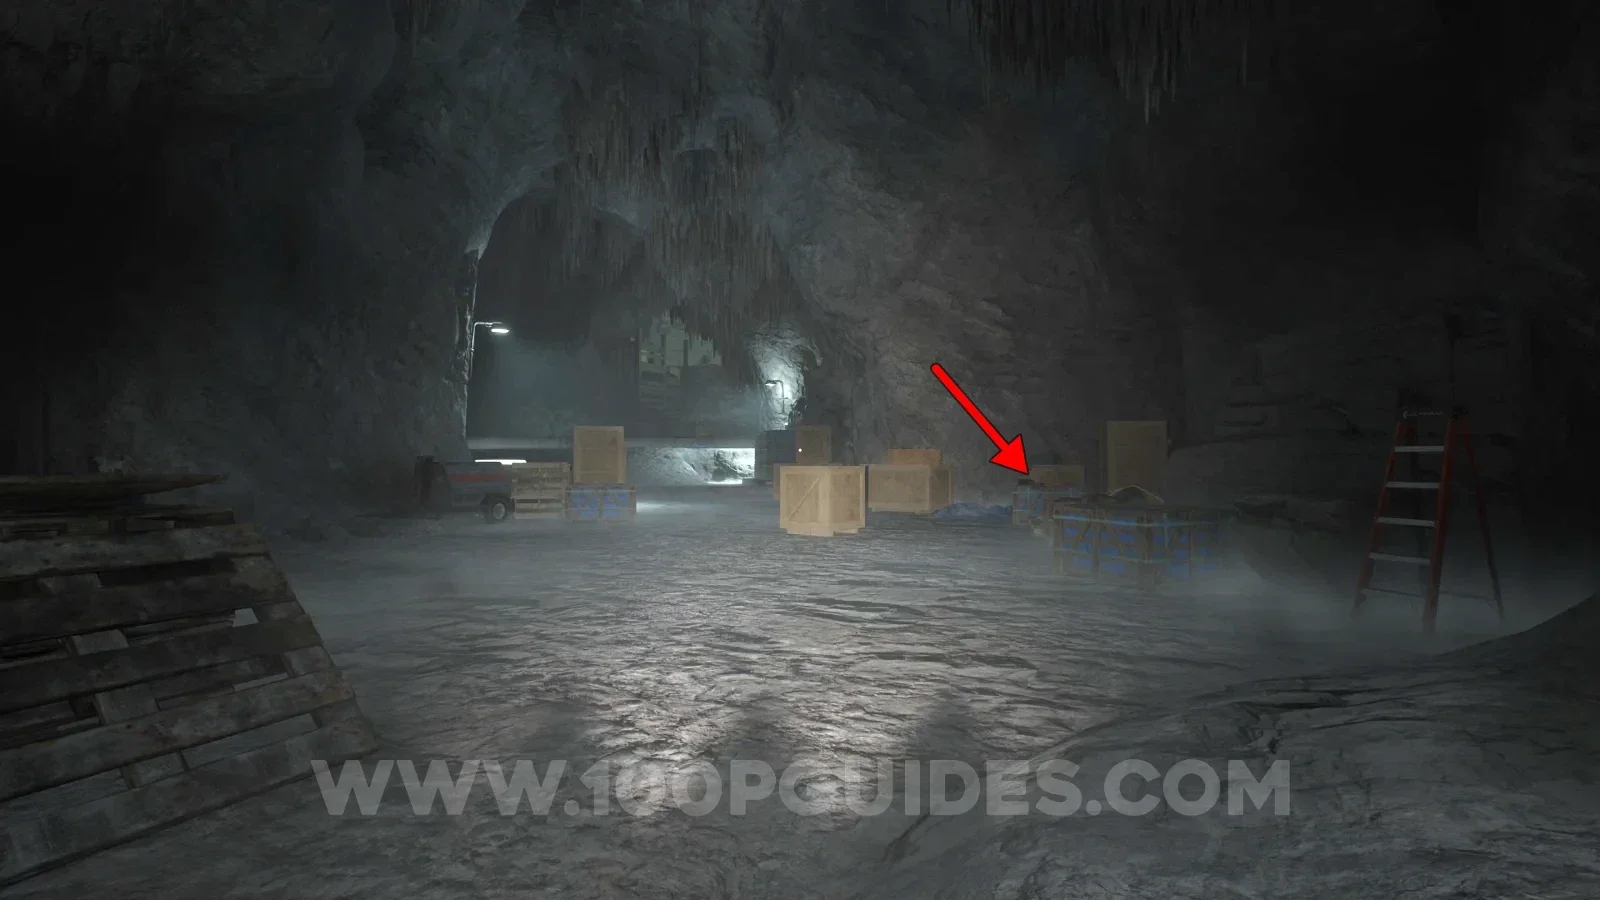
At the Chapter 3 encounter area, check the strapped blue cargo crate beside the lantern. A yellow hard hat rests on the barrels behind it. Location image ↗ View pickup screenshot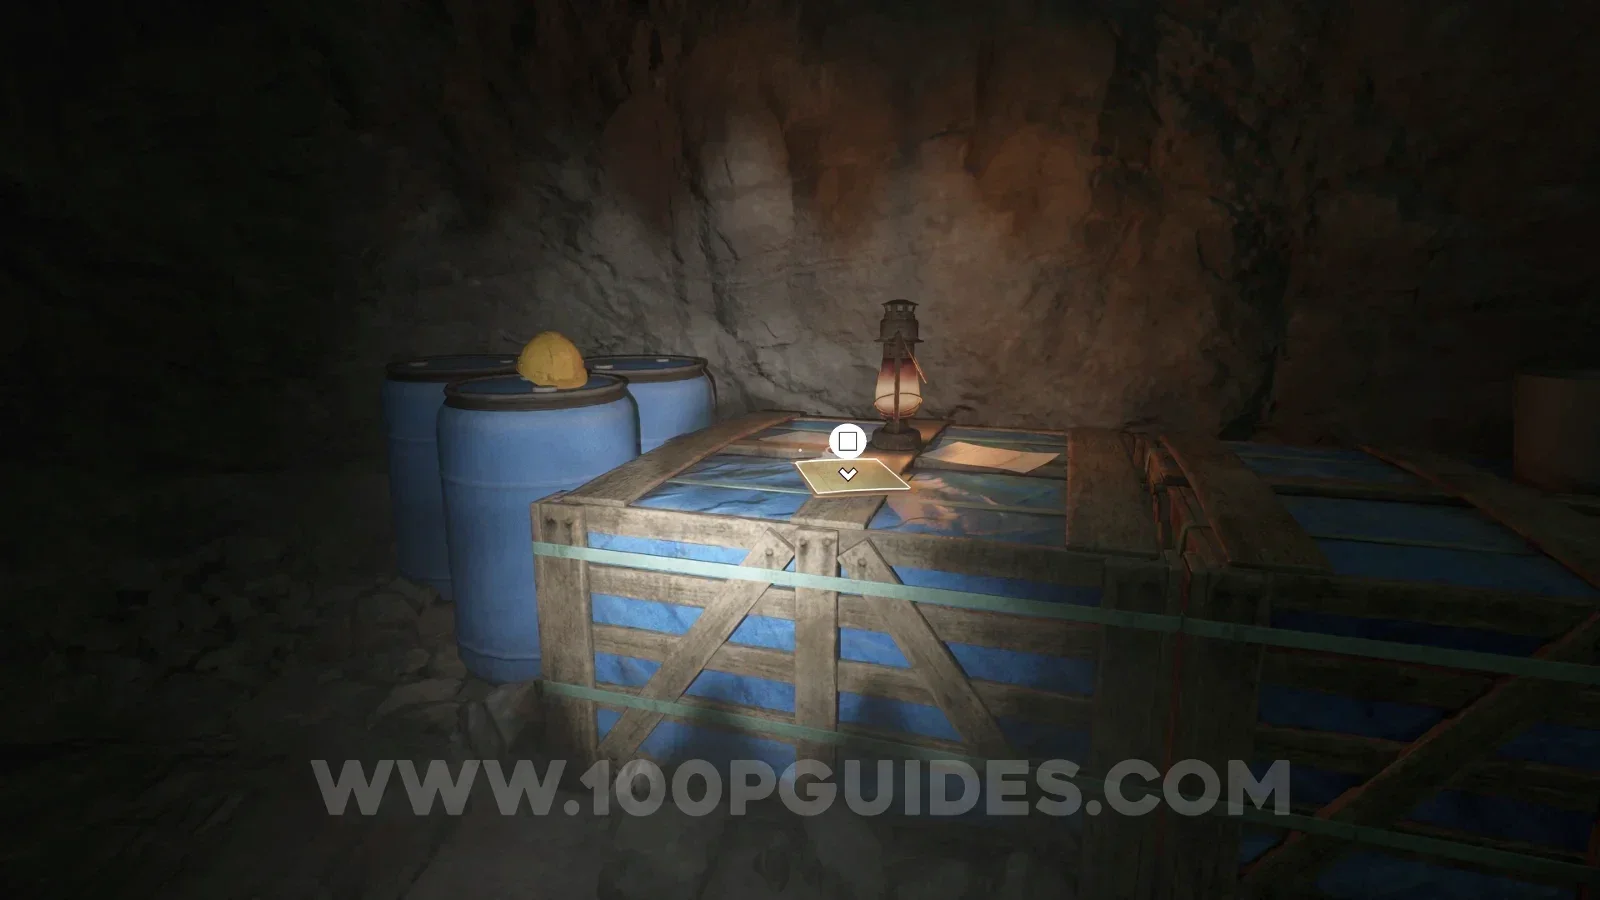 |
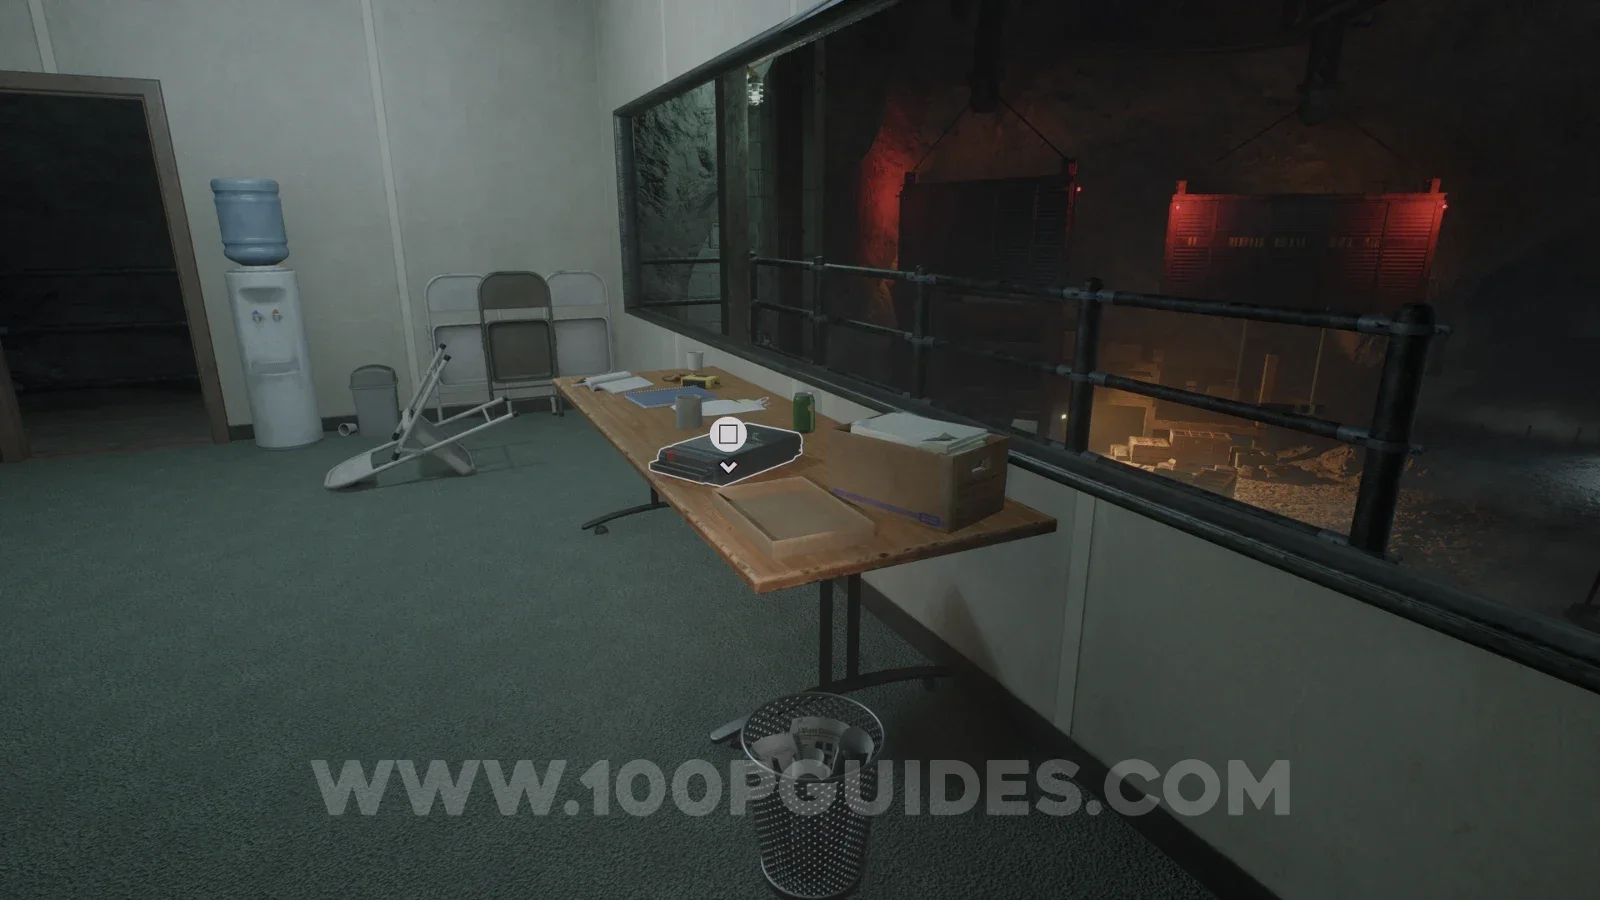
Audio tapeDalton Coolidge: The QuotaImage reviewed |
Early Chapter 3 tall building: check the table by the wide window overlooking the worksite; a water cooler stands alongside. Location image ↗ Open collection entry ↗ |
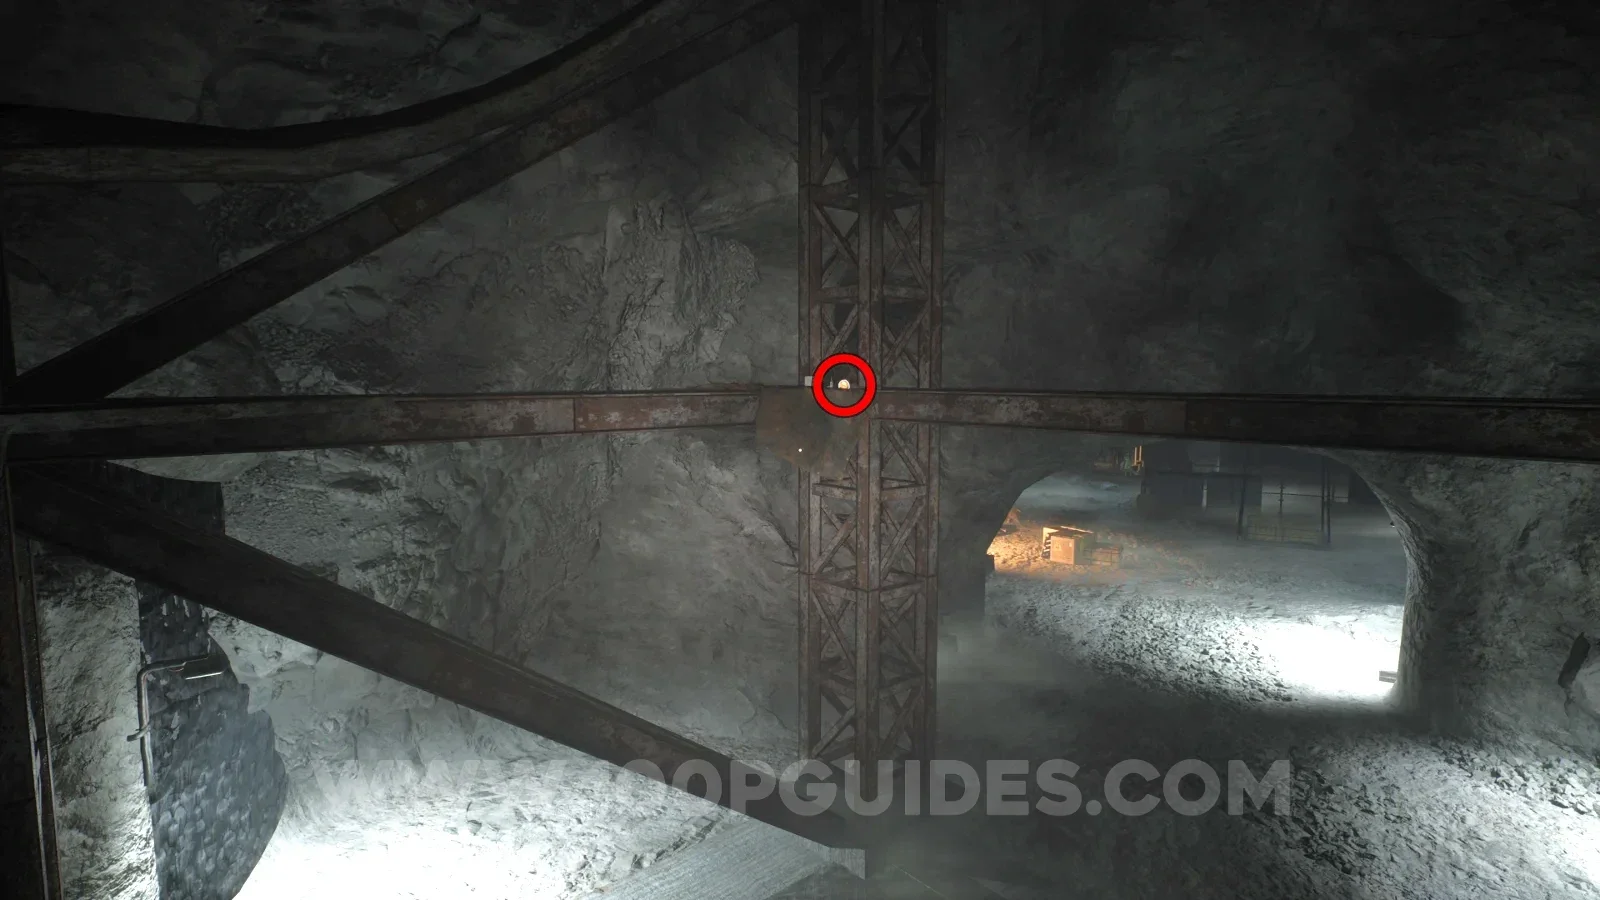
AmberAmber 09 |
Steelwork beside the tall Quota-tape building. View 09 ↗ Open collection entry ↗ |
Audio tapeCrewmen: Birds vs LizardsCommunity report |
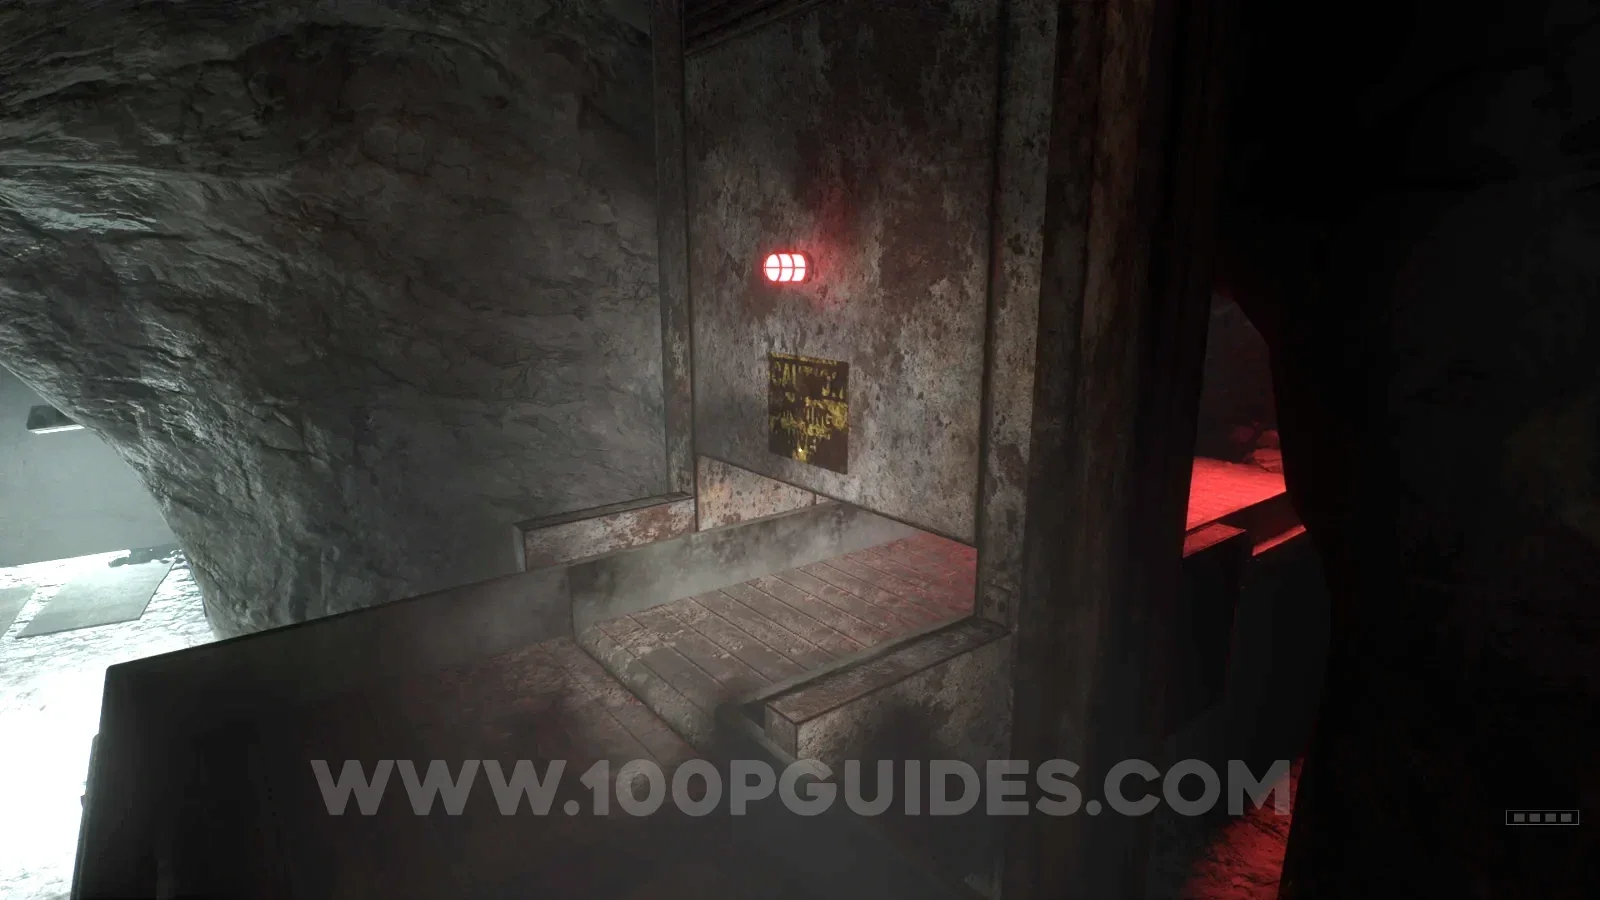
Reported route: At the ladder top, follow the left conveyor and crawl through the red-lit opening. The source reports the tape beyond it; the final pickup remains unseen. Final pickup not confirmed here. Reference image ↗ Report this location ↗ Open collection entry ↗ |
NoteSubstance Field Report: ElasticImage reviewed |
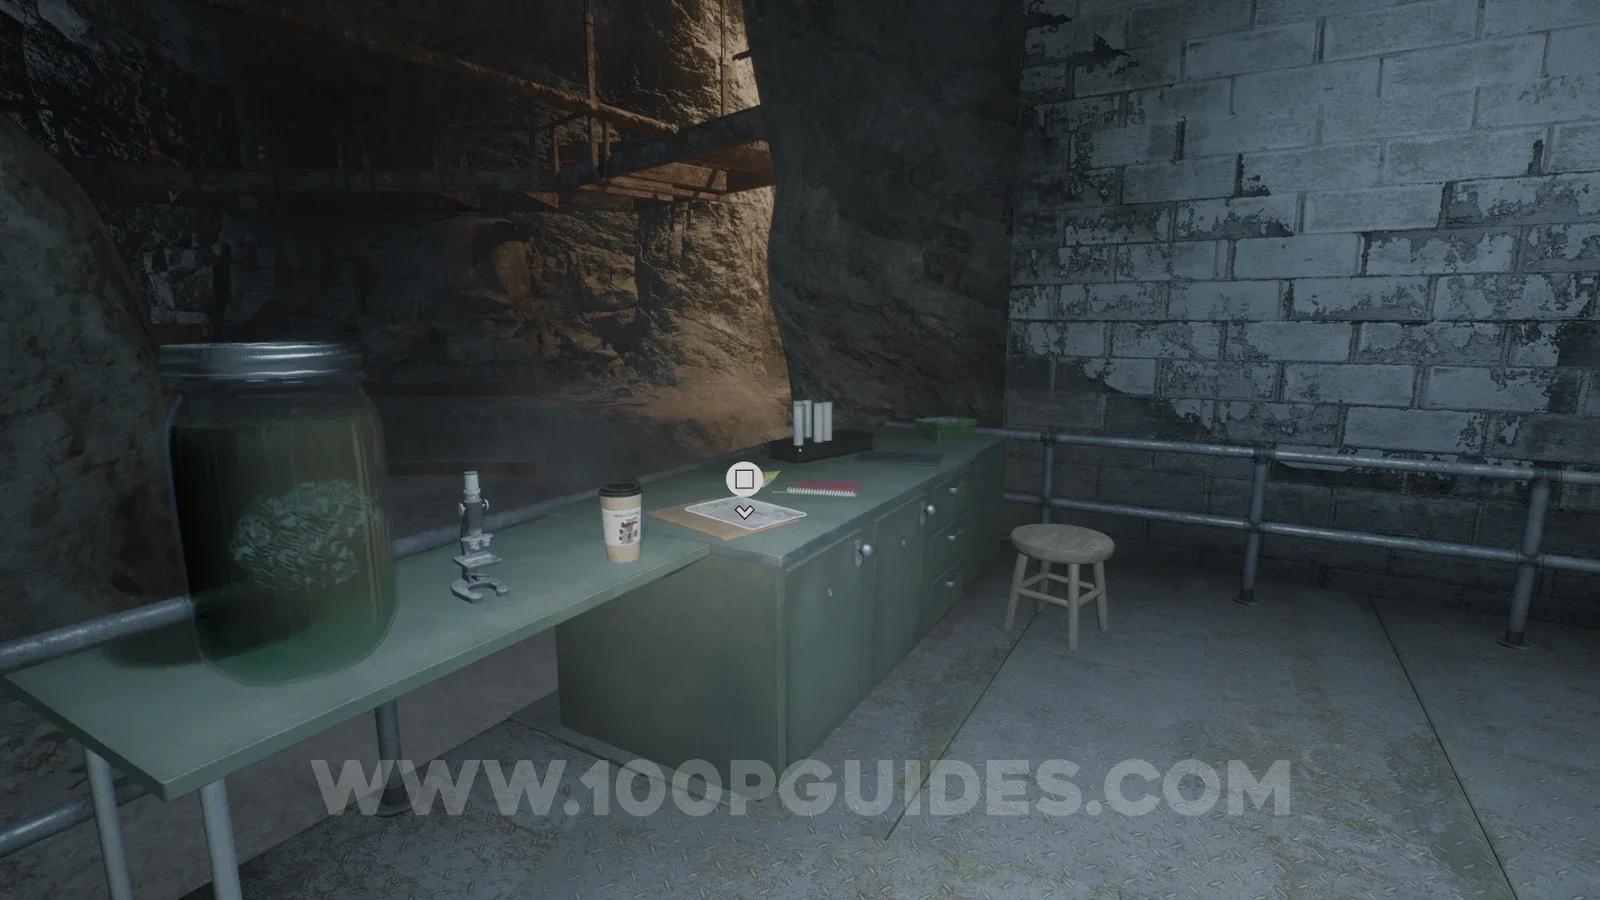
First elastic-goo research area: inspect the laboratory counter beside the specimen jar, microscope and stool. Location image ↗ Open collection entry ↗ |
NoteMemo to DCImage reviewed |
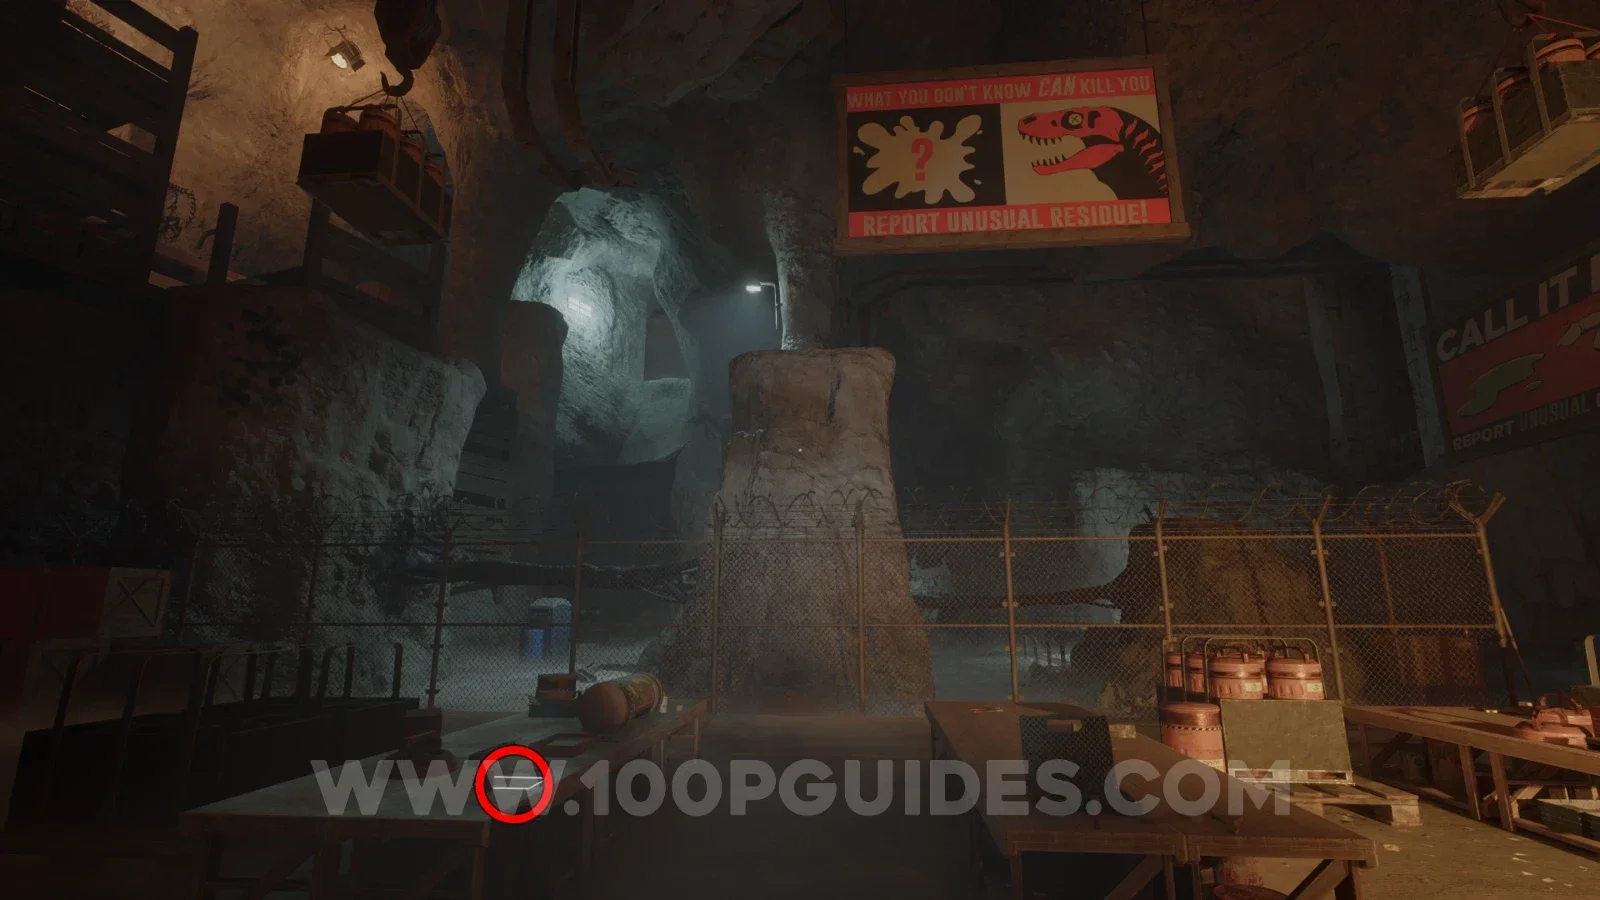
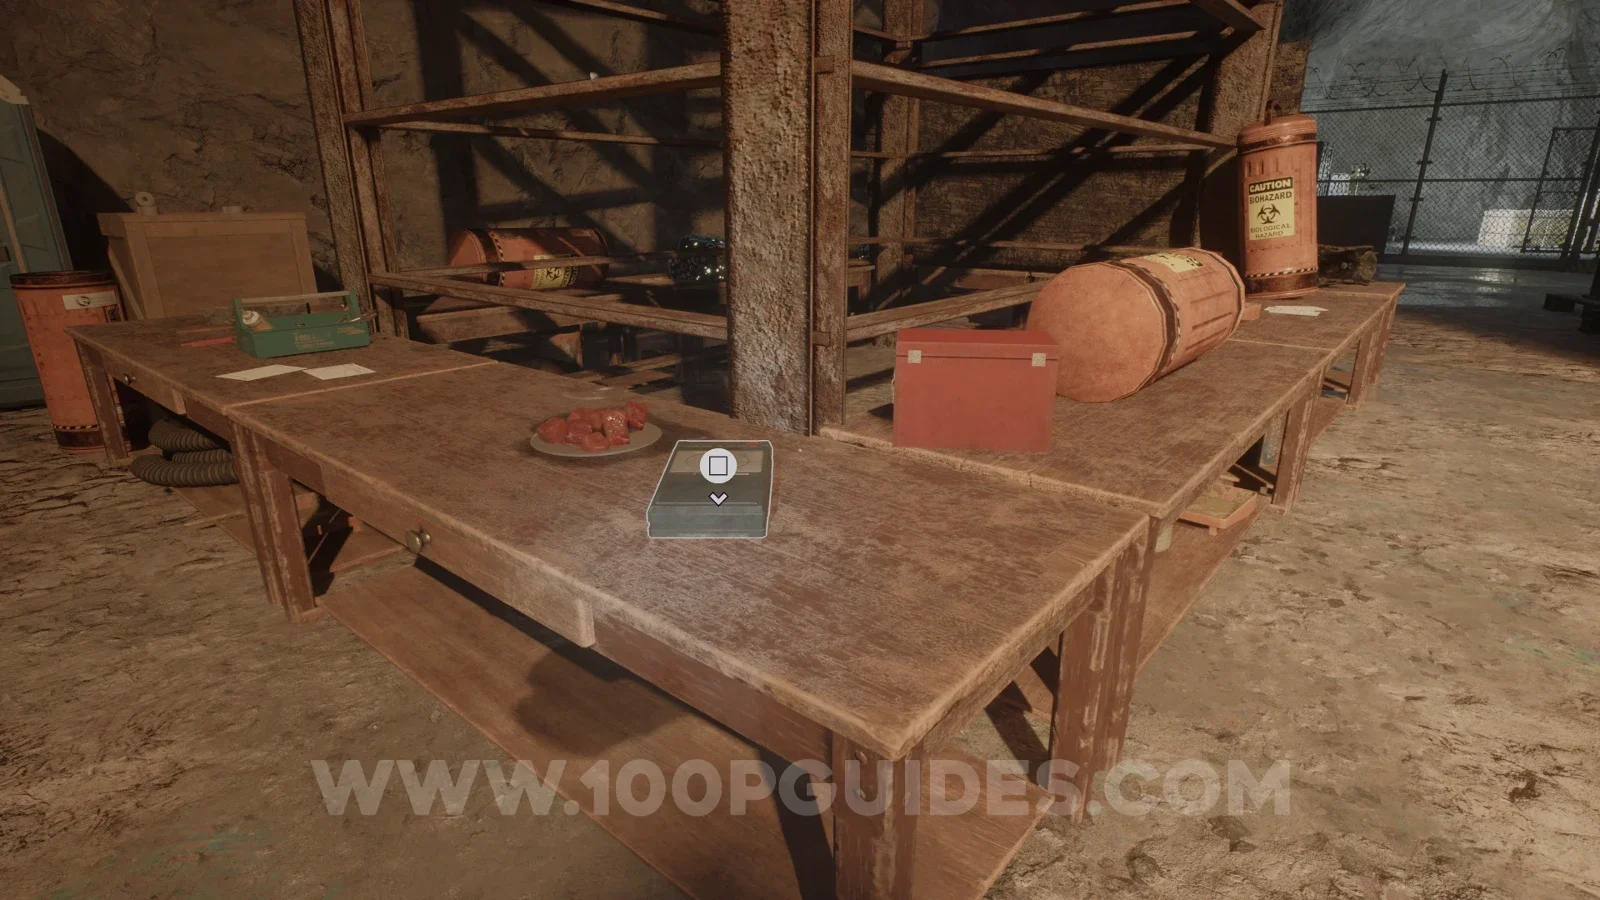
Dinosaur-billboard equipment area: check the front supply table beneath the unusual-residue warning signs. Location image ↗ Open collection entry ↗ |
Audio tapeConnor McDonald: Is This a Good Idea?Image reviewed |
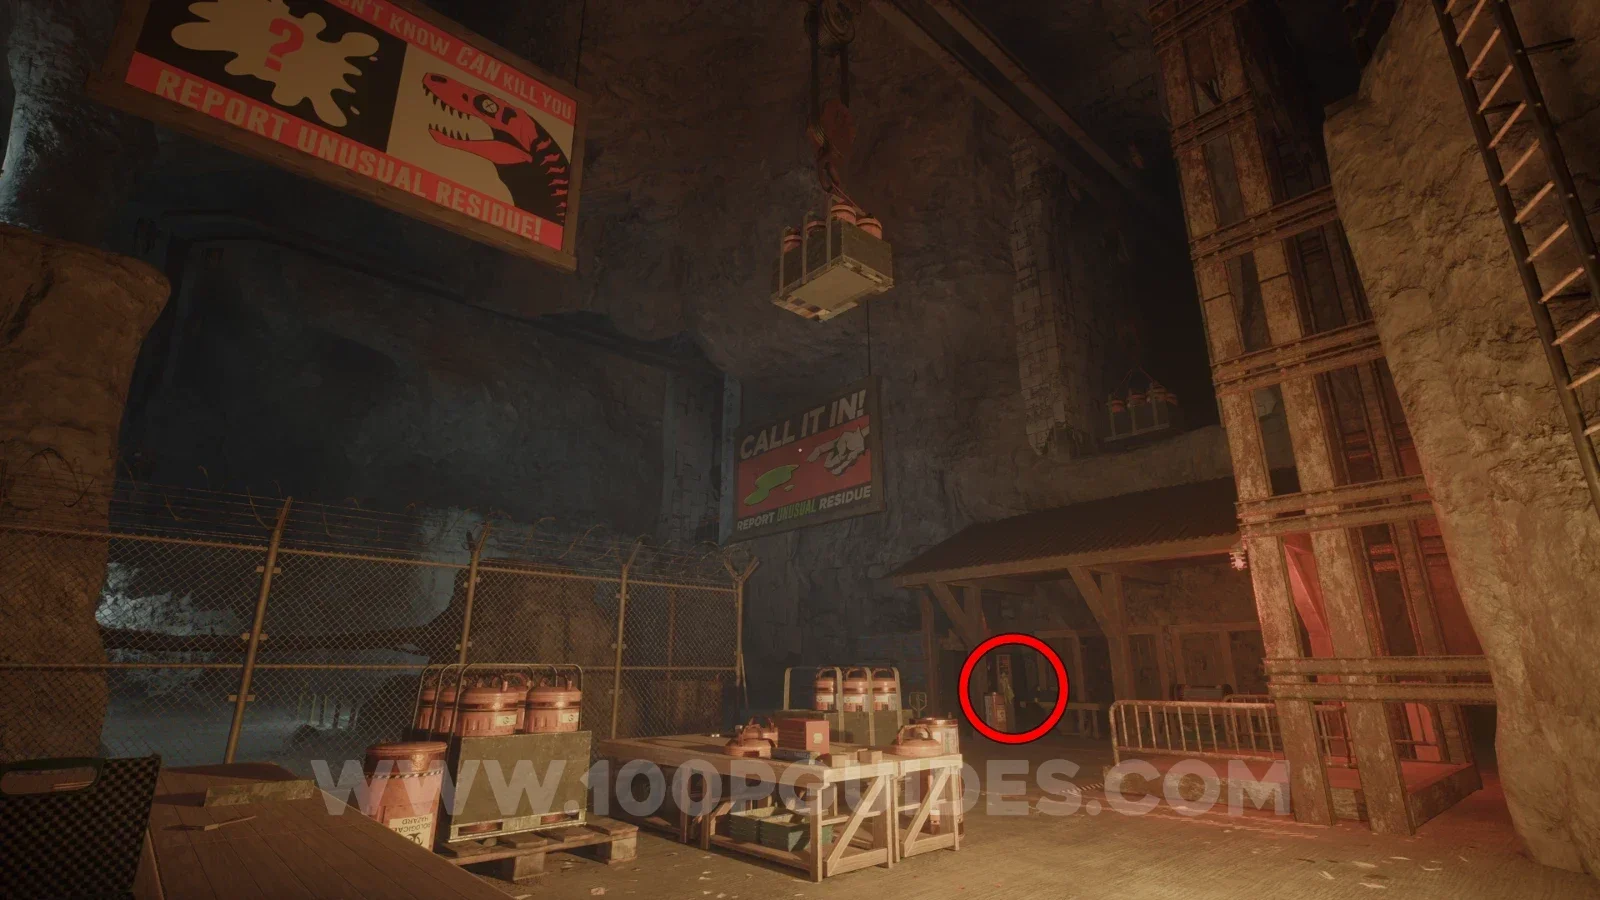
Goo-research work area: check the tall locker under the lean-to, below the Call It In sign and beside the supply tables. Location image ↗ Open collection entry ↗ |
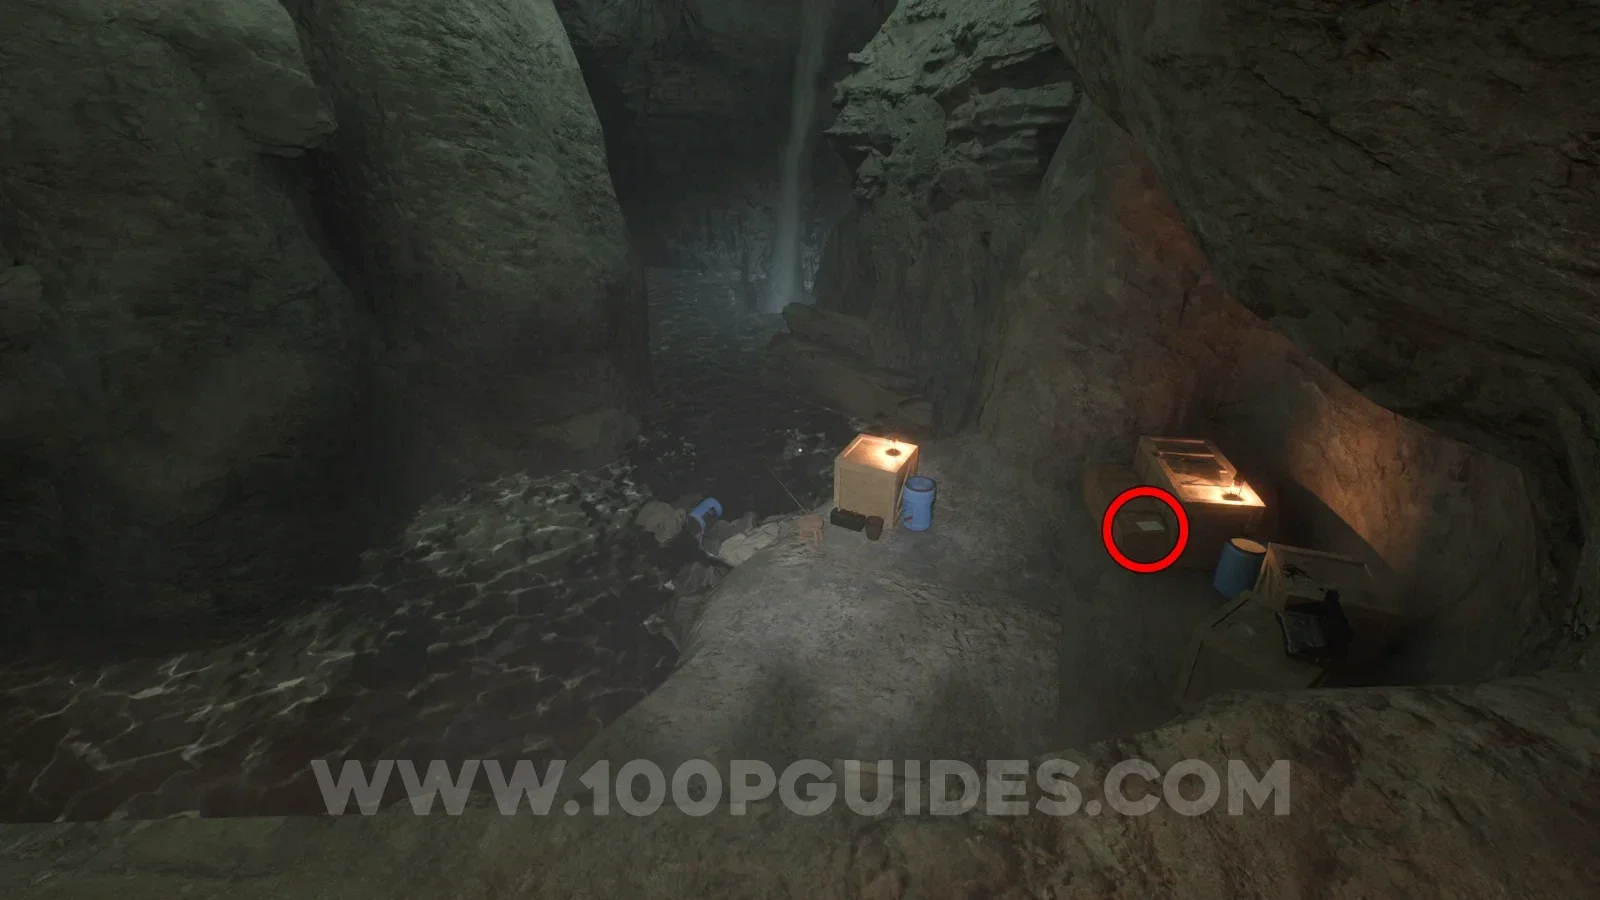
NoteFishing in the cavesImage reviewed |
Before crossing the water, look down to the right-hand supply ledge. The paper is on the low box beside the lamp-lit crate and blue barrel. Location image ↗ Open collection entry ↗ |
NotePROMOTED! …Oh wait.Community report |
Reported route: Beyond the timed door and bounce: check behind the left crates. Final pickup not confirmed here. Reference image ↗ Report this location ↗ Open collection entry ↗ |
Chapter 3: Train worksite and Allosaurus
Story objective: Restore train power, then use the narrow rock passages through the hunting route. Open the steps.
Checkpoint: Continue beyond the water escape to the wallrunning route. Collectible detours below may span the approach and return route.
| Stop | Location and reference |
|---|---|
NoteThe auditorCommunity report |
Reported route: Train bounce crossing: climb the blue crates on the landing’s right. Final pickup not confirmed here. Reference image ↗ Report this location ↗ Open collection entry ↗ |
NoteMotherlode DiscoveryCommunity report |
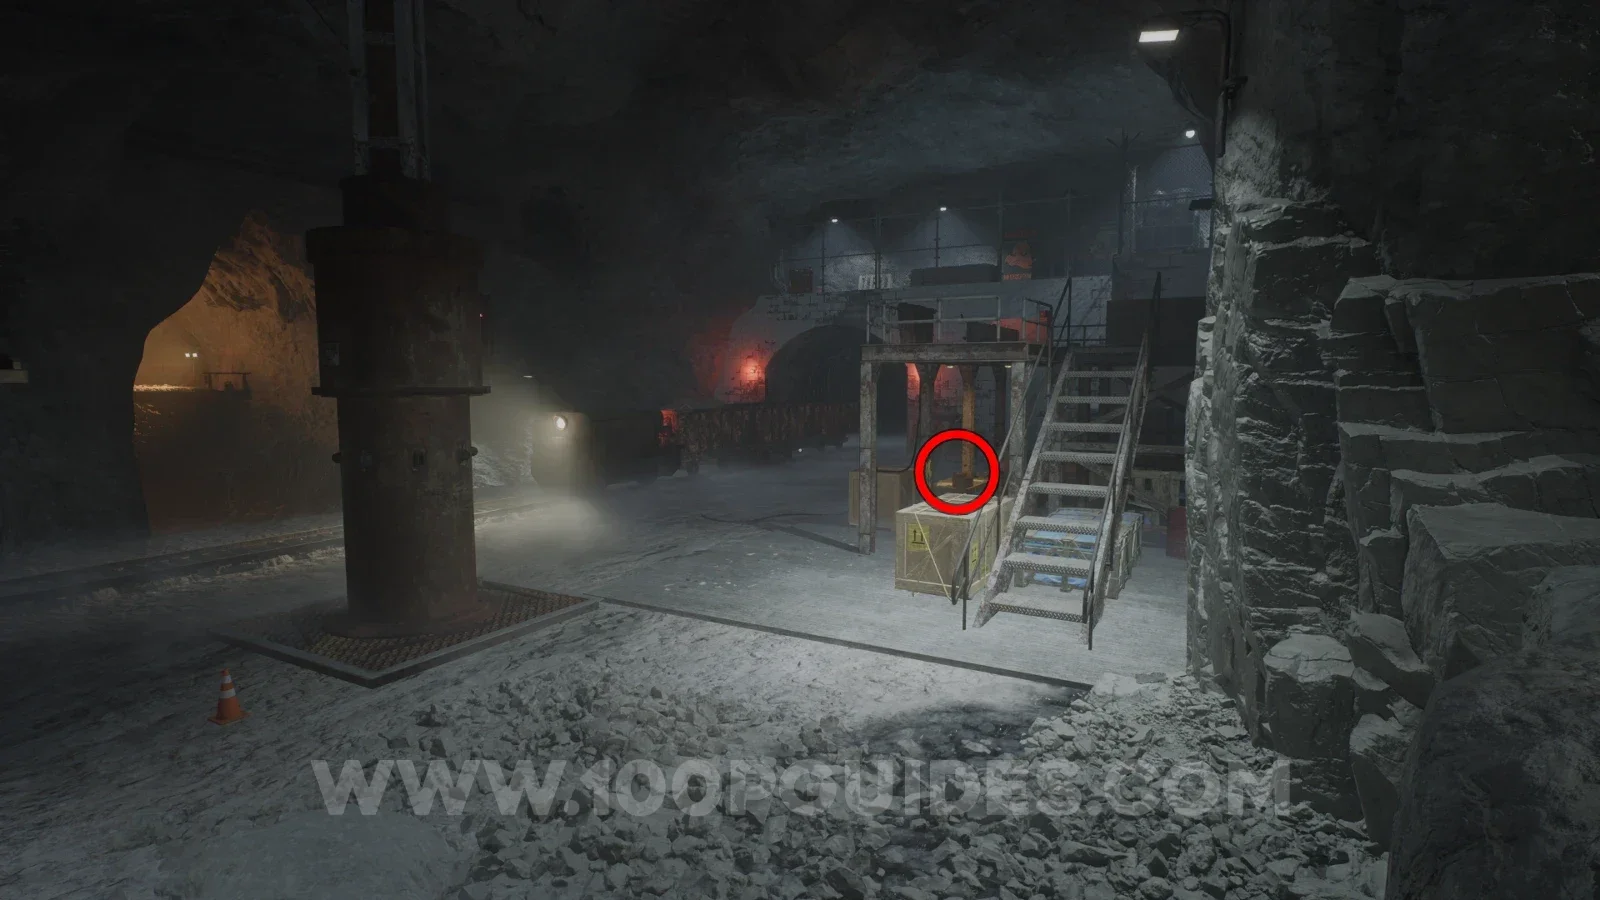
Reported route: Later rail area: table beneath the metal-stair platform. Final pickup not confirmed here. Reference image ↗ Report this location ↗ Open collection entry ↗ |
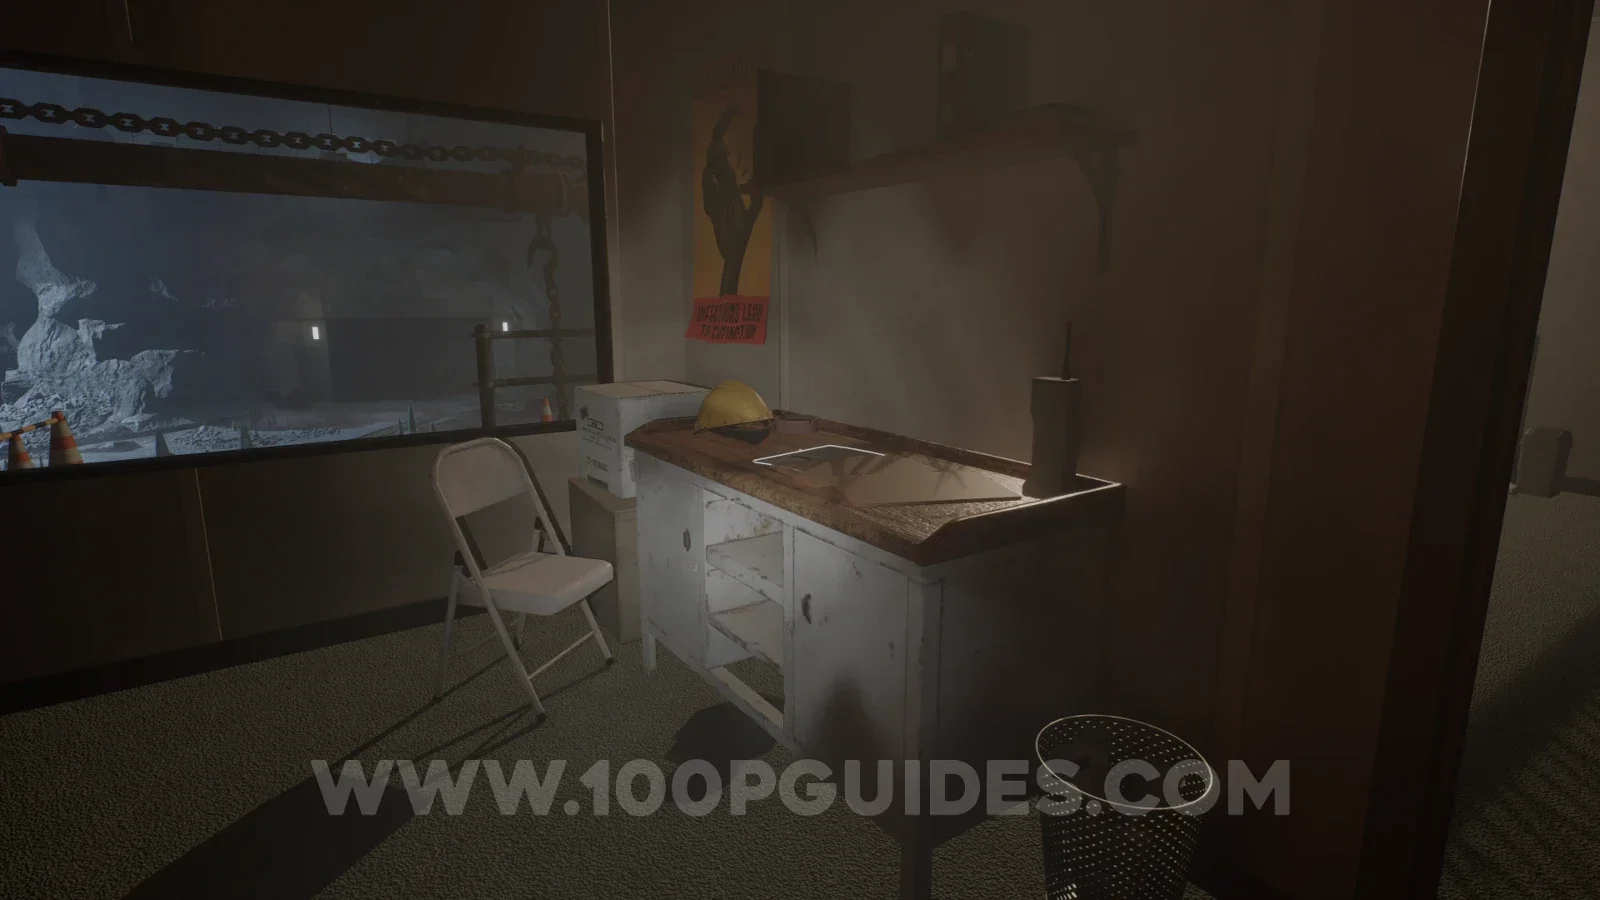
NoteA note from The BrokerImage reviewed |
Inside the raised control building, search the small rear room. The highlighted sheet is on the cabinet beside the radio and yellow hard hat, overlooking the worksite window. Location image ↗ Open collection entry ↗ |
NoteDalton's memo to the digsiteCommunity report |
Reported route: After the explosive metal-door breach: inspect the workbench straight ahead. Final pickup not confirmed here. Reference image ↗ Report this location ↗ Open collection entry ↗ |
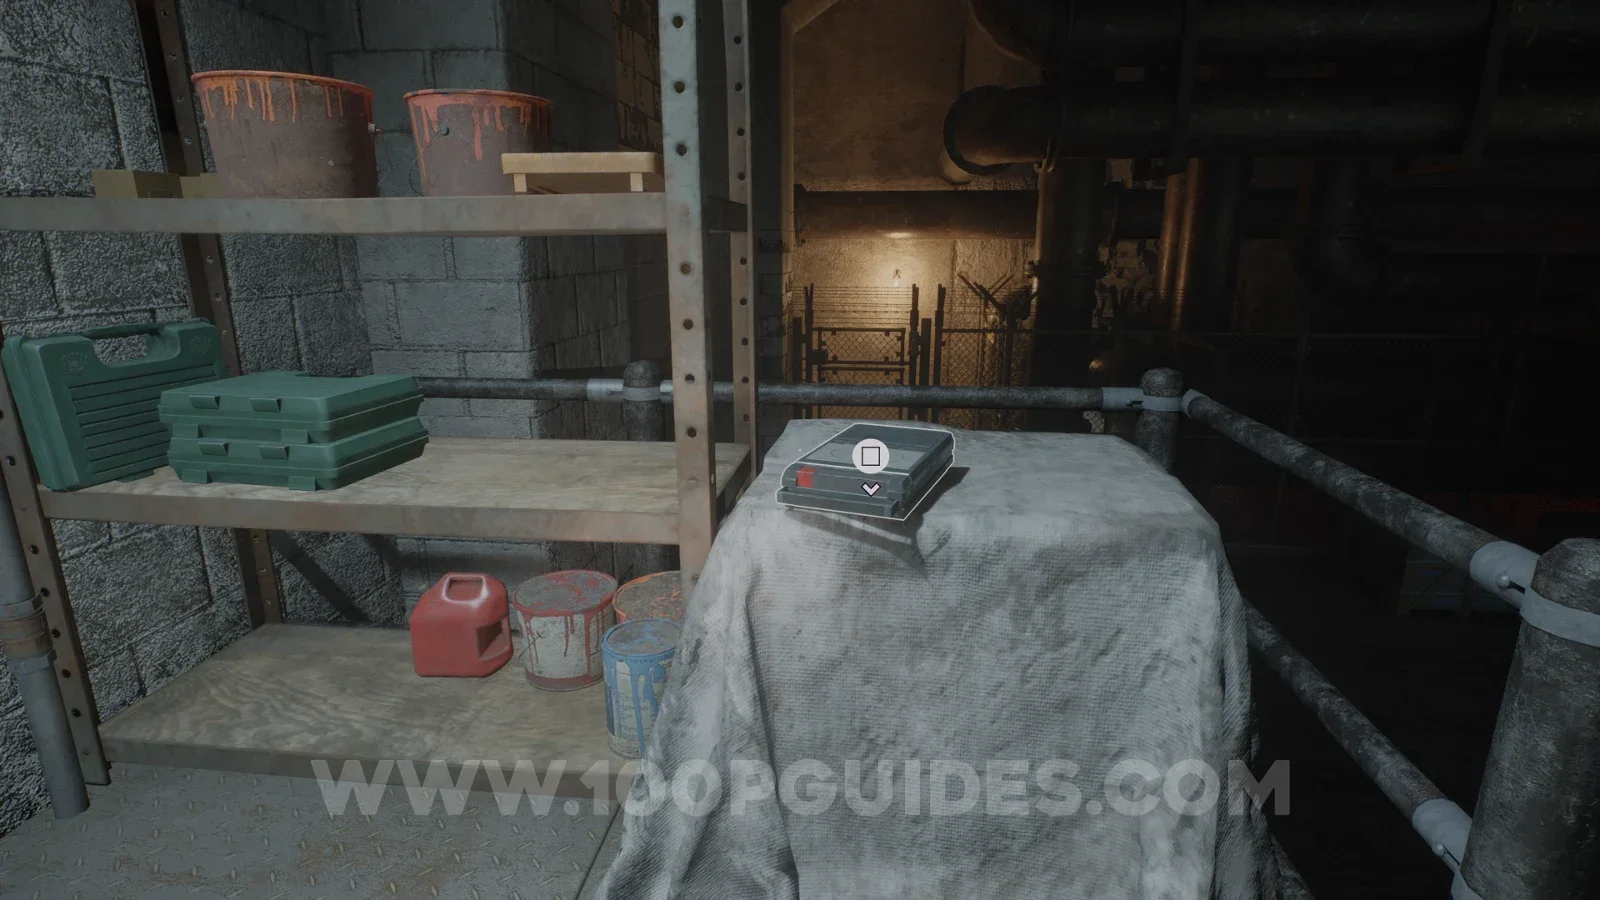
Audio tapeJacob Hewitt: I See ItImage reviewed |
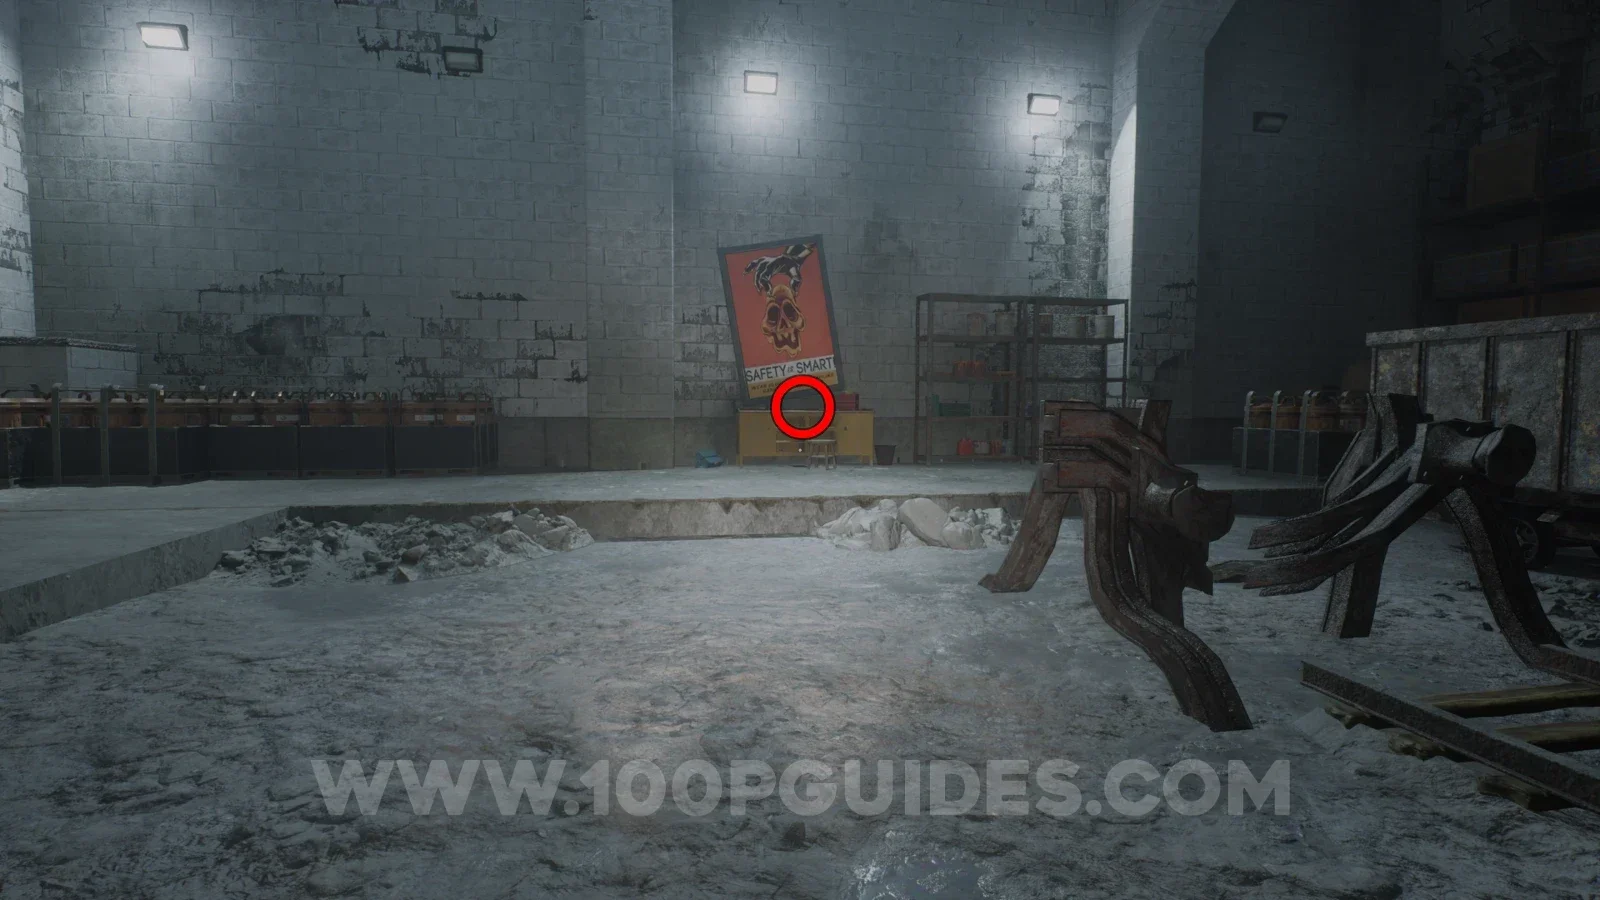
Past the steam-pipe passage: climb the metal stairs. Look on the cloth-covered stack beside the shelves of paint cans and tool cases. Location image ↗ Open collection entry ↗ |
NoteA letter homeImage reviewed |
In the upper floor of the red sleeping building beyond the catwalks, look on the lower bunk beside the rolled blanket and small round lamp. Location image ↗ View pickup screenshot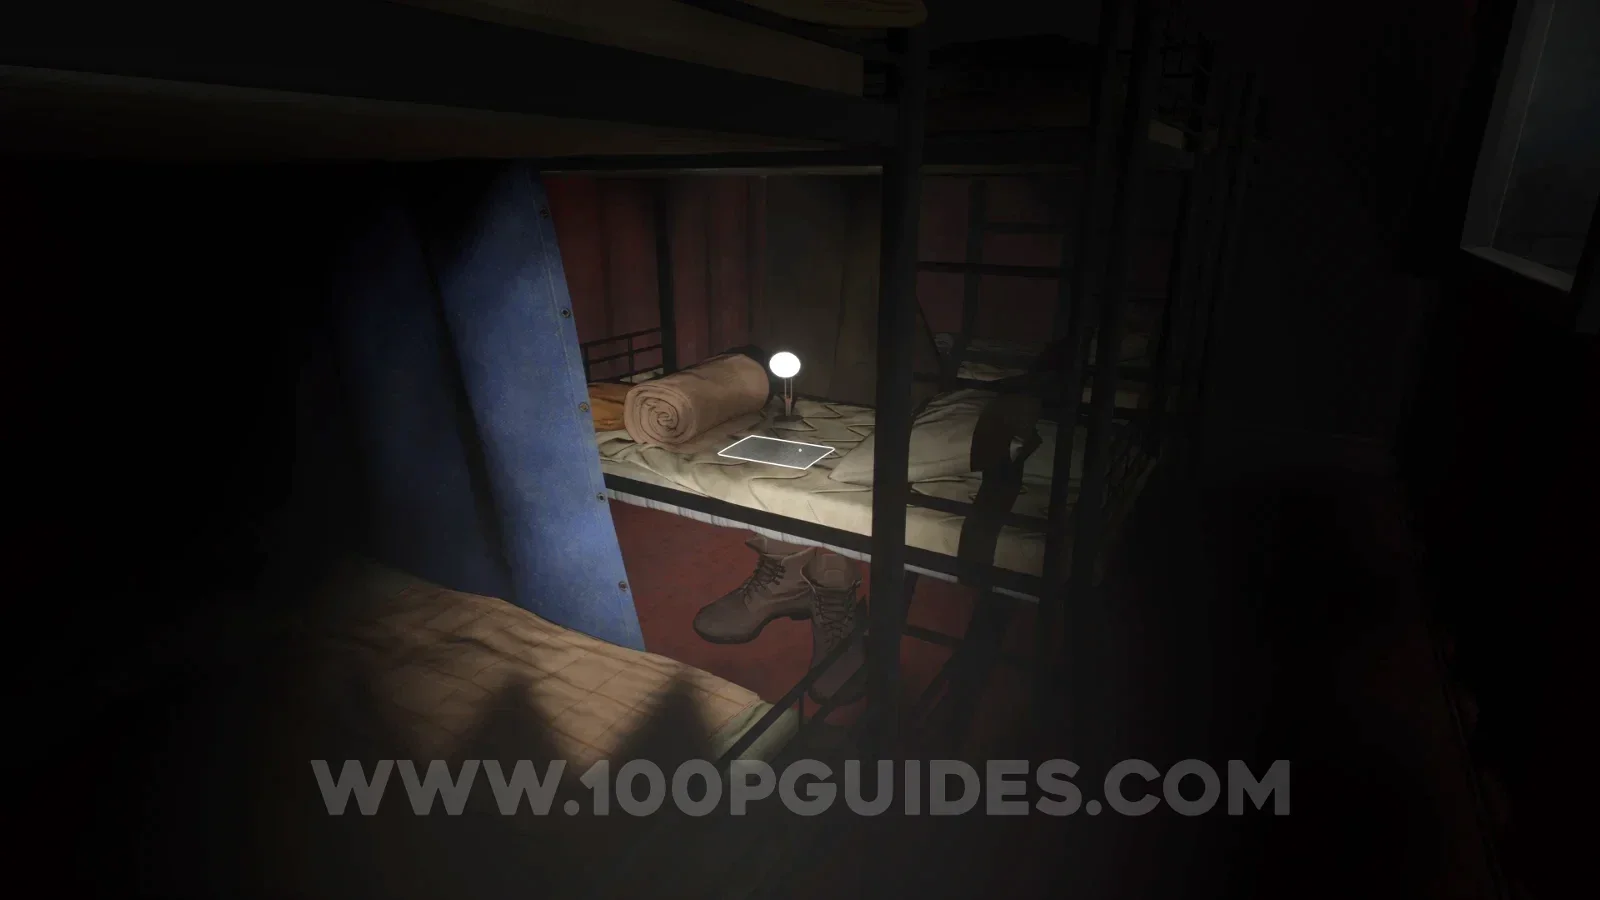 |
NoteHastily written noteImage reviewed |
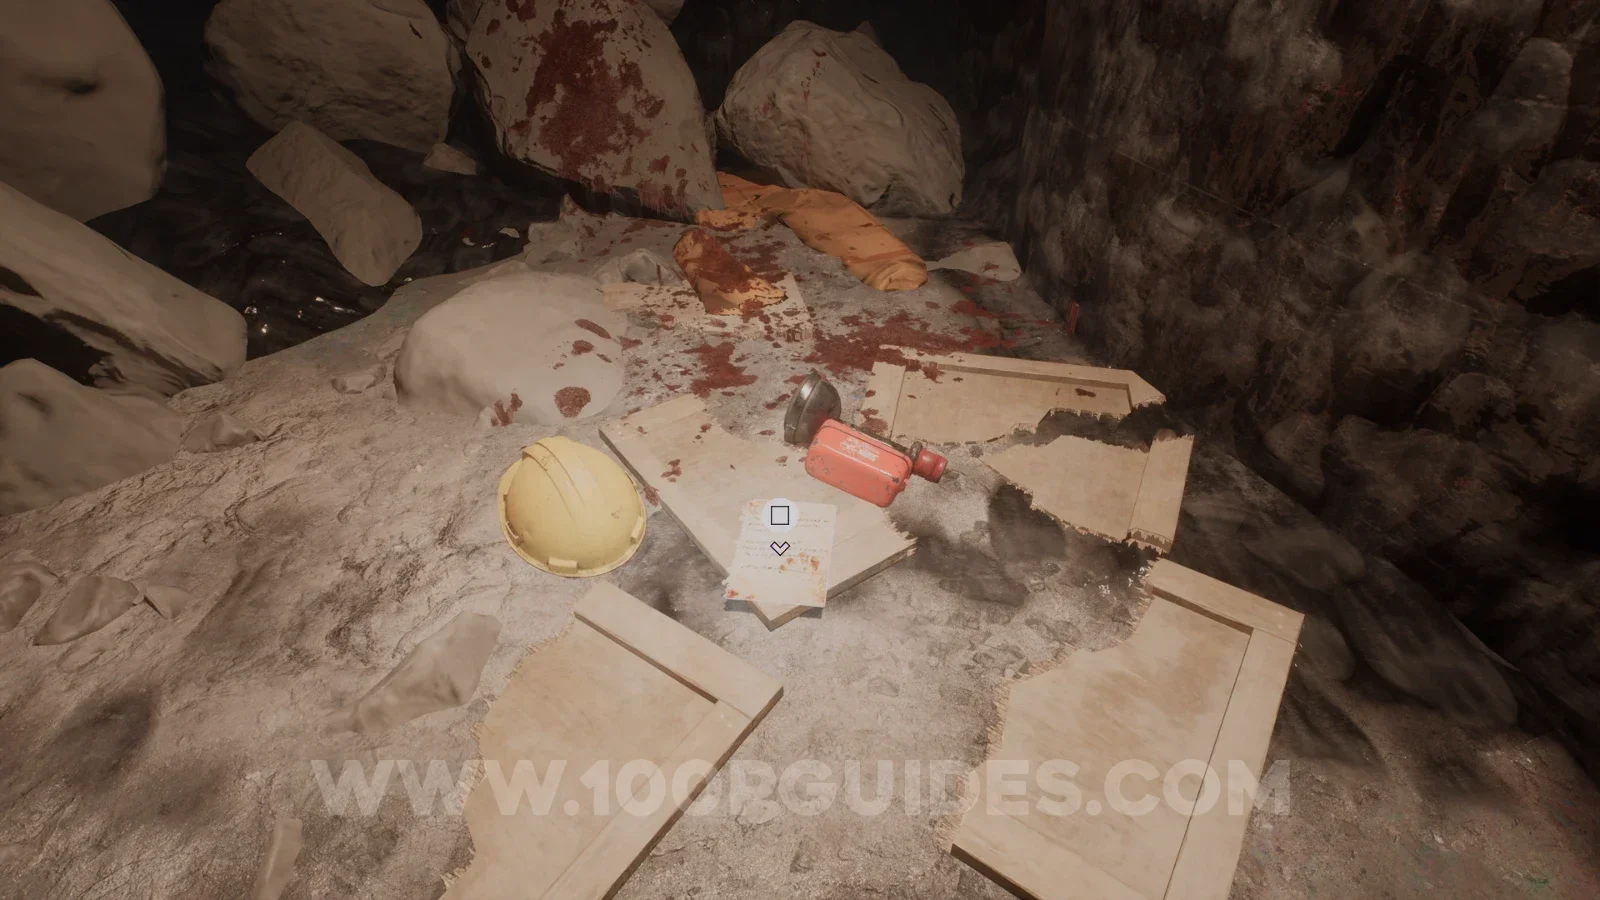
In the red-lit side tunnel, inspect the handwritten page on the broken crate panels beside a yellow hard hat and red canister. Blood marks the surrounding rock. Location image ↗ Open collection entry ↗ |
NoteWe're on the menuImage reviewed |
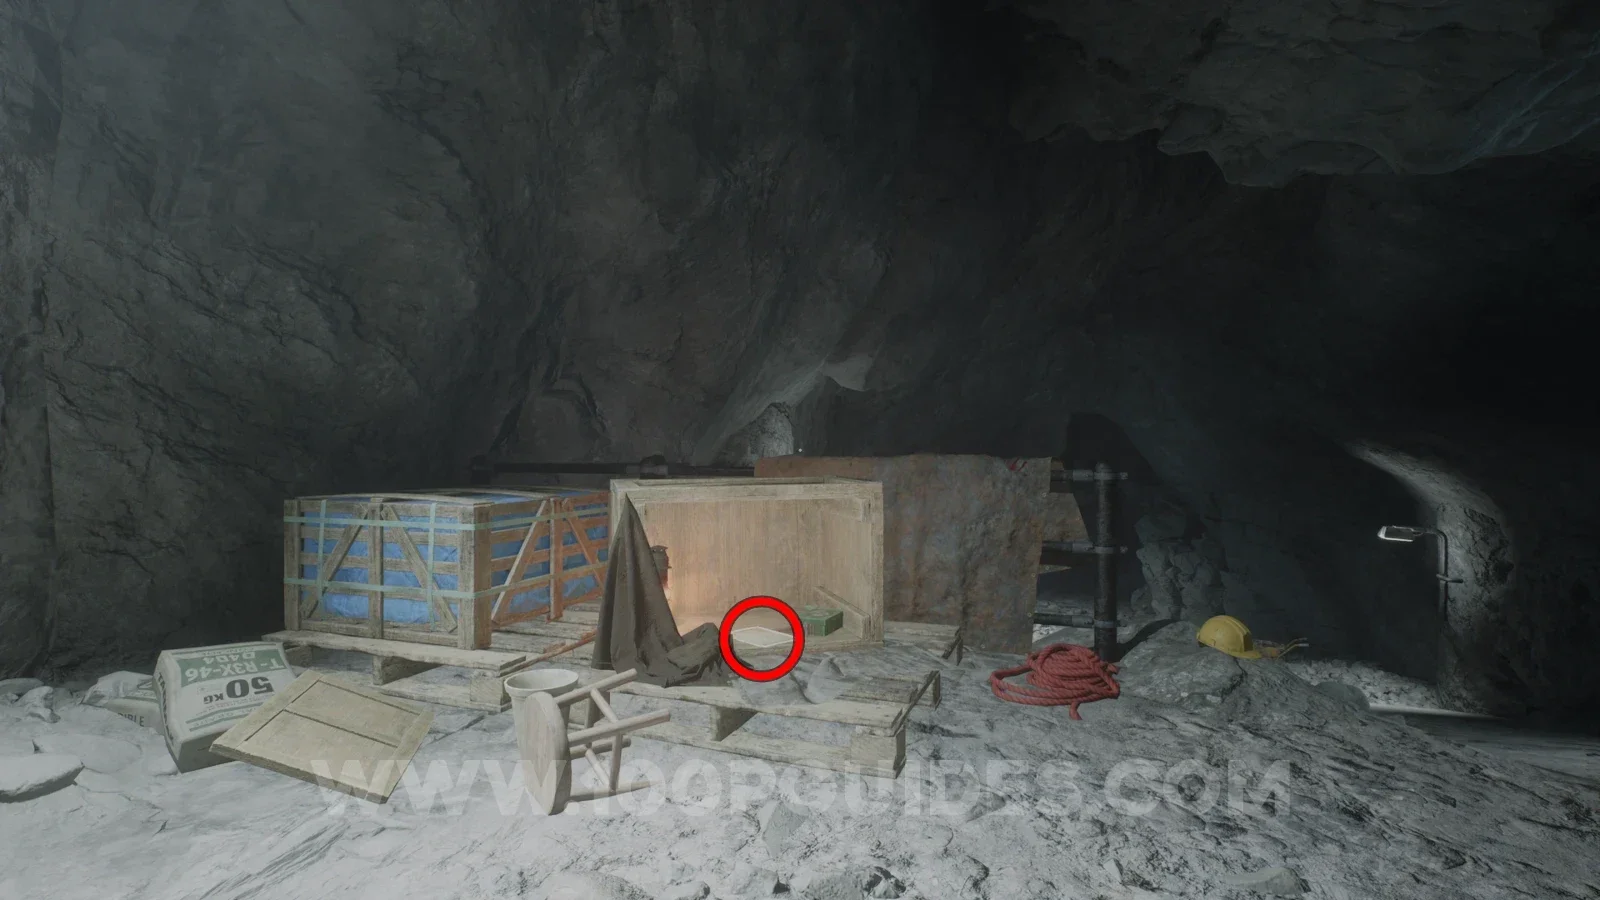
Take the right-hand path near that tunnel and check inside the tipped wooden box. The page lies beside a green supply box; a coiled red rope and work light are nearby. Location image ↗ Open collection entry ↗ |
NoteThe Allo has rulesImage reviewed |
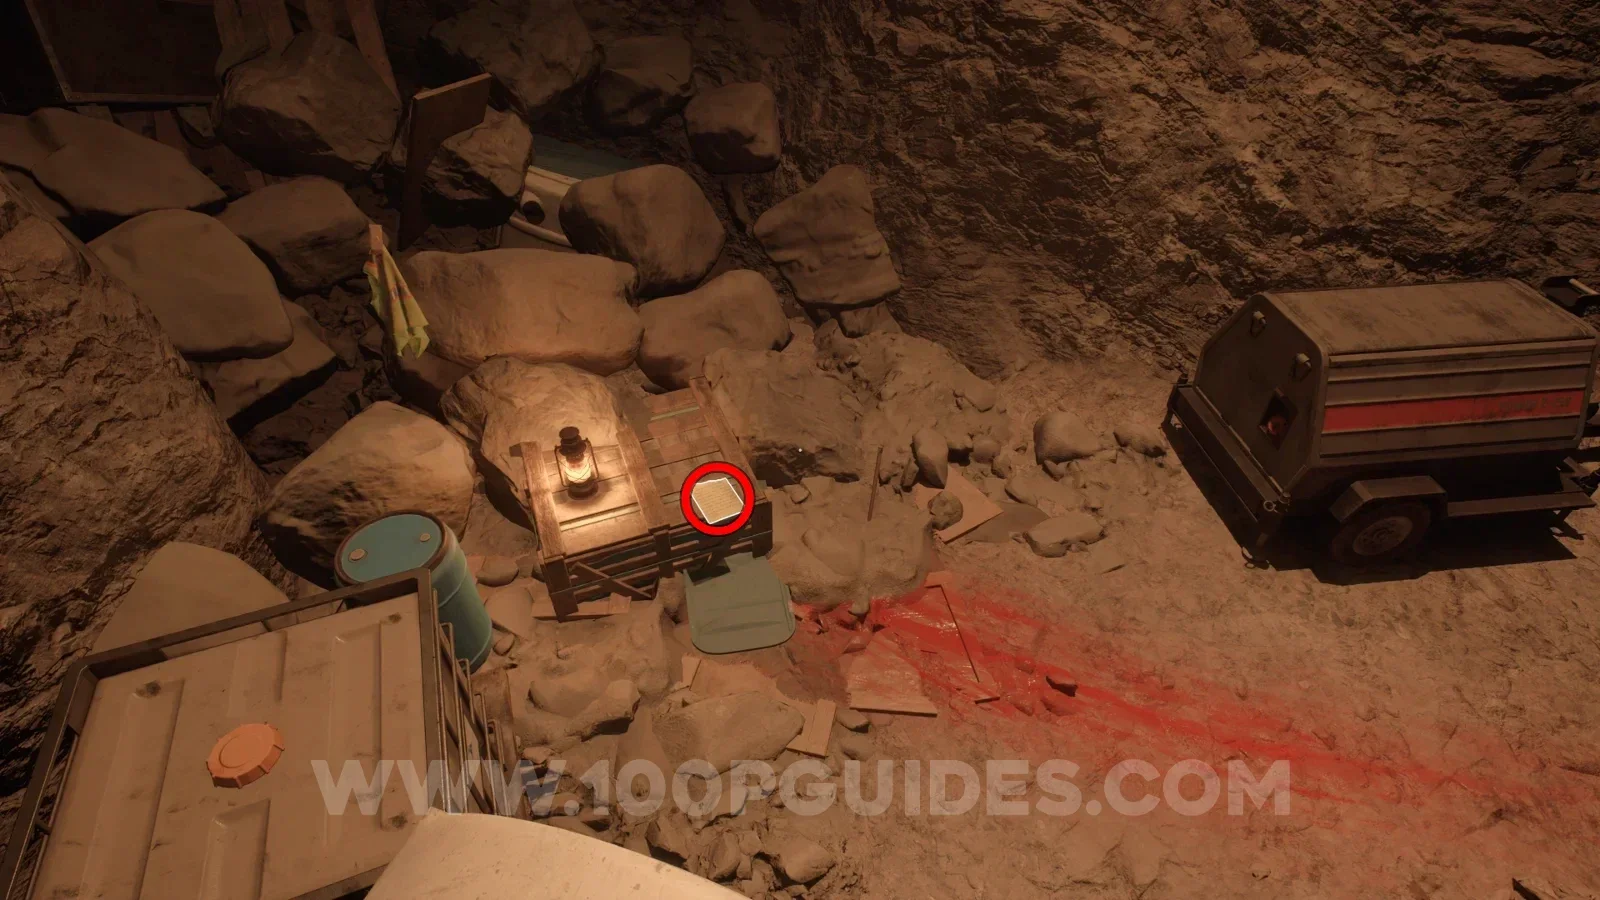
After the first Allo escape and floor collapse: look down toward the lantern-lit wooden crate beside the red trail. Location image ↗ Open collection entry ↗ |
NoteWater never plays nice, does it?Image reviewed |
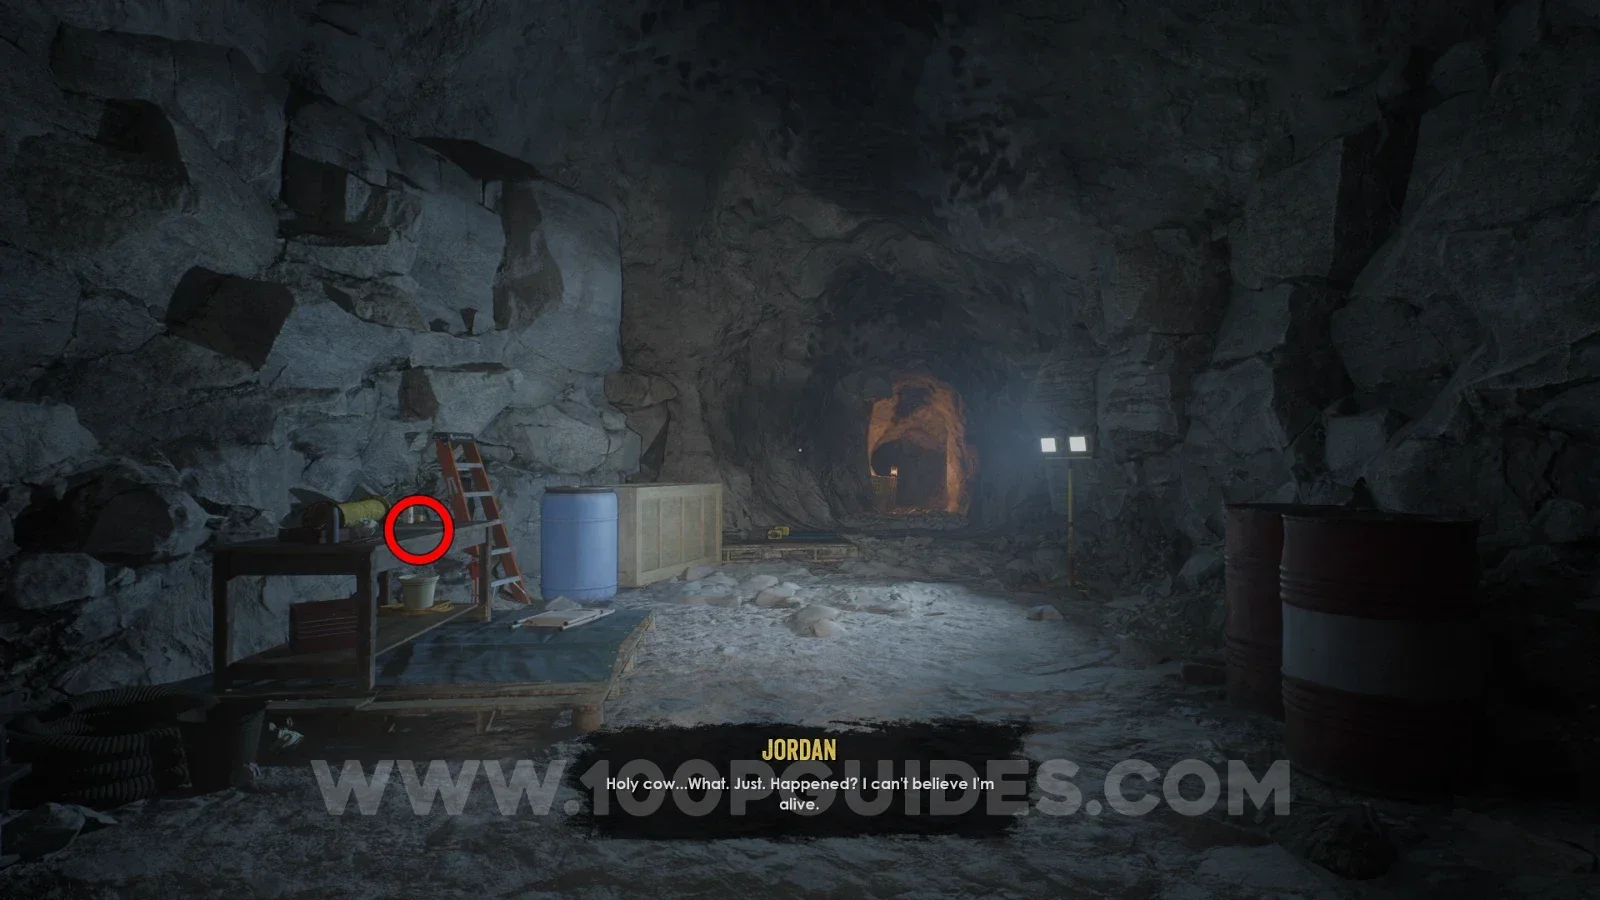
Exit from the narrow Allo escape passage: check the workbench beside the ladder and blue barrel. Location image ↗ Open collection entry ↗ |
NoteSubstance ExpansionCommunity report |
Reported route: After the flooding chase: check the right-hand cargo boxes. Final pickup not confirmed here. Reference image ↗ Report this location ↗ Open collection entry ↗ |
NoteBest way to goImage reviewed |
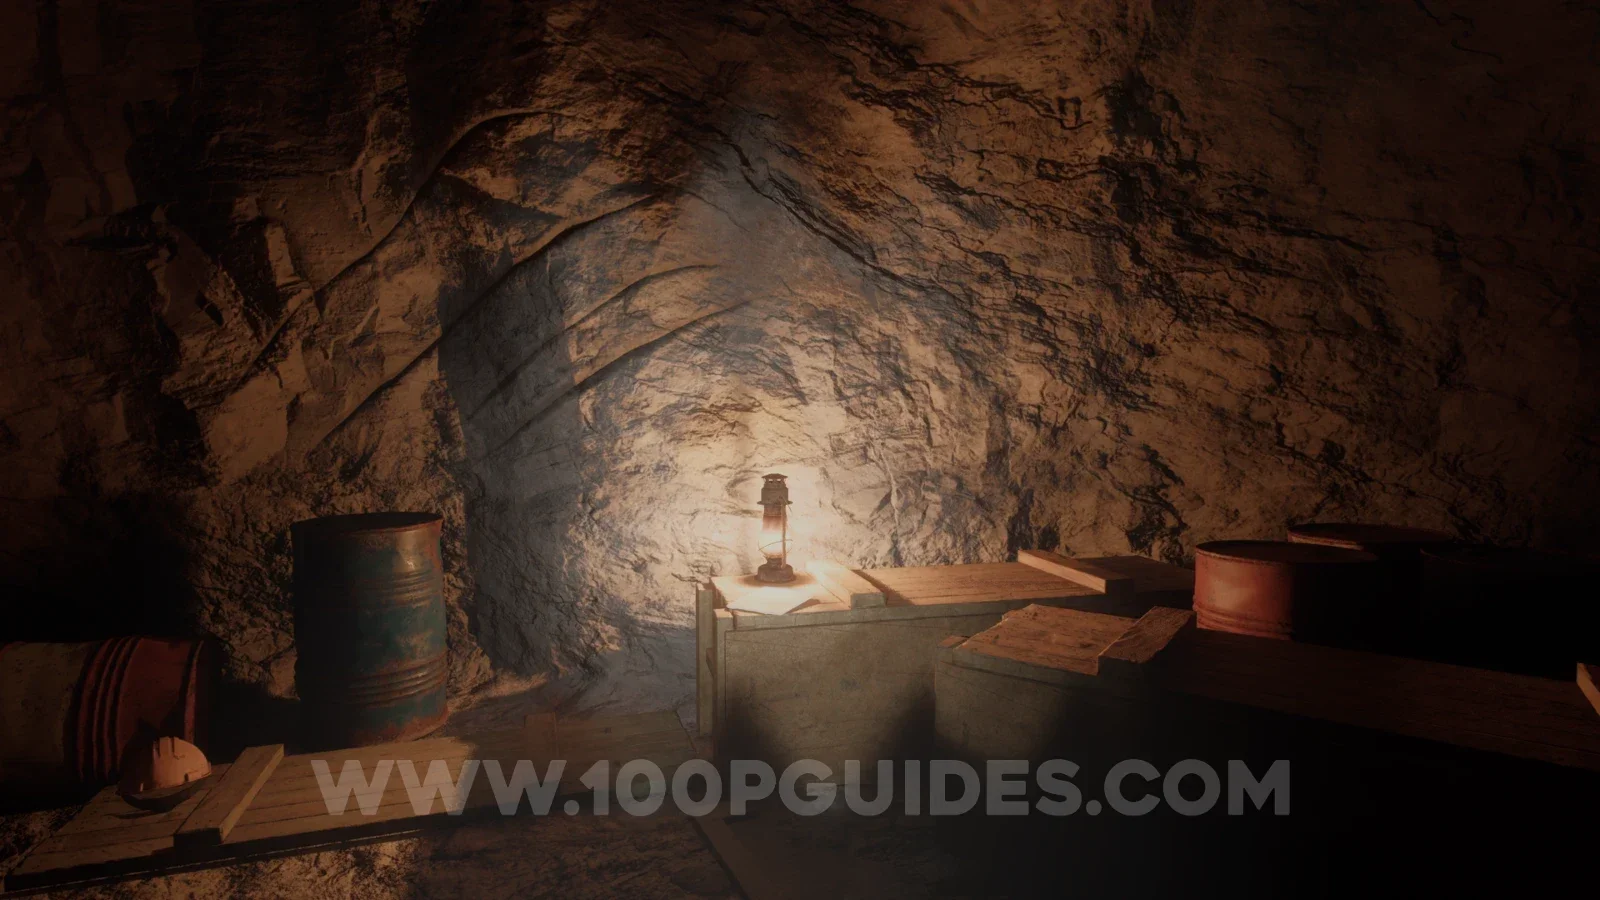
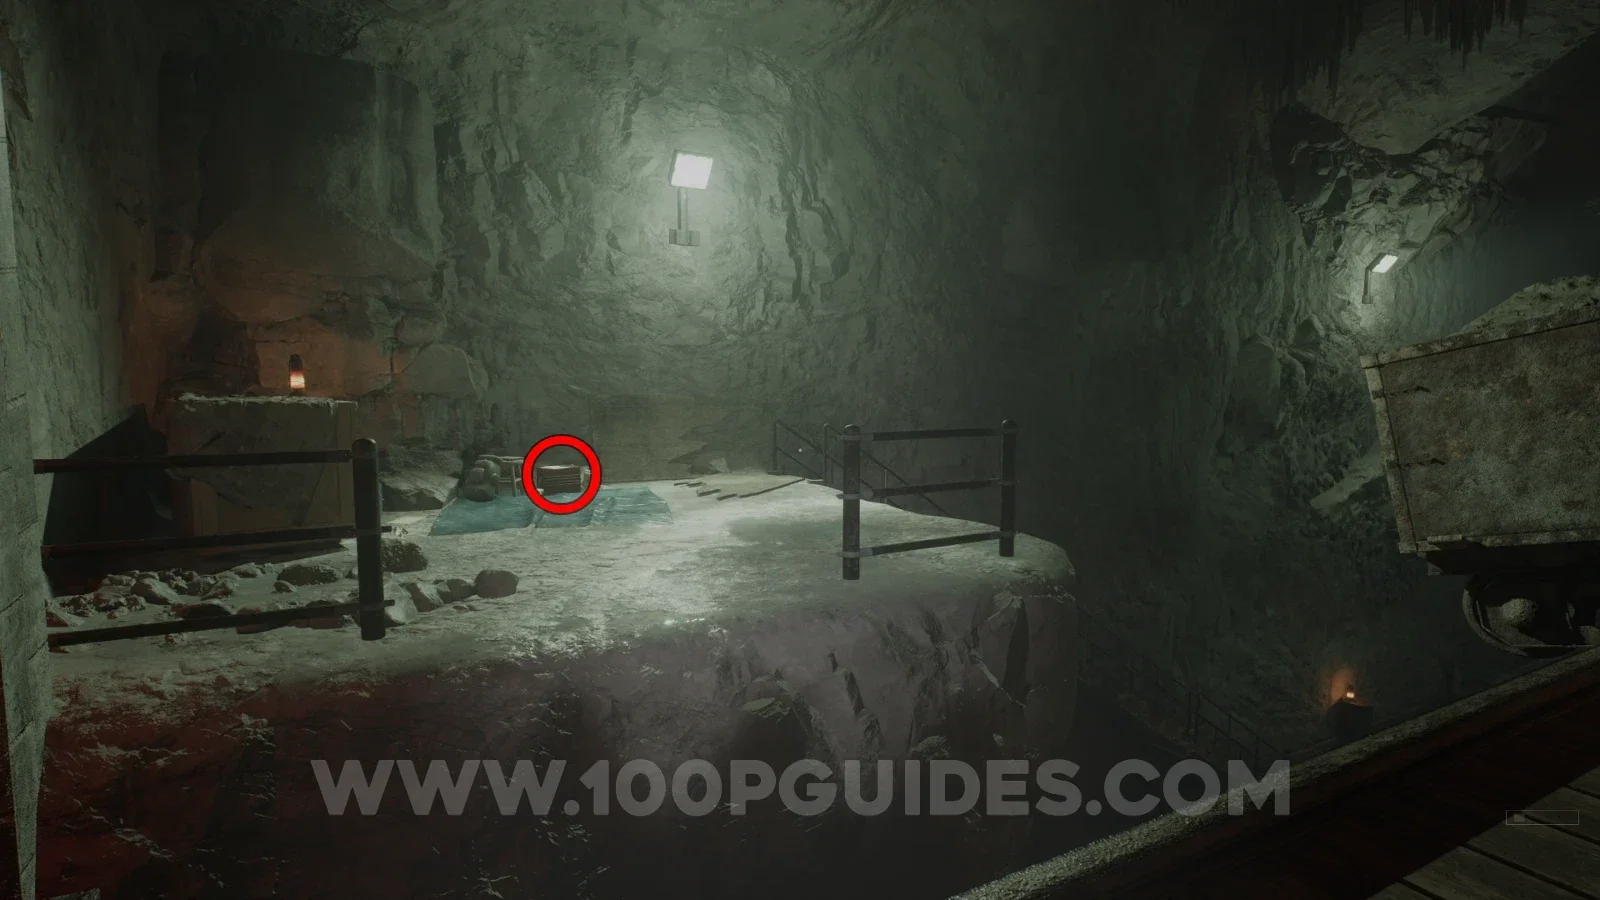
On the lower supply ledge after the water crossing, inspect the paper beside the lantern on the long wooden box. Blue and red barrels flank this nook. Location image ↗ Open collection entry ↗ |
Chapter 3: Freight platforms
Story objective: Find the office key, restore power and operate the suspended platforms. Open the steps.
Checkpoint: Follow the interrupted lift route toward the blood trail. Collectible detours below may span the approach and return route.
| Stop | Location and reference |
|---|---|
NoteSubstance Field Report: AdhesionImage reviewed |
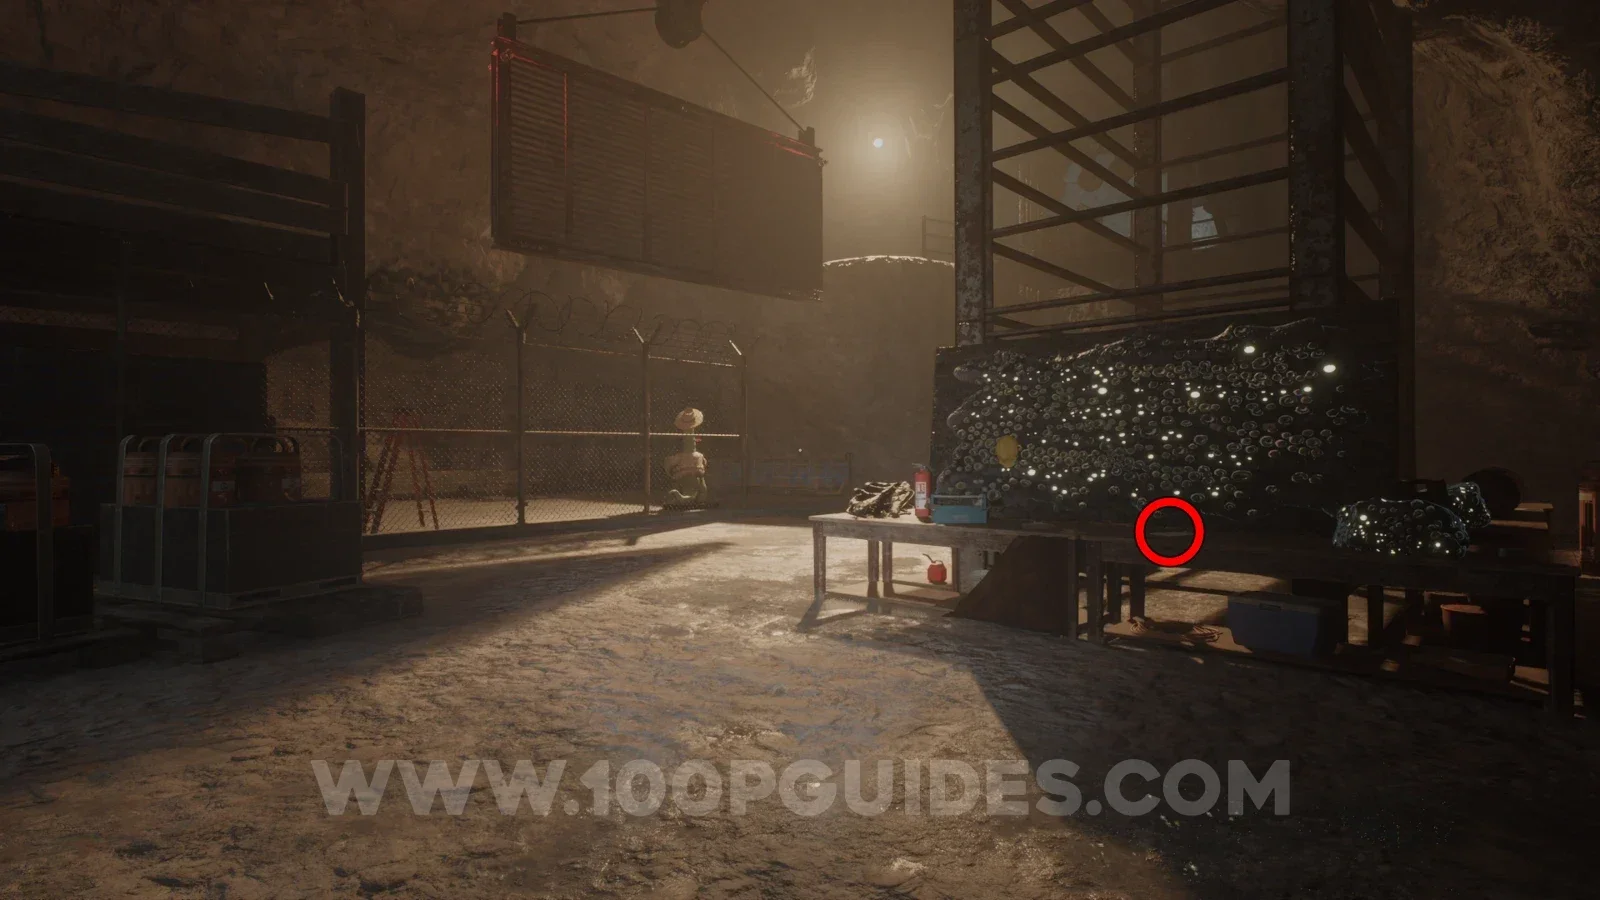
Wallrunning research area: search the table in front of the large dark goo sample. The framed coated panel rises behind it. Location image ↗ Open collection entry ↗ |
Audio tapeJames Cook: A Message HomeImage reviewed |
Adhesion research area: examine the worktables by the large sample rack. The recording sits near the red storage box and sample tray. Location image ↗ Open collection entry ↗ |
AmberAmber 10 |
Left tunnel beyond the last train track. View 10 ↗ Open collection entry ↗ |
NoteTrainsImage reviewed |
At the tunnel exit, look left toward the fenced landing. The paper rests on the small toolbox beside the green bag and folded tarp. Location image ↗ Open collection entry ↗ |
NoteDalton's Journal Entry: ParanoidImage reviewed |
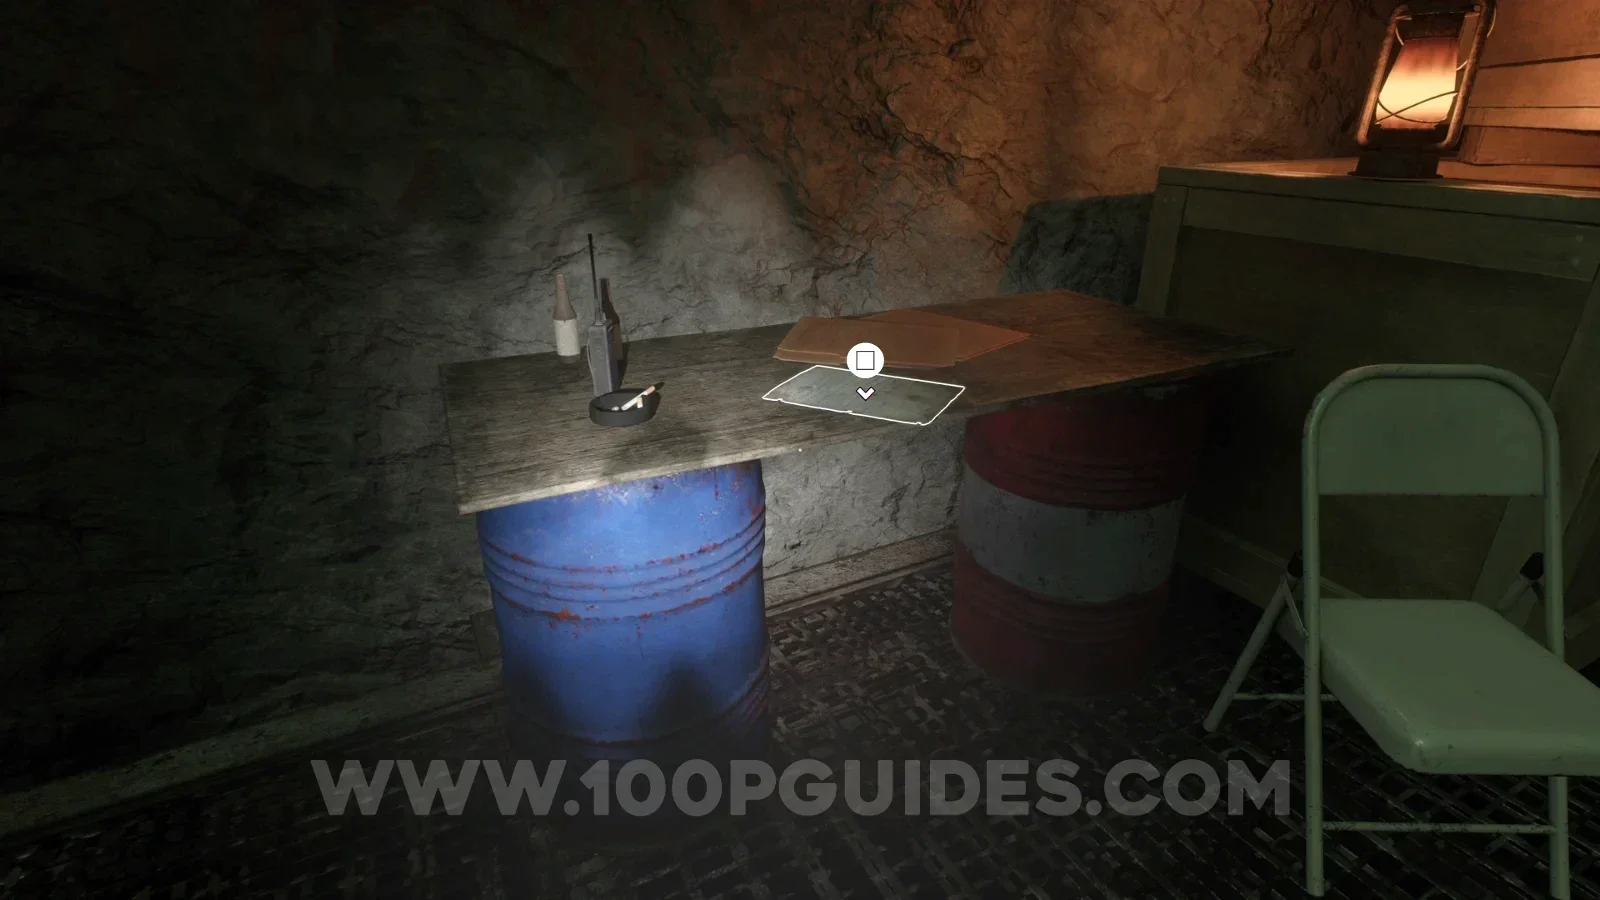
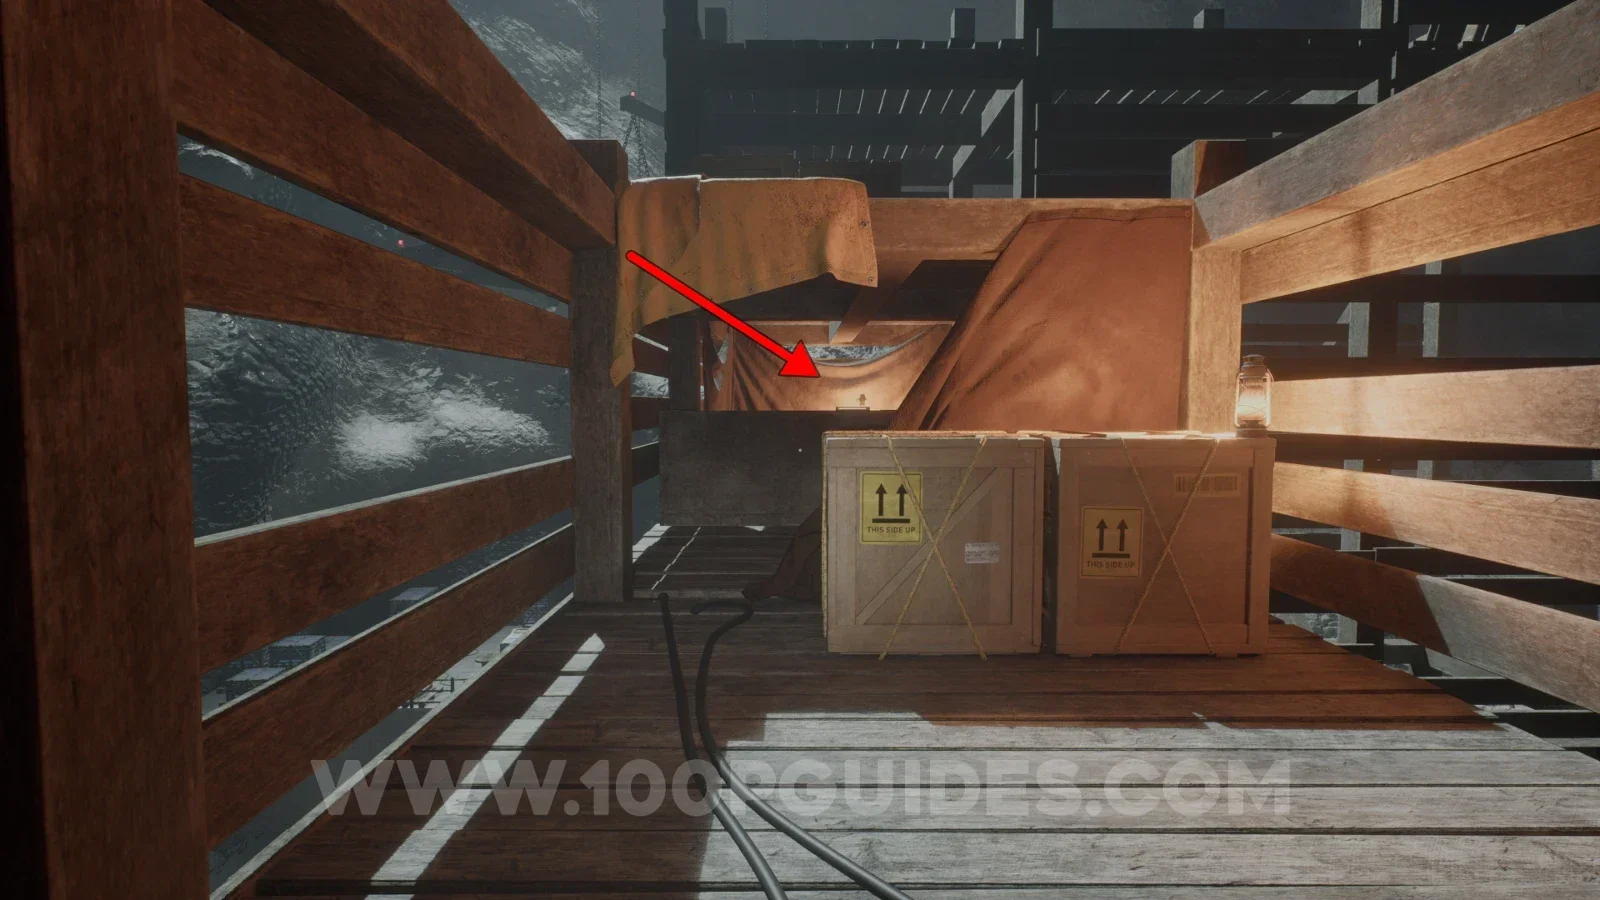
At the end of the descending metal catwalk, examine the makeshift desk spanning a blue barrel and a red-and-white barrel. The highlighted sheet is beside the radio, ashtray and brown folder. Location image ↗ Open collection entry ↗ |
NoteSite PhoenixImage reviewed |
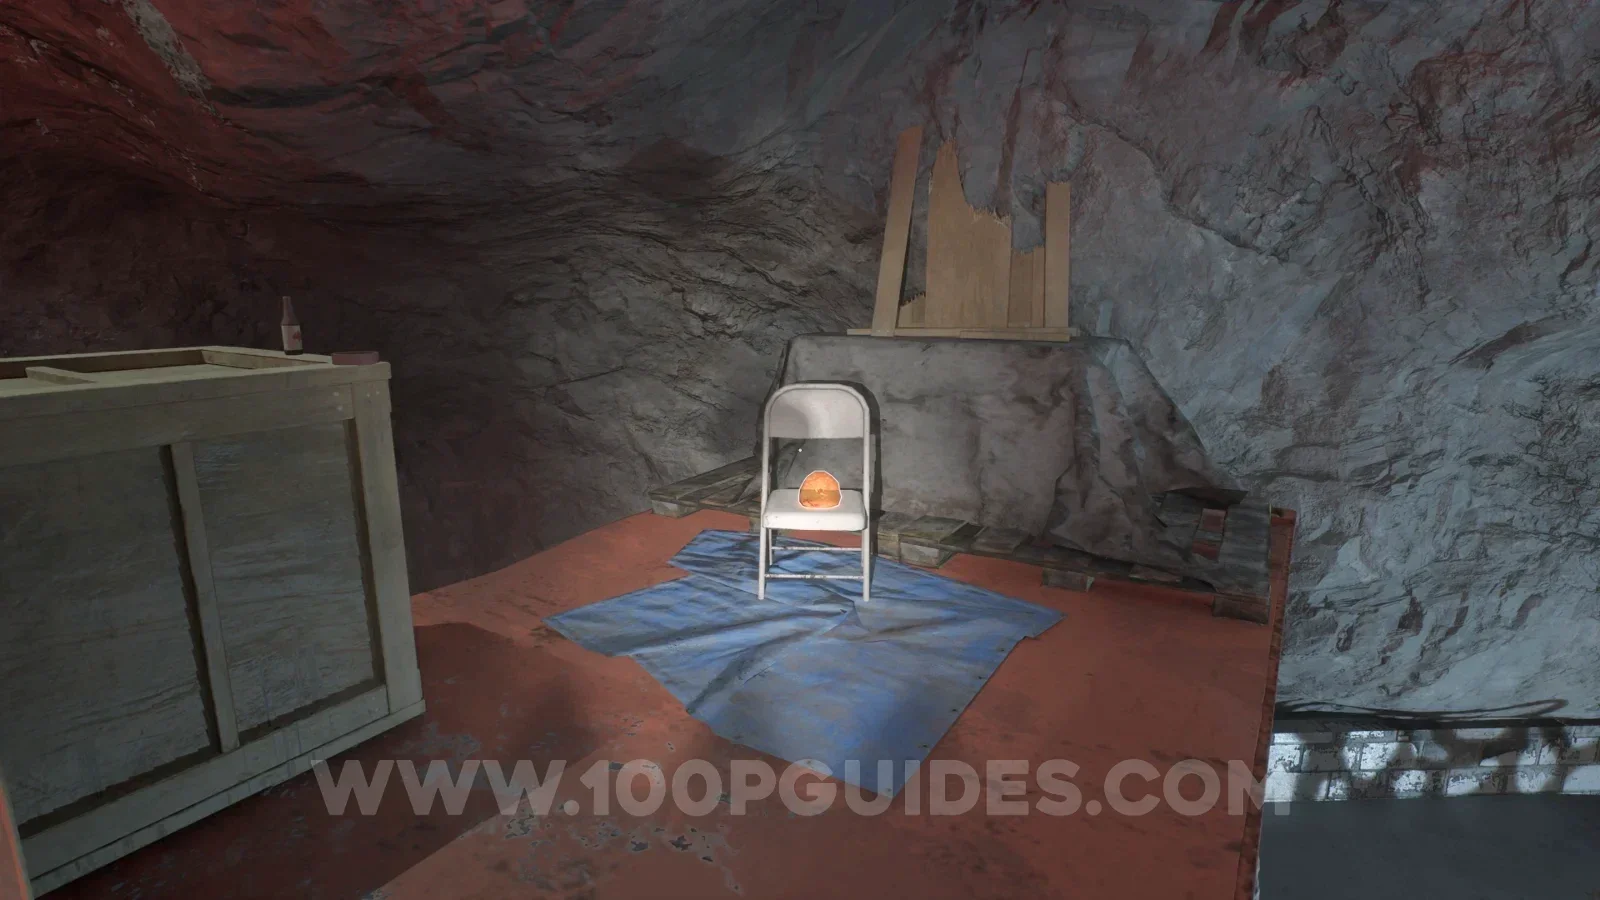
In the rear room of the office-key building, inspect the highlighted memo pinned near the middle of the cork noticeboard, above the folding chair. Location image ↗ View pickup screenshot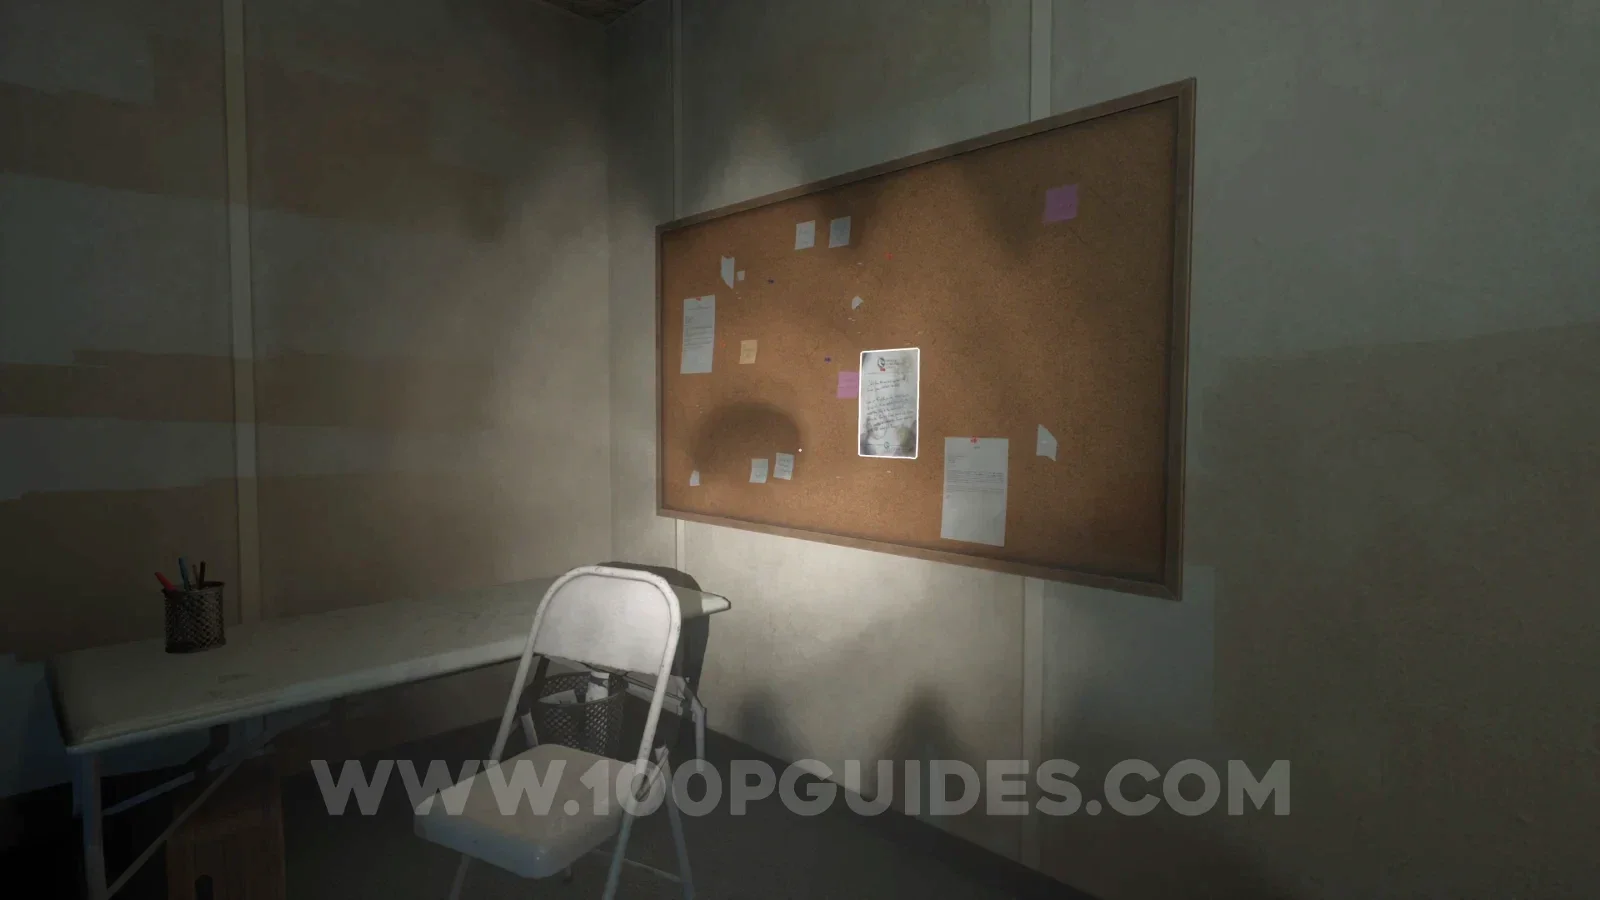 |
Audio tapeMark & Leonard: Where does the goo go?Image reviewed |
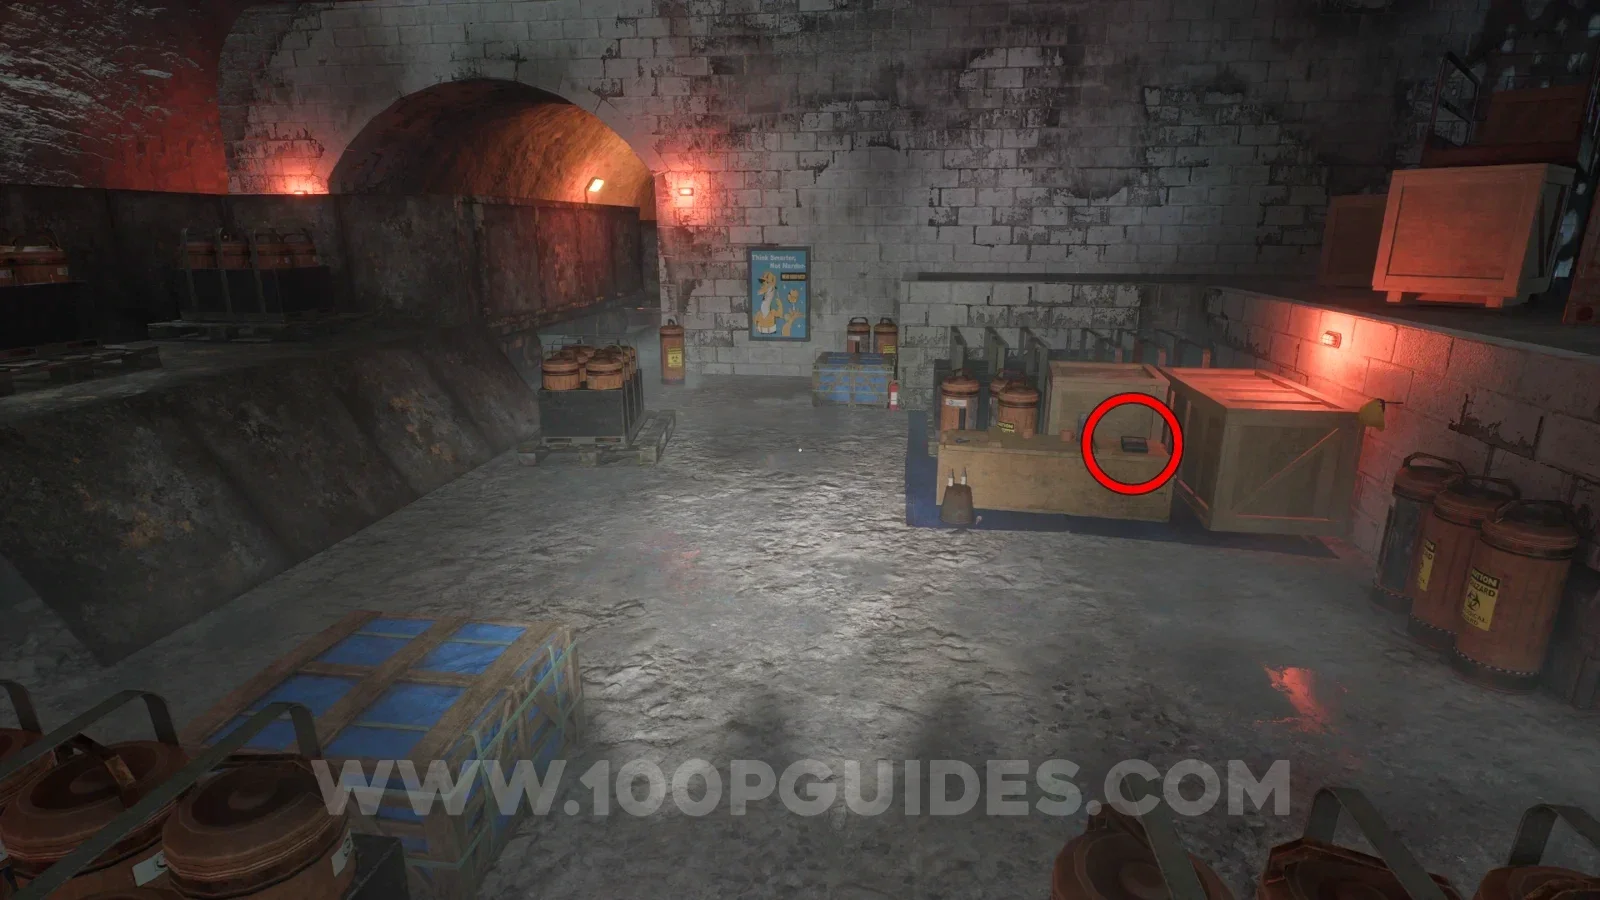
Freight/key-office area: check the low wooden box beside the large crate and red wall light, opposite the minecart tunnel. Location image ↗ Open collection entry ↗ |
AmberAmber 11 |
Red-container roof; turn back from hanging panel. View 11 ↗ Open collection entry ↗ |
NoteThe optimistImage reviewed |
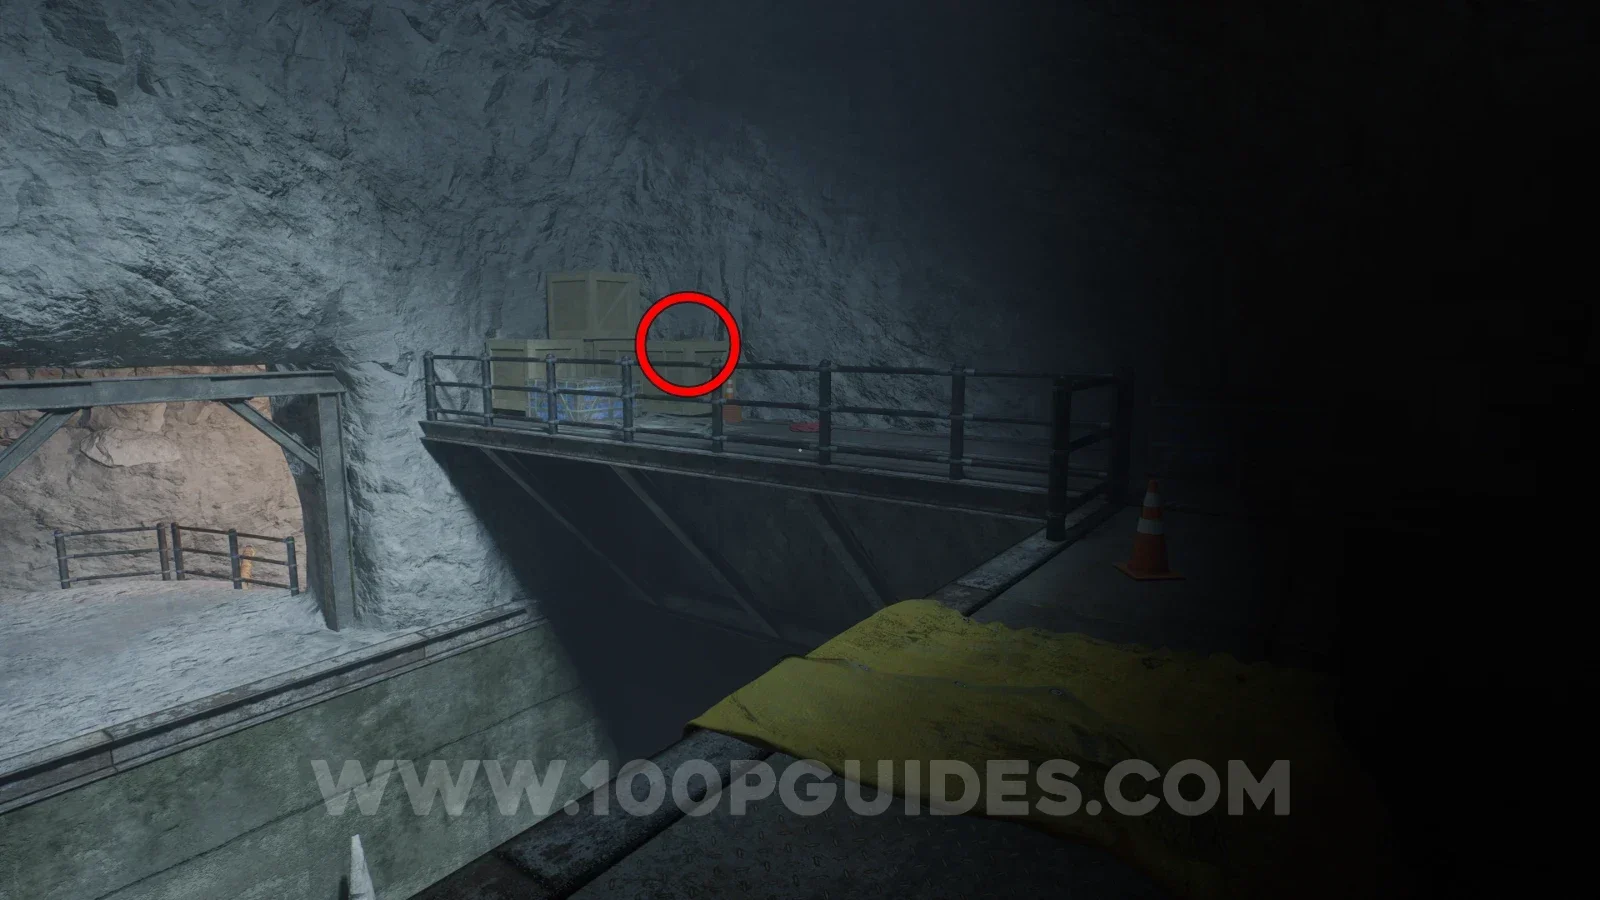
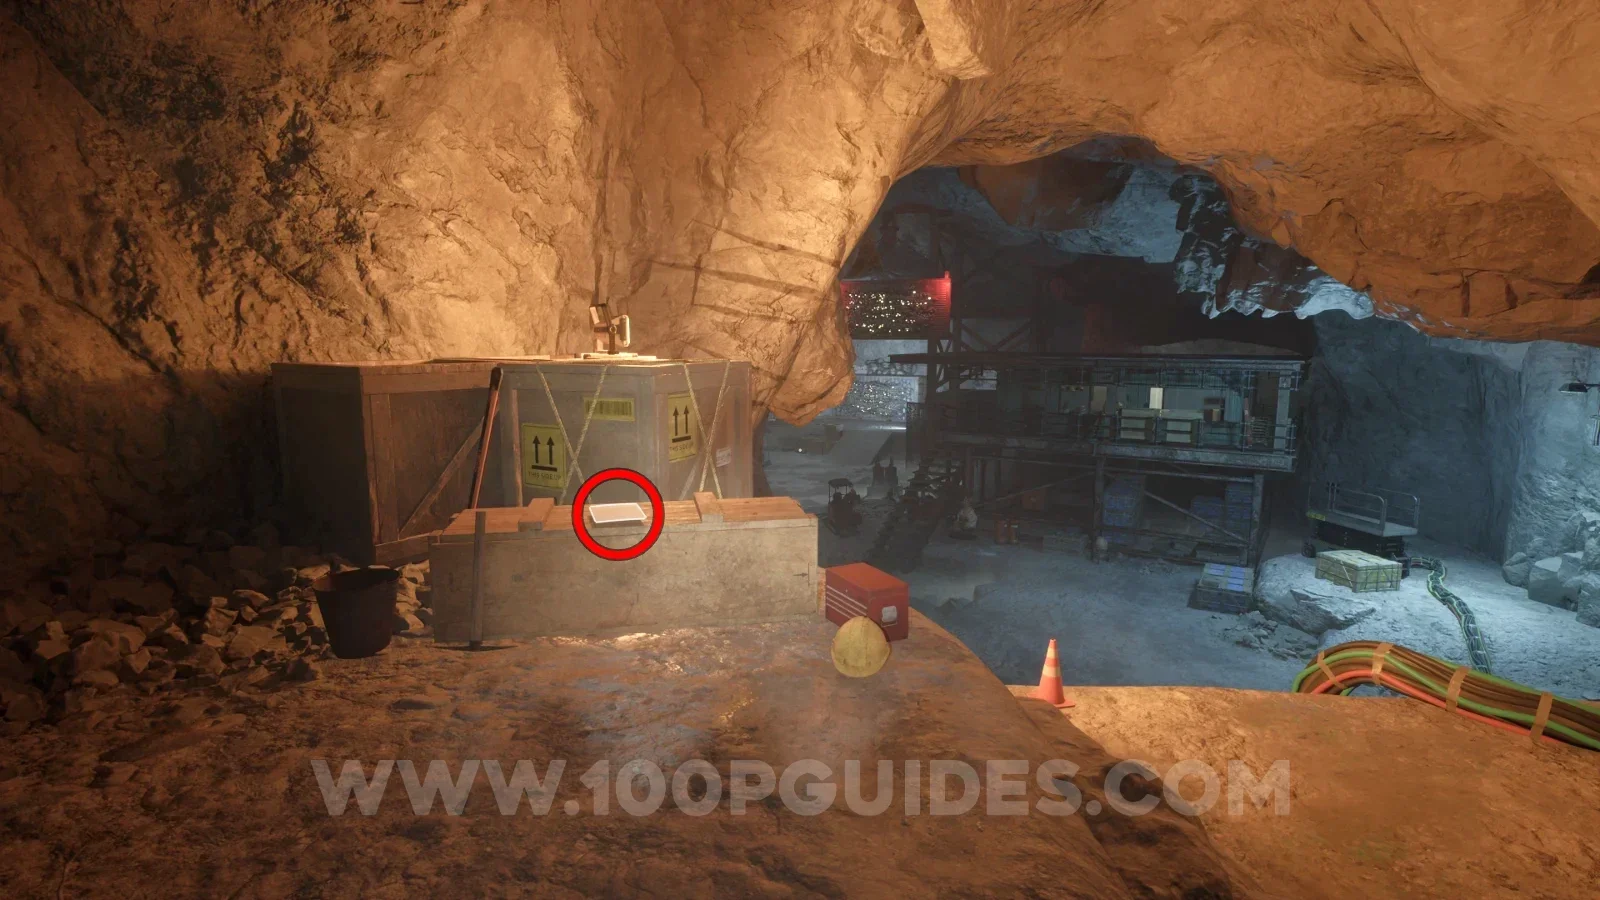
On the generator ledge beyond the blasted metal obstruction, look on the long low crate in front of the larger strapped cargo box. The highlighted paper is beside the yellow hard hat and red toolbox. Location image ↗ Open collection entry ↗ |
NoteNo more musicCommunity report |
Reported route: Past the broken bridge: climb the yellow-cloth ledge, then pass the generator and crates. Final pickup not confirmed here. Reference image ↗ Report this location ↗ Open collection entry ↗ |
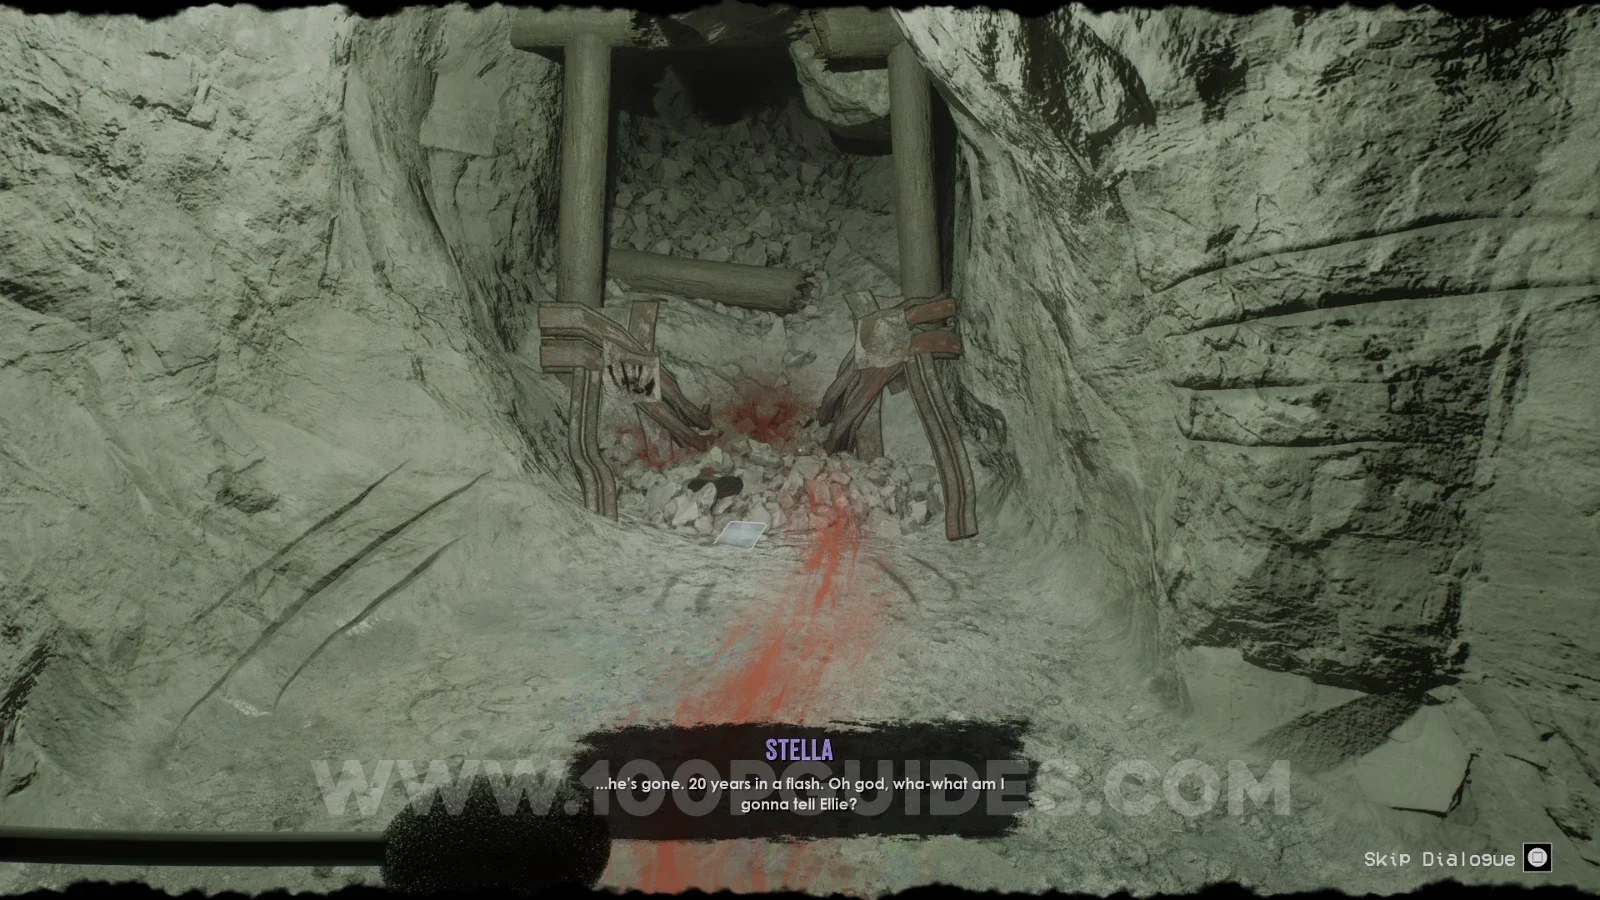
NoteDalton's letter goodbyeImage reviewed |
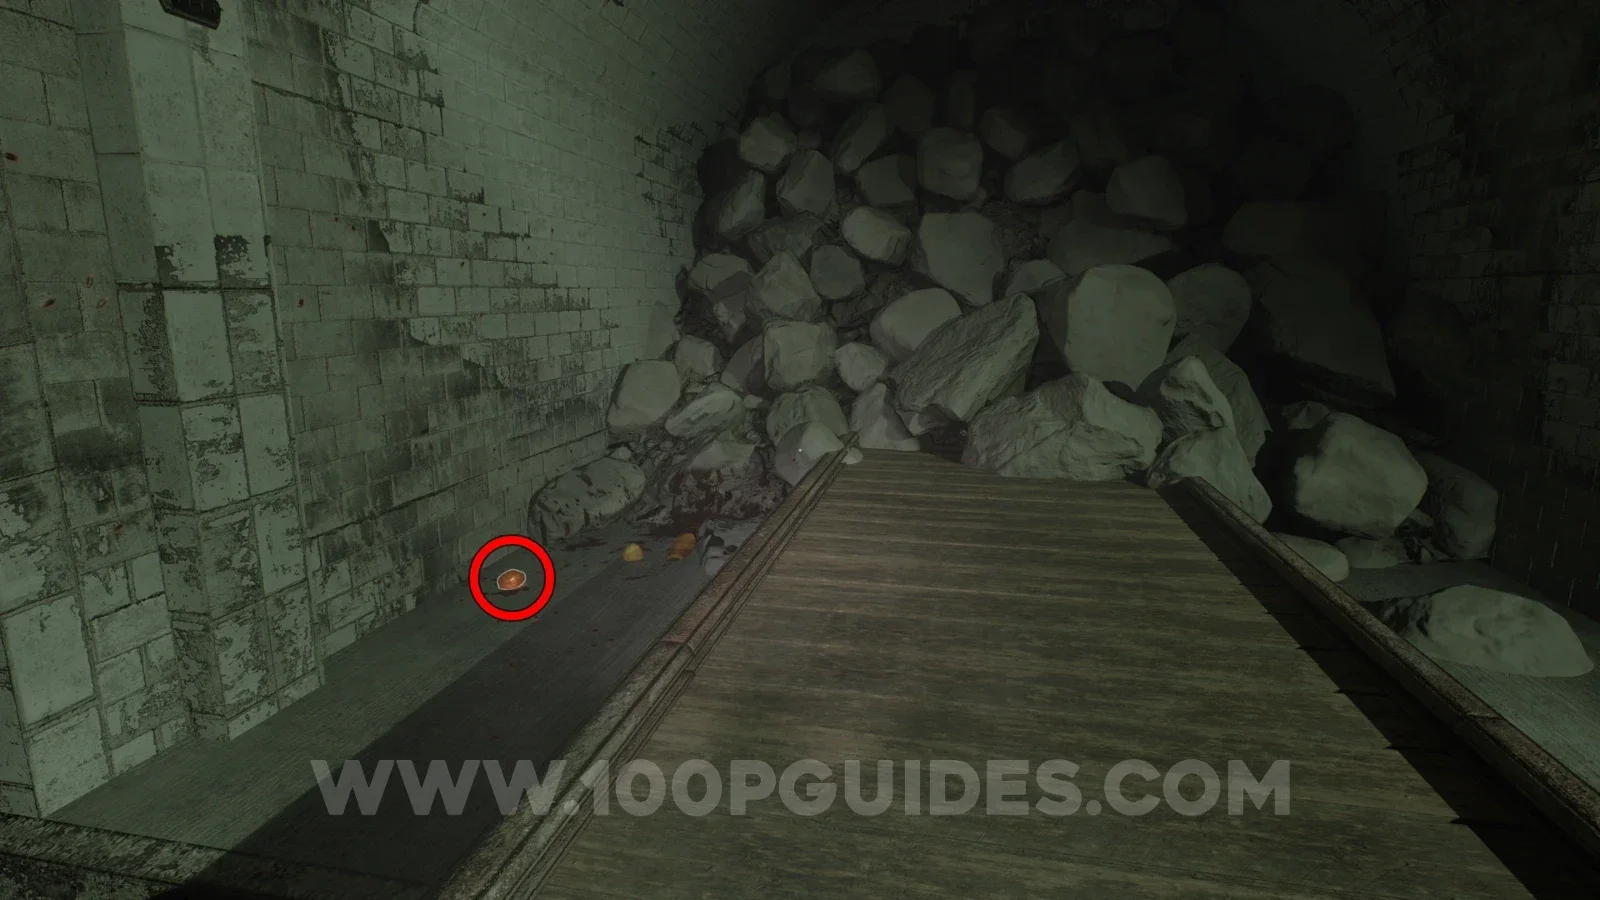
Dalton’s blood-trail cavern: look on the ground beside the collapsed timber supports and rubble. Location image ↗ Open collection entry ↗ |
Chapter 3: Four-fuse area and Motherlode
Story objective: Use the Shed key, install four replacements in the central panel and clear the later blockage. Open the steps.
Checkpoint: The final goo escape completes Level 3. Collectible detours below may span the approach and return route.
| Stop | Location and reference |
|---|---|
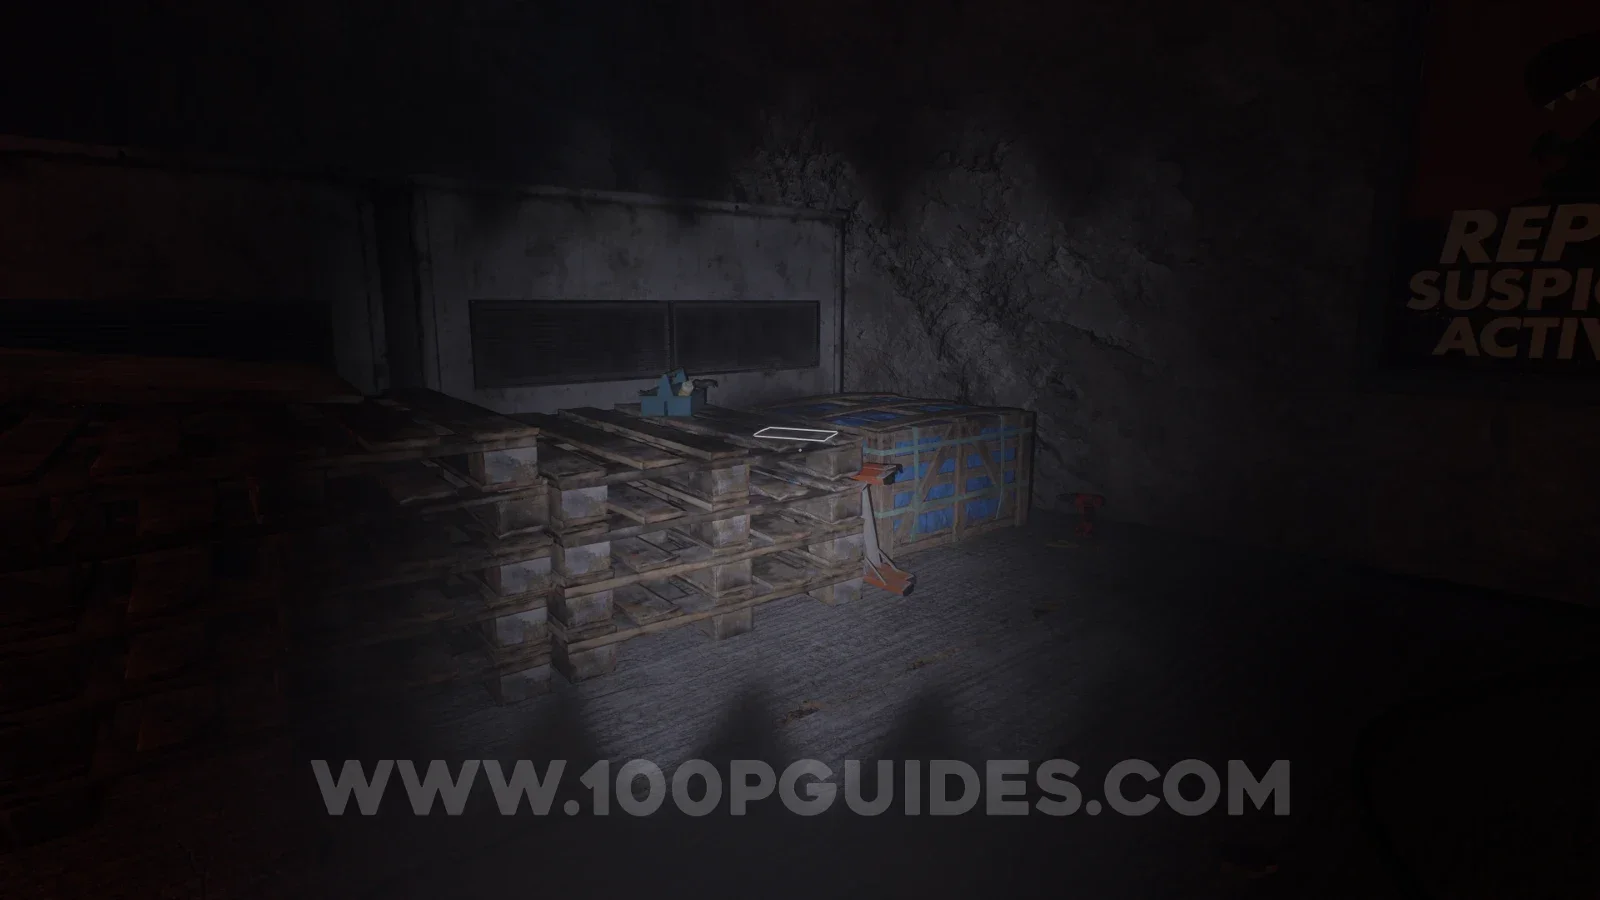
NoteDemon Cave MonstersImage reviewed |
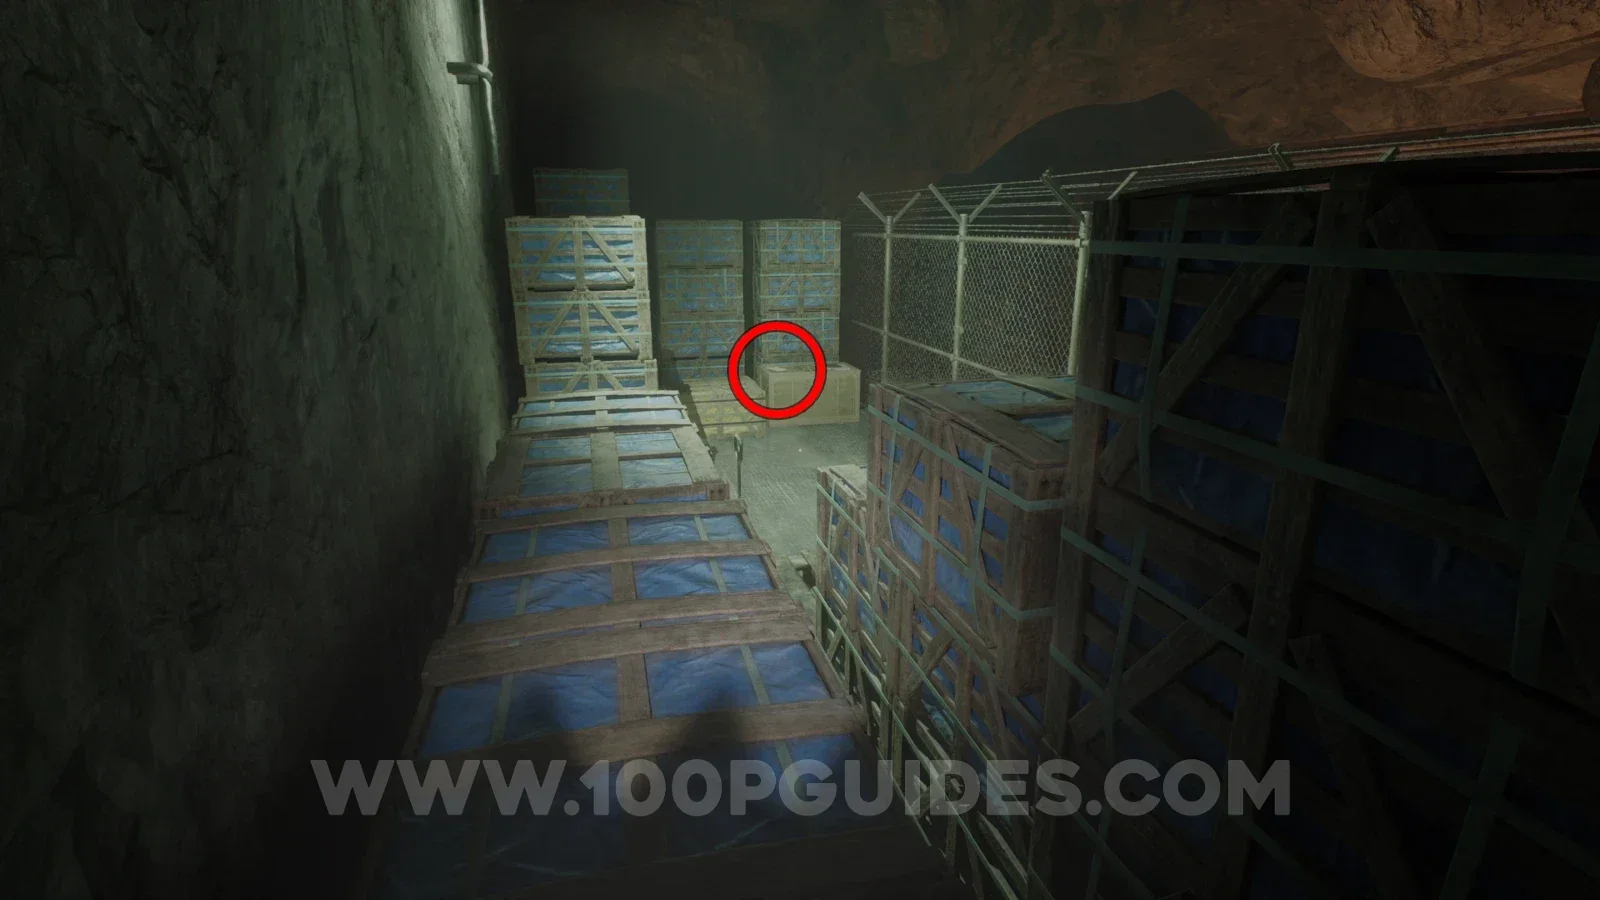
Inside the gated generator section of the large worksite, inspect the highlighted page on the stack of wooden pallets beside a blue cargo crate and blue toolbox. Location image ↗ Open collection entry ↗ |
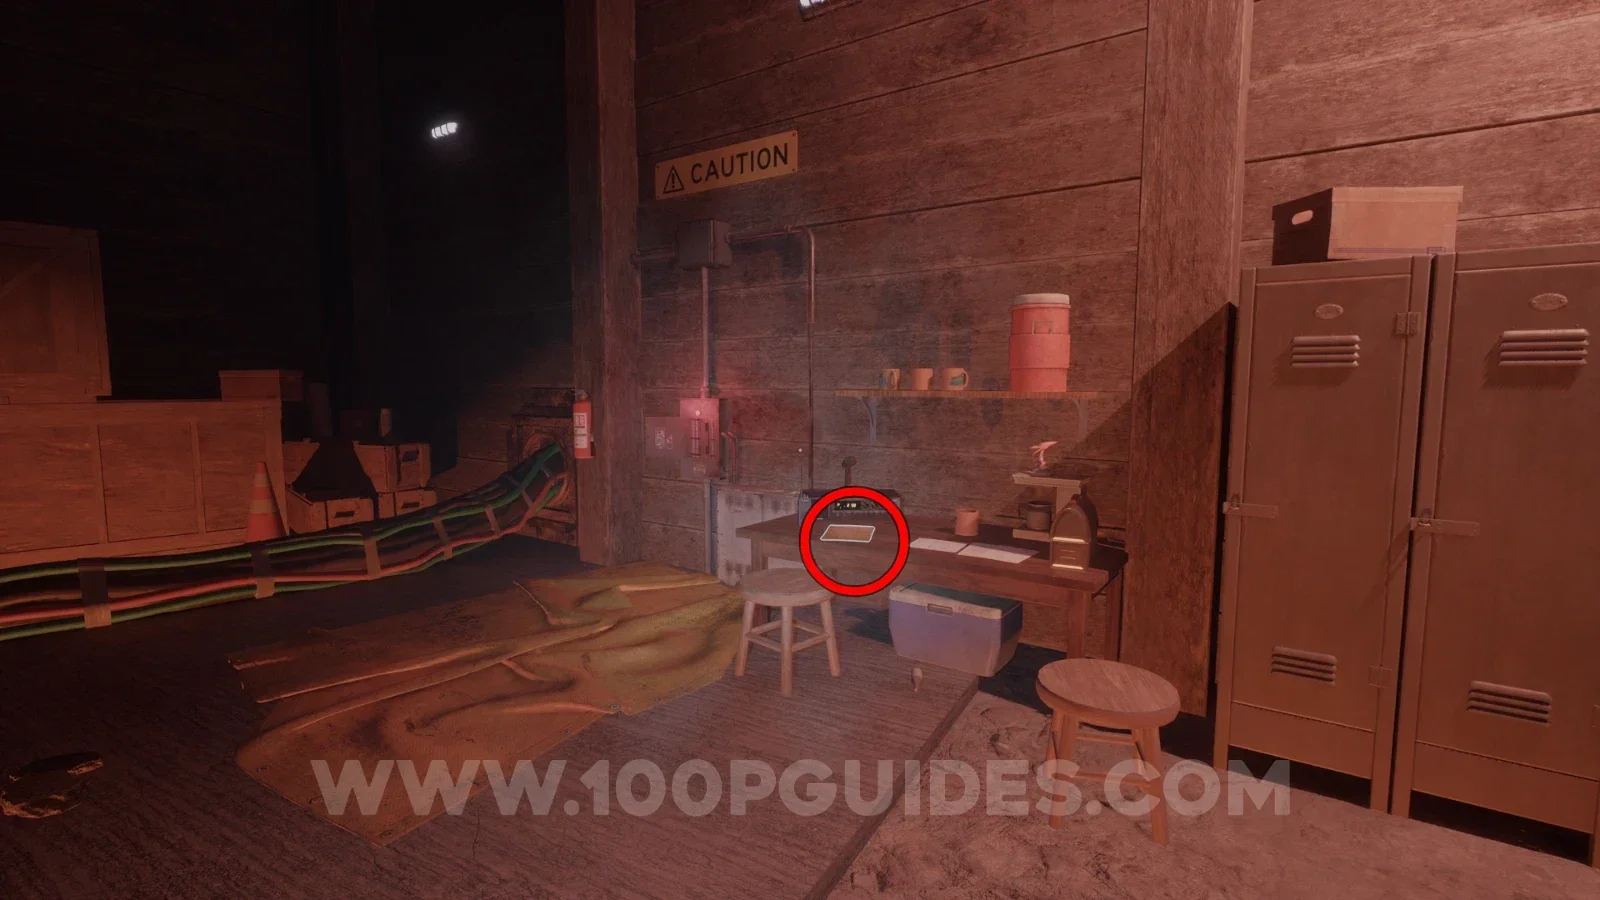
NoteMotherlode MobilizationImage reviewed |
On the elevated platform beside the fuse panel, inspect the worktable under the shelf with cups and a red cooler. The highlighted page lies below the radio, next to the lockers. Location image ↗ Open collection entry ↗ |
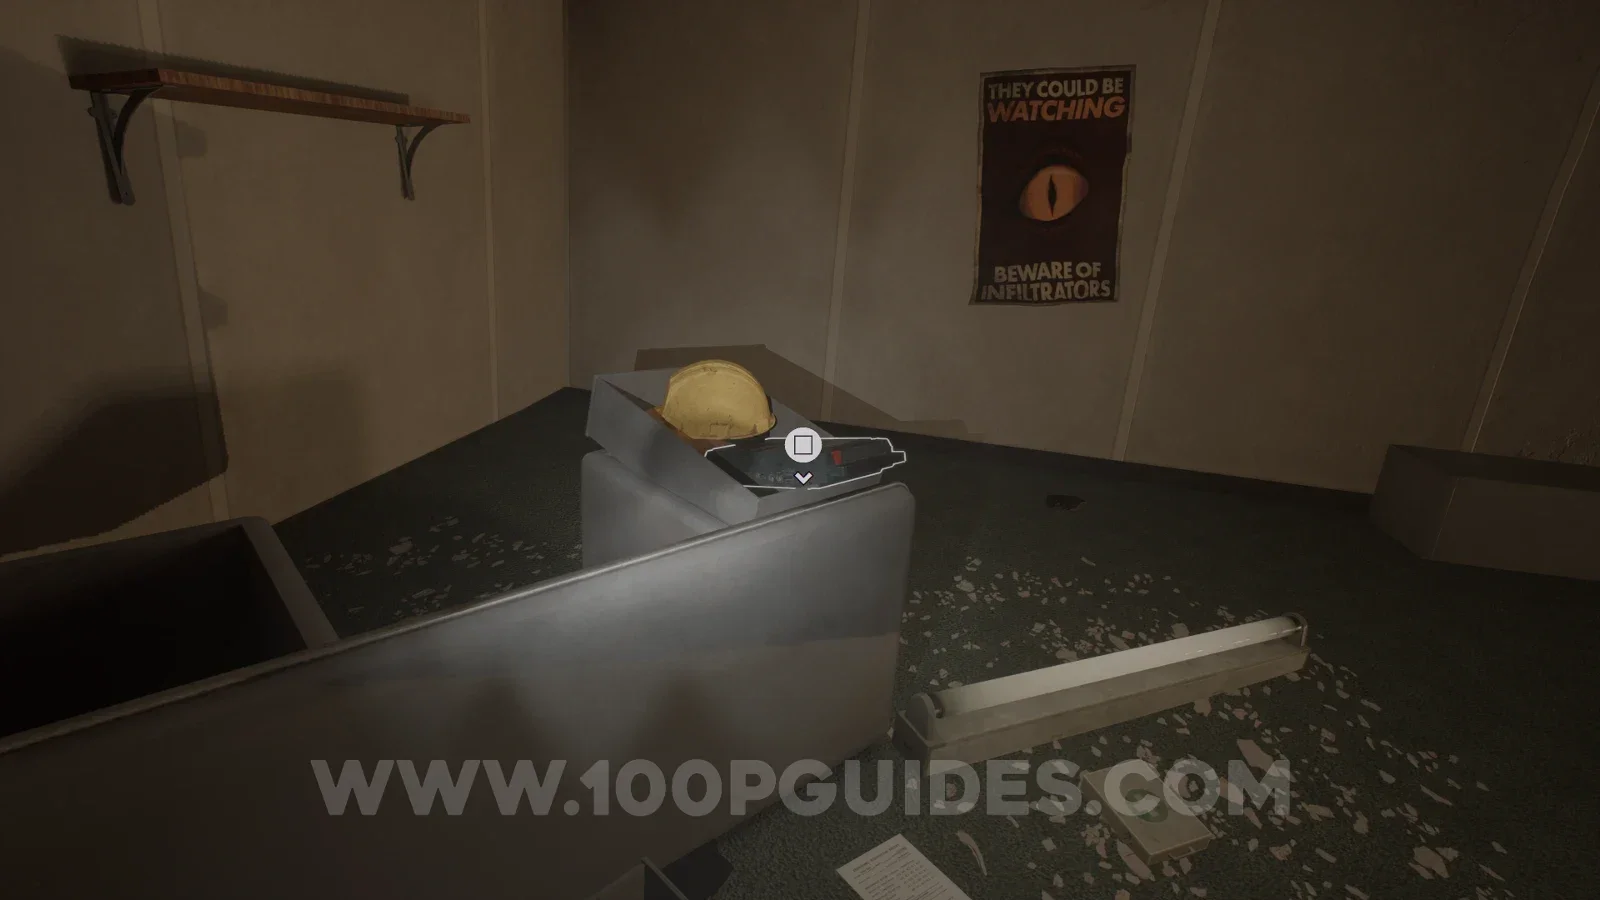
Audio tapeCrewmen: Worksite AttackImage reviewed |
Late worksite ruined building: look inside on the gray seat beside a yellow hard hat and the Beware of Infiltrators poster. Location image ↗ Open collection entry ↗ |
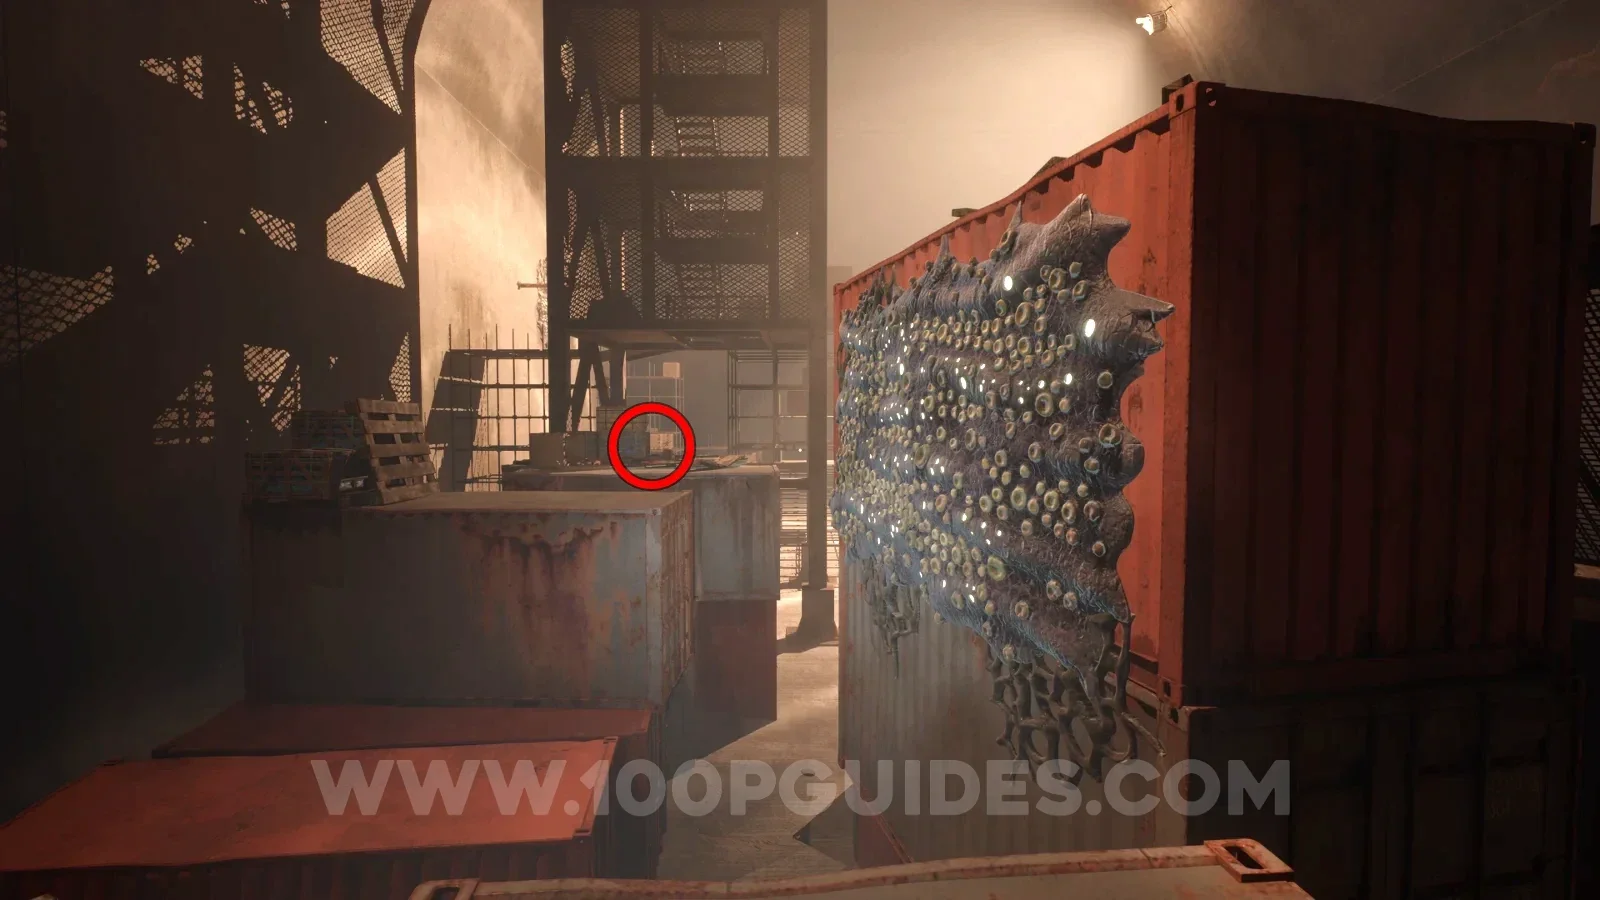
AmberAmber 12 |
Container beyond wallrun beside ruined Worksite Attack building. View 12 ↗ Open collection entry ↗ |
NoteMotherlode BlastingImage reviewed |
Inside the large metal structure, descend to the lower fenced corner. The highlighted paper rests on the supply chest between the red stepladder and white folding chair. Location image ↗ View pickup screenshot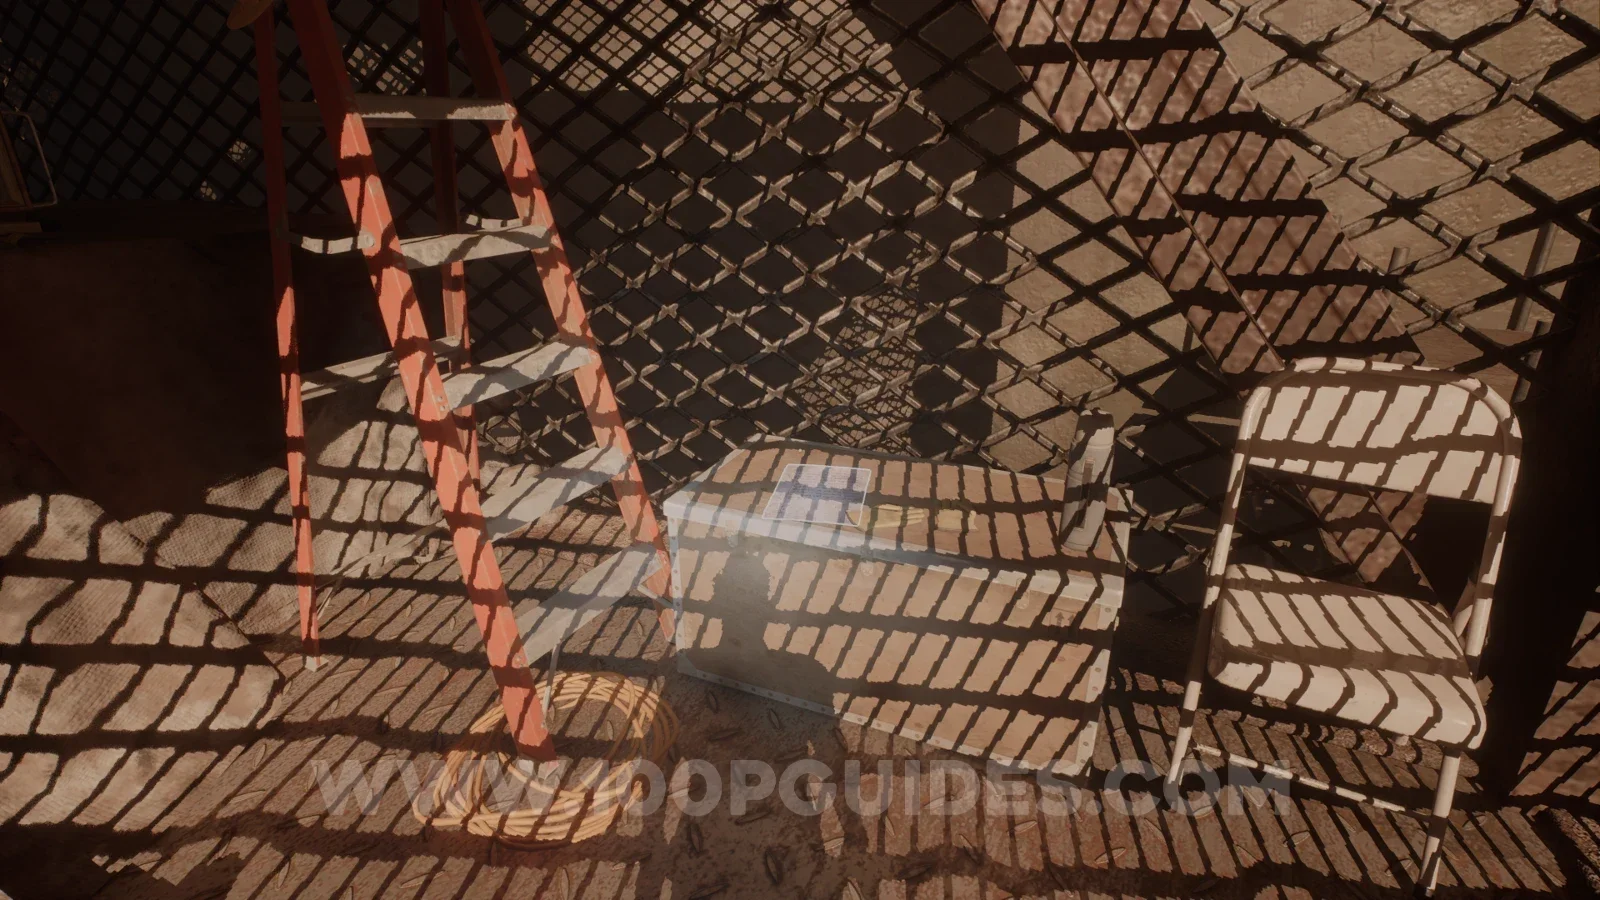 |
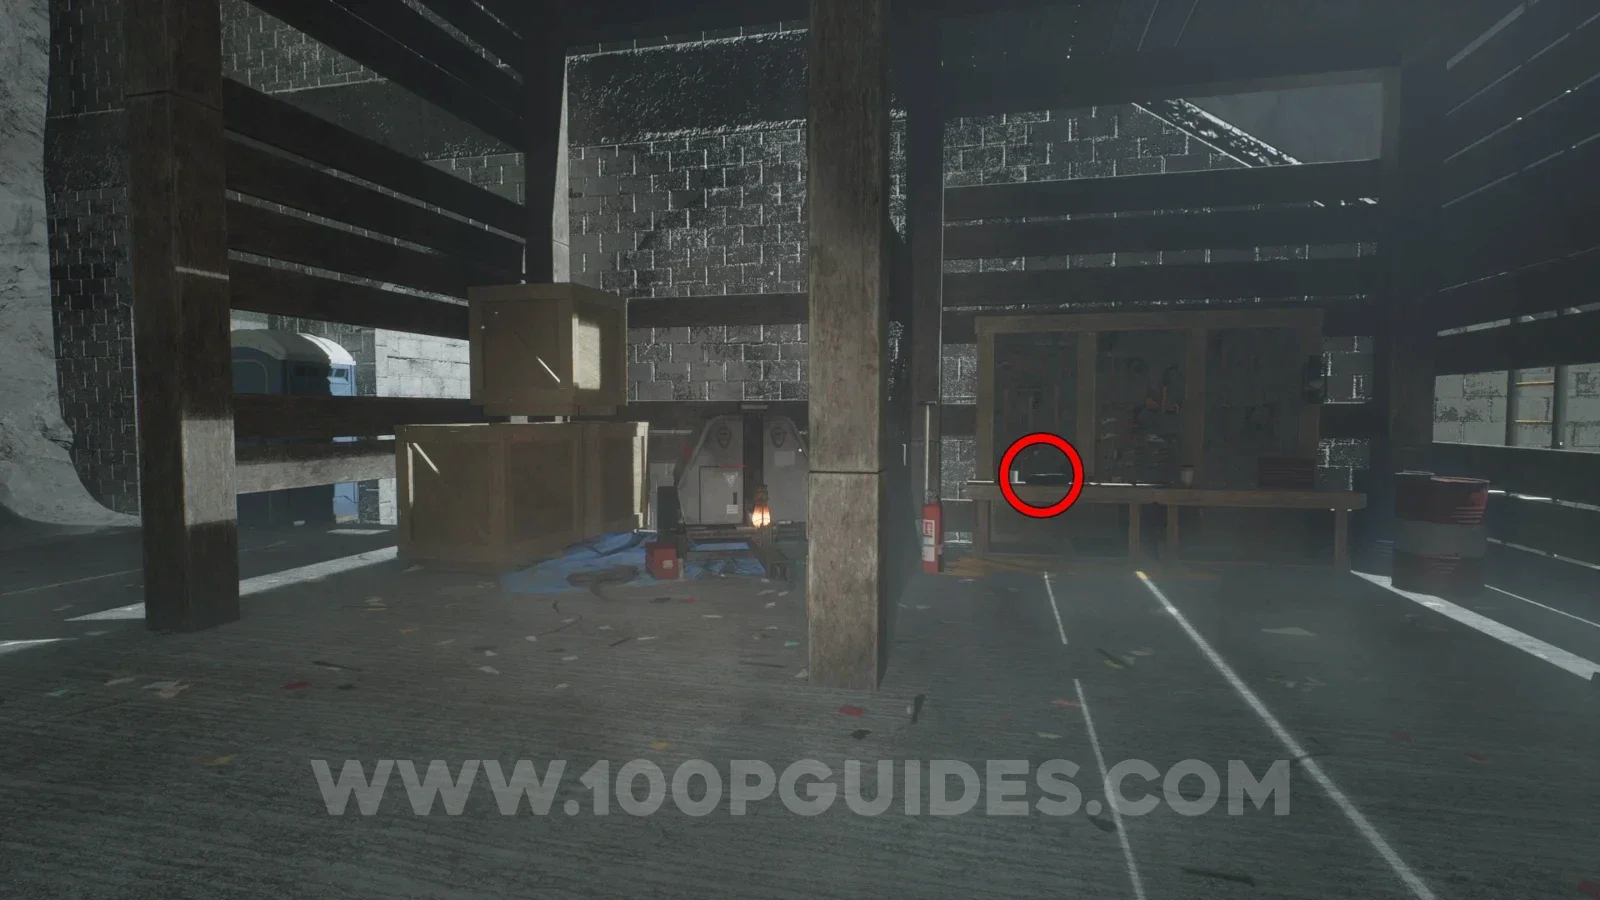
Audio tapeDalton Coolidge: The MotherlobeImage reviewed |
Sloping wooden building: check the bench beside the generator, portable toilet and boxed supplies. See the title-spelling note below. Location image ↗ Open collection entry ↗ |
Continue your route
After these listed detours, continue the Chapter 3 story and escape steps. Finishing this checklist does not mean the chapter or its achievements are complete.
Chapter 1 collection run · Chapter 2 collection run · Chapter 4 collection run